Do you want to add an analog sound to your tracks, but you don't have any analog gear available to you? Don't worry, because In this post, I'll break down for you how you can get an analog sound right in your DAW.
Here's how you do it:
To get an analog sound in your DAW, you need to emulate an analog signal chain with plugins that emulate real analog gear. By using plugins in the same order that you would use analog gear in a recording/mixing studio, you will add a sonic character to your tracks that sounds analog.
So, just what plugins do you add, and in what order?
I break this down with the rest of this article.
But before I do, remember that adding analog saturation to your mix isn't going to make it sound professional instantly.
What's more important is that you follow a proven mixing process so that your mix sounds as great and professional as possible.
Then, adding analog saturation will be like the icing on the cake.
If you want access to a proven, step-by-step mixing system used by the pros that you can consistently crank out radio-worthy tracks in record time...
Then grab my free rapid song-finishing checklist here.

Create Better Songs, Faster
Click below to download my free song-finishing checklist to help you create radio-ready songs without taking months to complete them.
Why Does Analog Gear Sound Good?
You don't need analog gear to make professional-sounding music, but it's undeniable that analog gear adds pleasant-sounding character to a track.
Analog gear sounds good because it adds subtle saturation to each track that is processed by it. This is simply due to the fact that you have an electric signal (the audio recording) passing through the physical circuitry of the analog gear.
If you aren't familiar, saturation is an effect that is a mix of subtle distortion and compression.
Therefore, by using analog gear and adding distortion, you are slightly removing dynamics, but also adding in new sounds (harmonics) with distortion.
The end result is a thicker, warmer, wider, and more natural sound.
Analog recordings are also easier to mix because they have less dynamic range, but also more highs and lows.
The great news is, even if you don't have analog gear, and can emulate the positive effects of analog gear right in your DAW.
Like I state above, you just have to simulate the signal flow that you would find in a recording studio and mixing process.
SIGNAL FLOW: The path a sound takes from the microphone to the tape machine or computer where it is being recorded.
What you need to emulate
There are essentially two phases of saturation that a track would receive from a traditional studio.
The first phase of saturation comes during the recording process, and the second phase of analog saturation comes from the mixing process.
There are essentially 4 layers of saturation that arrive from the recording phase, and then another two layers during the mixing phase.
This means there are 4 plugins we're going to want to add to every track, and then another 2 we'll add on the mix bus. Here's what that looks like:
- Preamp, which turn the level of the microphone up (good ones also add saturation)
- Analog tracking board channel
- The tape machine to record
- After it's recorded, it gets mixed, so more saturation from a mixing board (analog mixing board)
- Analog summing channel
- Master tape machine
IMPORTANT: Be sure to gain stage with each plugin you add. As you add saturation, you'll be increasing volume, which you don't want to do, so be sure to compensate for any increase in volume by turning down the output on each plugin.
Step 1: Add 4 Plugins To Every Track
These 4 plugins will emulate the processing that each track would receive during the recording process in a traditional studio.
1. Pre-Amp
In a recording studio, the first piece of analog gear that would color the sound would be the pre-amp on a mixing console.
If you have an audio interface, then you have a pre-amp as well built inside it. A preamp is simply an amp that turns the level of the microphone up so that it's actually loud enough to be heard and processed.
If you have a basic beginner interface, you're probably not getting any real good saturation from that, but the good preamps do actually add saturation.
So the first plugin you'll want to add is a console pre-amp emulation plugin.
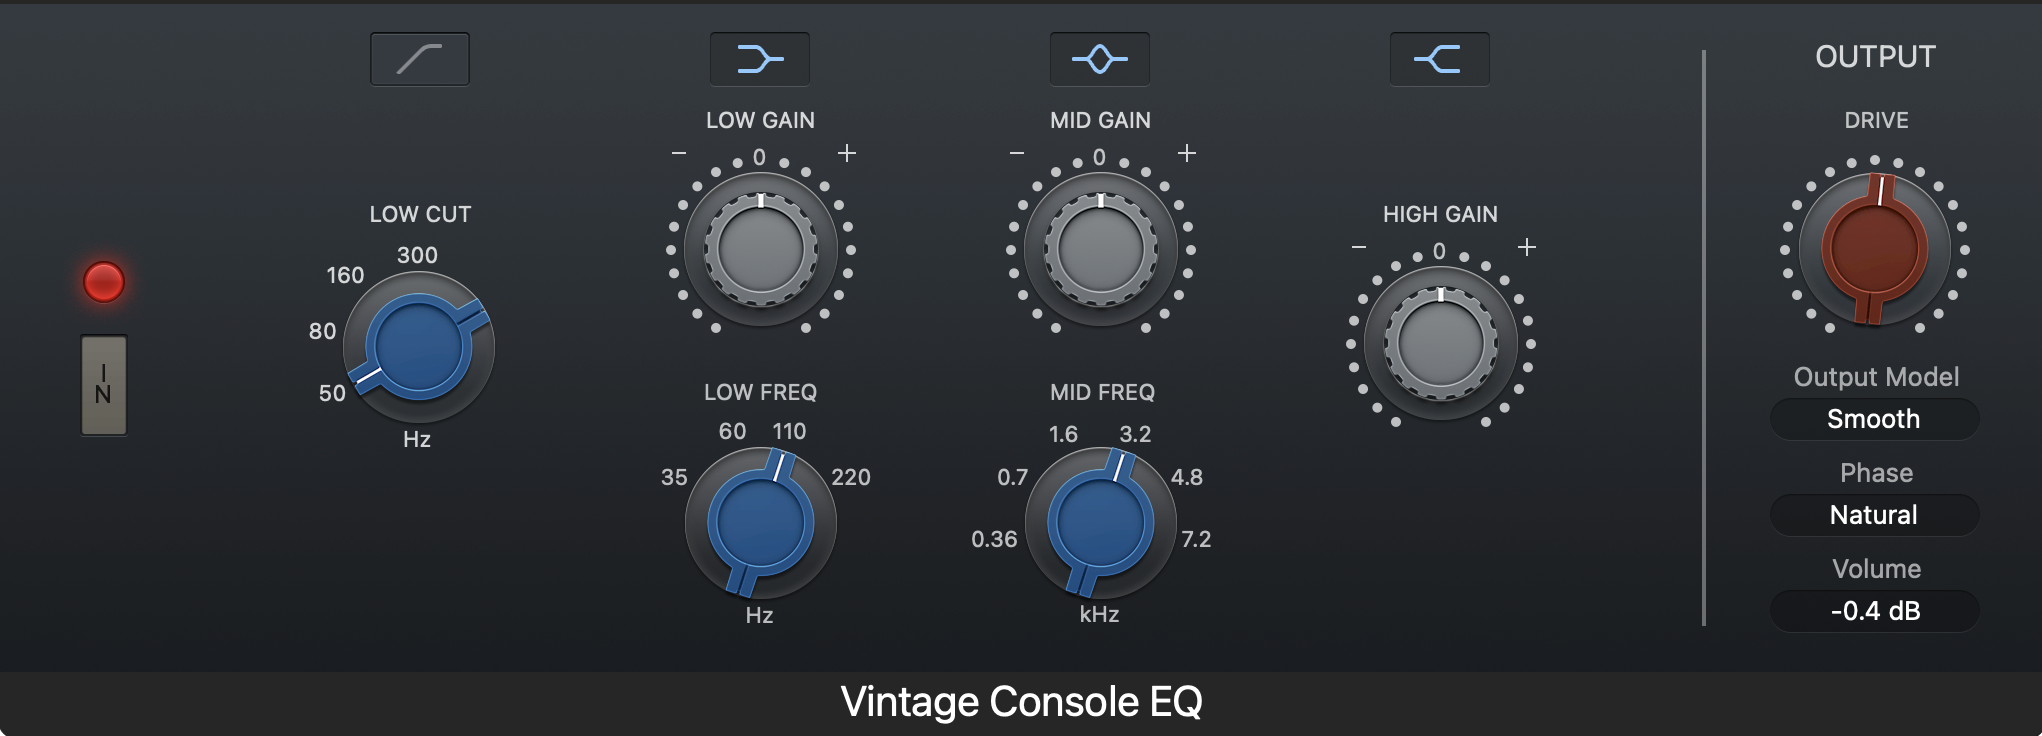
If you use Logic Pro X, you actually have a console plugin available to you in the form of the Vintage Console EQ.
You can simply ignore the EQ settings and instead crank up the red "DRIVE" knob on the right-hand side of the plugin.
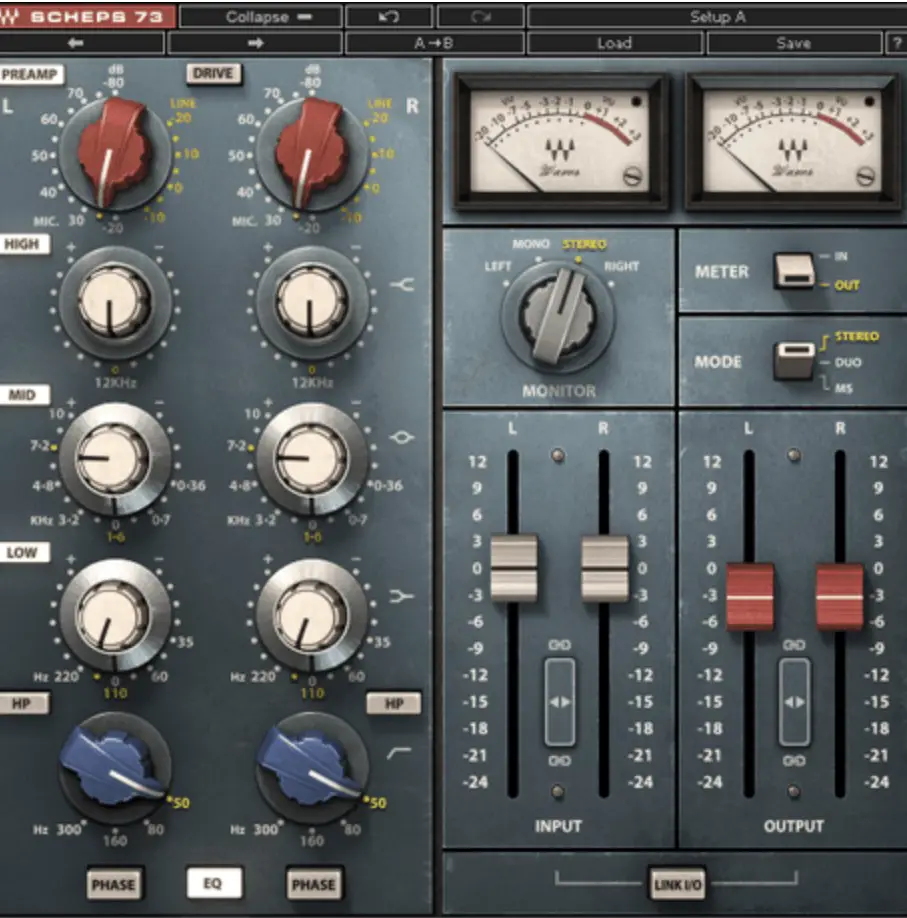
If you don't have Logic Pro X, then another great console pre-amp plugin you can use is the Scheps 73 by waves, which is an emulation of the Neve 1073 console channel strip.
2. Console Channel Strip
After the pre-amp, the audio signal would then travel down a mixing console channel, so you'll want to use a plugin that emulates a console channel strip.
Waves NLS channel is a great plugin for this as it actually emulates 100 different individual channel strips across 3 different consoles. This means you can apply unique saturation to each of your tracks, just like you would have if each track was running down a separate channel on a console.
Just turn up the drive knob and gain stage with the output slider, just like with the console pre-amp.
You can get 10% off NLS when you purchase through my referral link here.
3. Recording Tape Saturation
Next, you'll want to add tape saturation. This emulates the process of the audio signal being recorded to tape in the days before digital recorders.
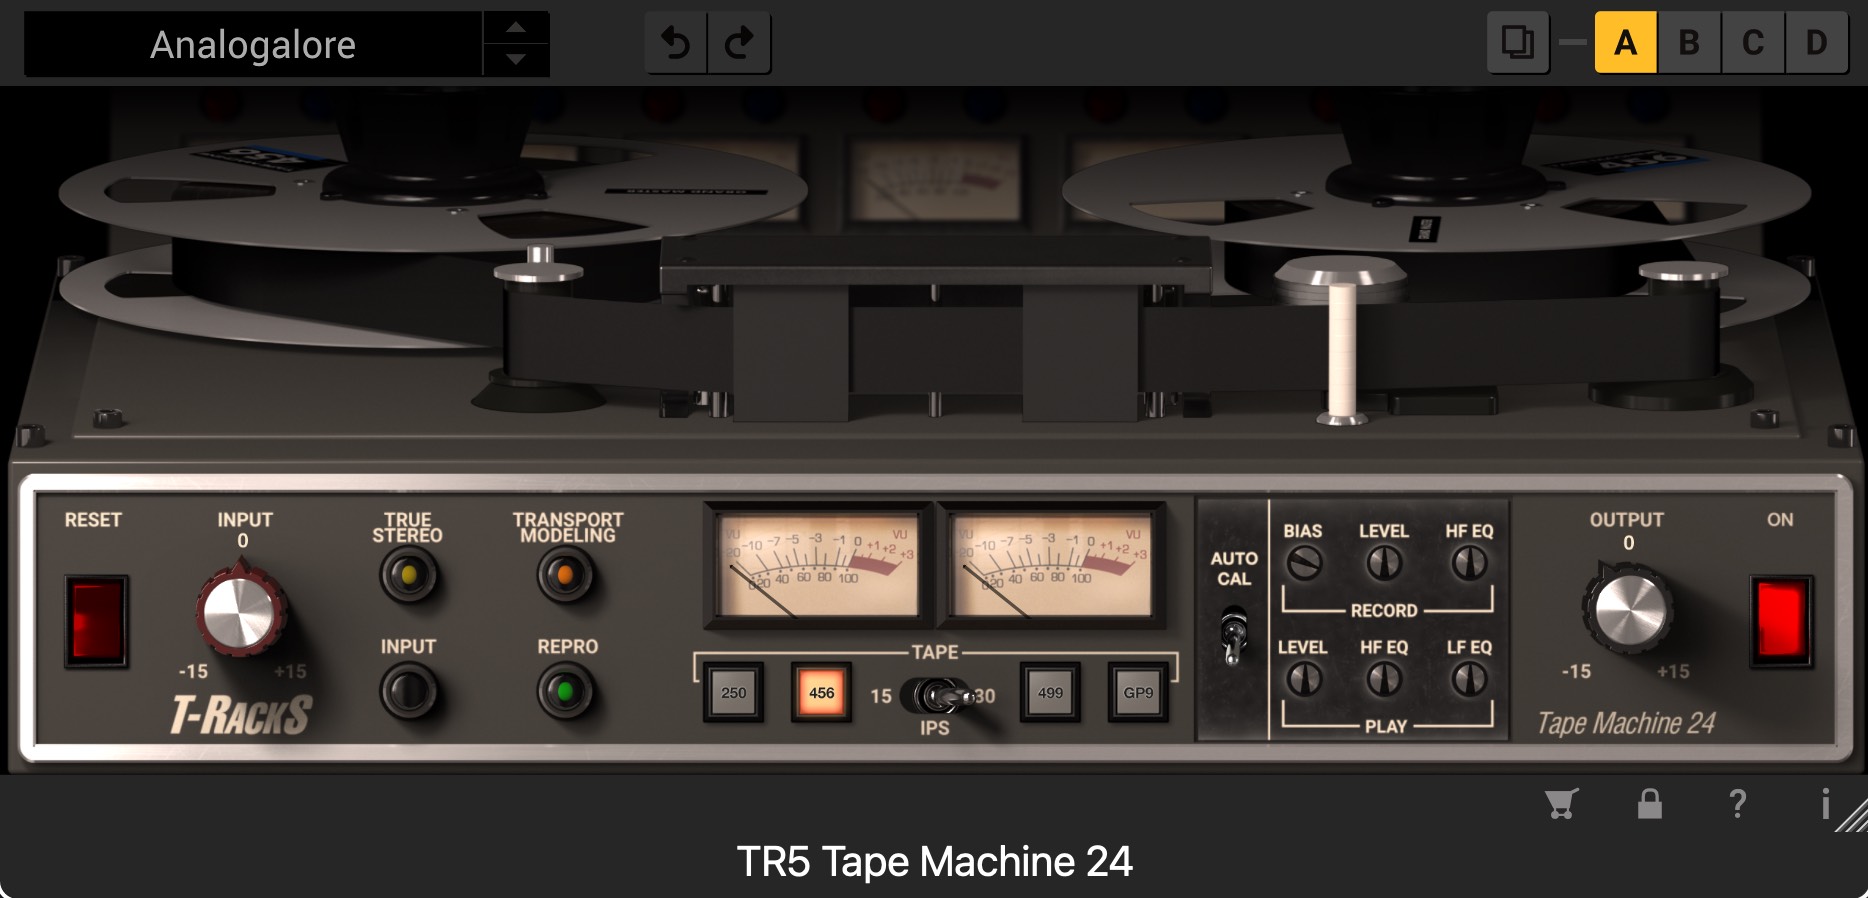
A great authentic tape saturation plugin is the Tape Machine 24 by IK Multimedia, as it emulates an analog 24-track tape recorder.
It's best to use a tape machine plugin here that emulates recording tape, which is slightly different from a mastering tape machine.
You can get the Tape Machine 24 here.
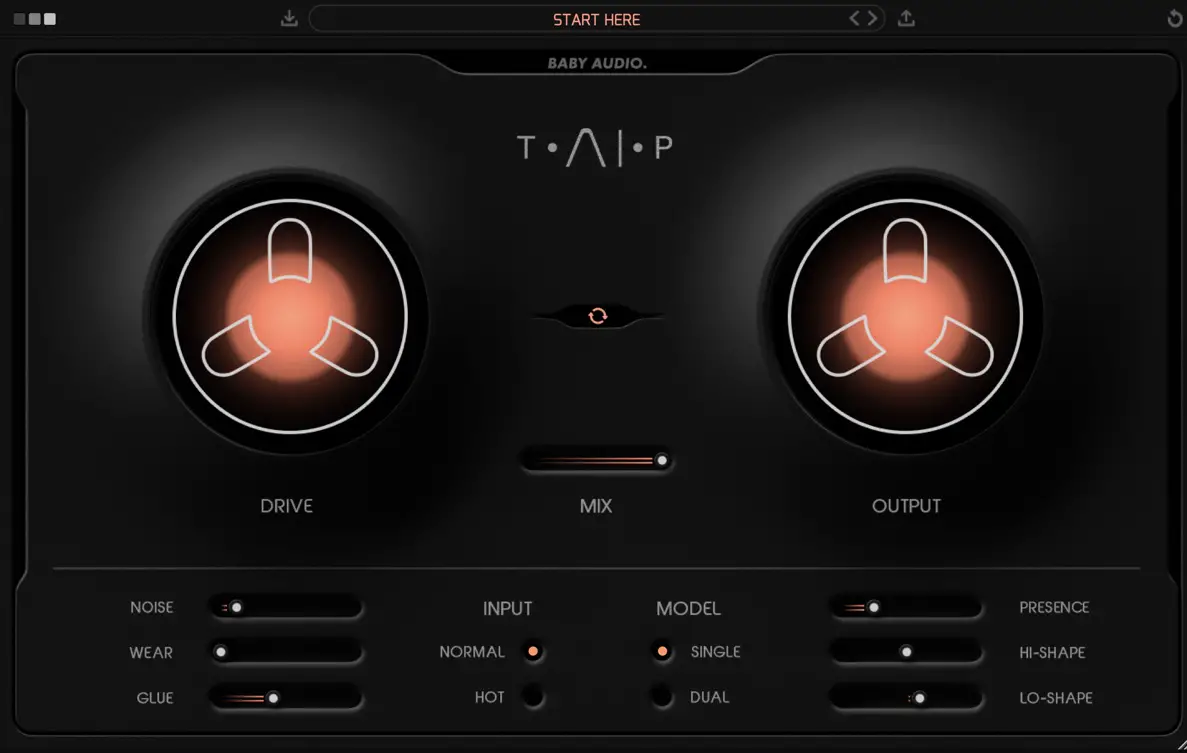
Alternatively, if you're wanting a more intuitive tape plugin that gives you a little bit more flexibility, and doesn't limit you to what is "authentic", then you can check out the Taip plugin by Baby Audio.

Create Better Songs, Faster
Click below to download my free song-finishing checklist to help you create radio-ready songs without taking months to complete them.
4. More Channel Strip Saturation
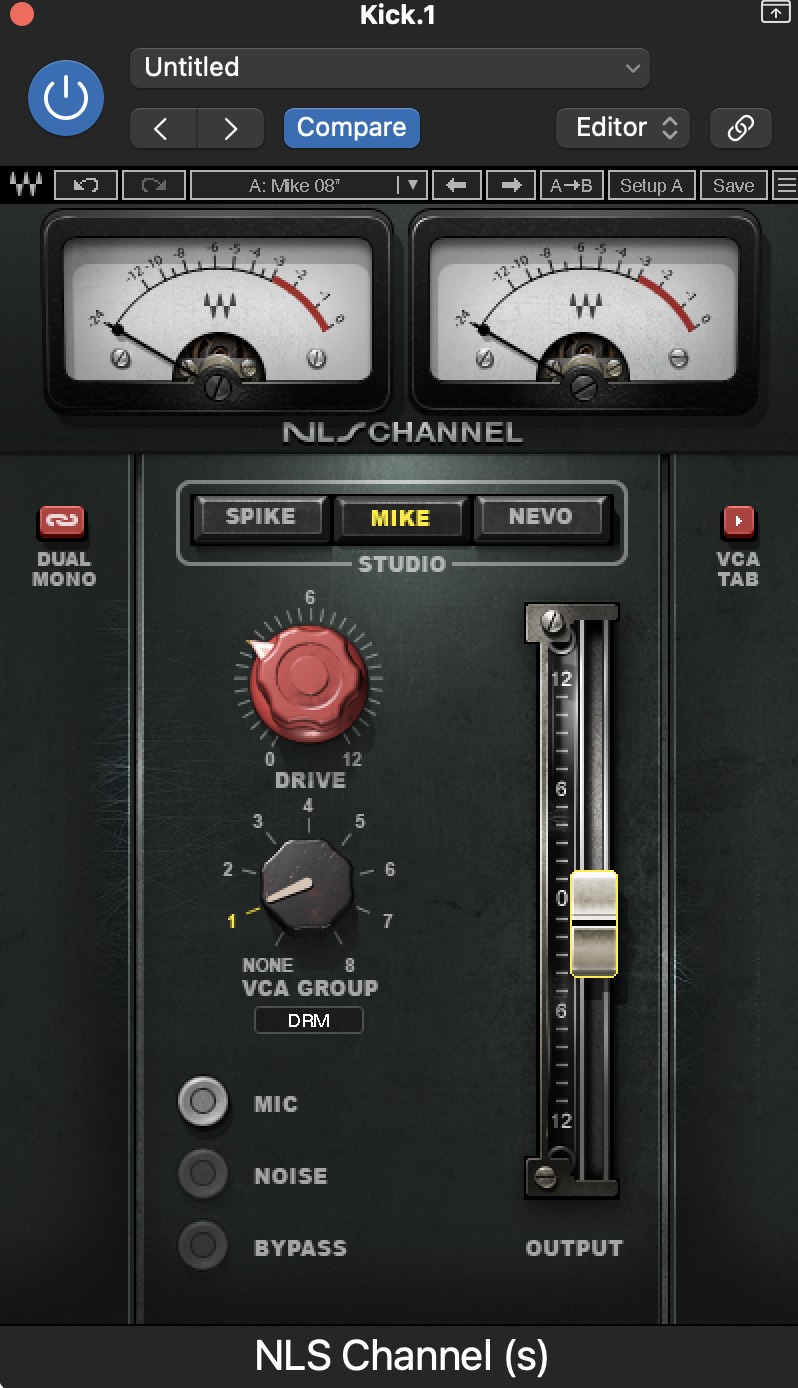
After being recorded to tape, the sound signal would then head back into the mixing console for mixing, so we'll need more channel strip saturation.
Step 2: Bounce In Place Your Tracks
At this point, you've probably got so many plugins on your tracks that you might be running into system overload problems.
This is why we are now going to bounce your tracks in place to "bake in" these saturation effects.
Once you have all of these tracks bounced in place, you are not ready for the final step of analog goodness.
Step 3: Add Final 2 Stages Of Saturation
After heading back into the mixing console, there are two more layers of saturation that would be applied (not counting all of the saturation that might be added from compressors, EQs, and other effects).
1. More Channel Strip Saturation
First you have the summing channel (or master buss) on the console, where all the tracks are combined into a single stereo track.
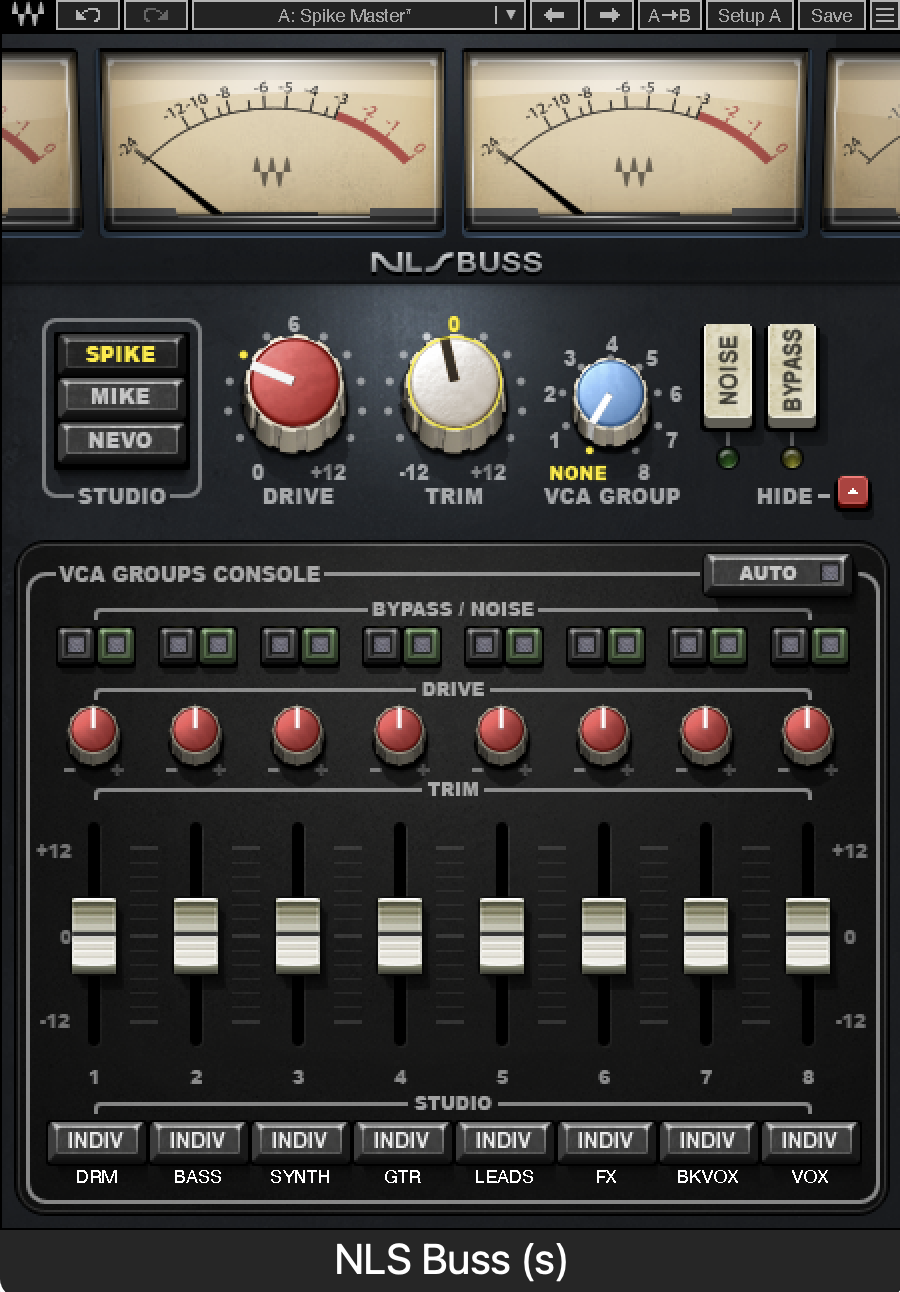
A great plugin for this is the NLS Buss by waves, which emulates the summing channel of three different vintage consoles.
2. Master Tape Saturation
Finally, you'll want to add some master tape saturation, as this emulates the process of making the final "cut" to tape when a mastered track would be finalized and recorded to tape for distribution.
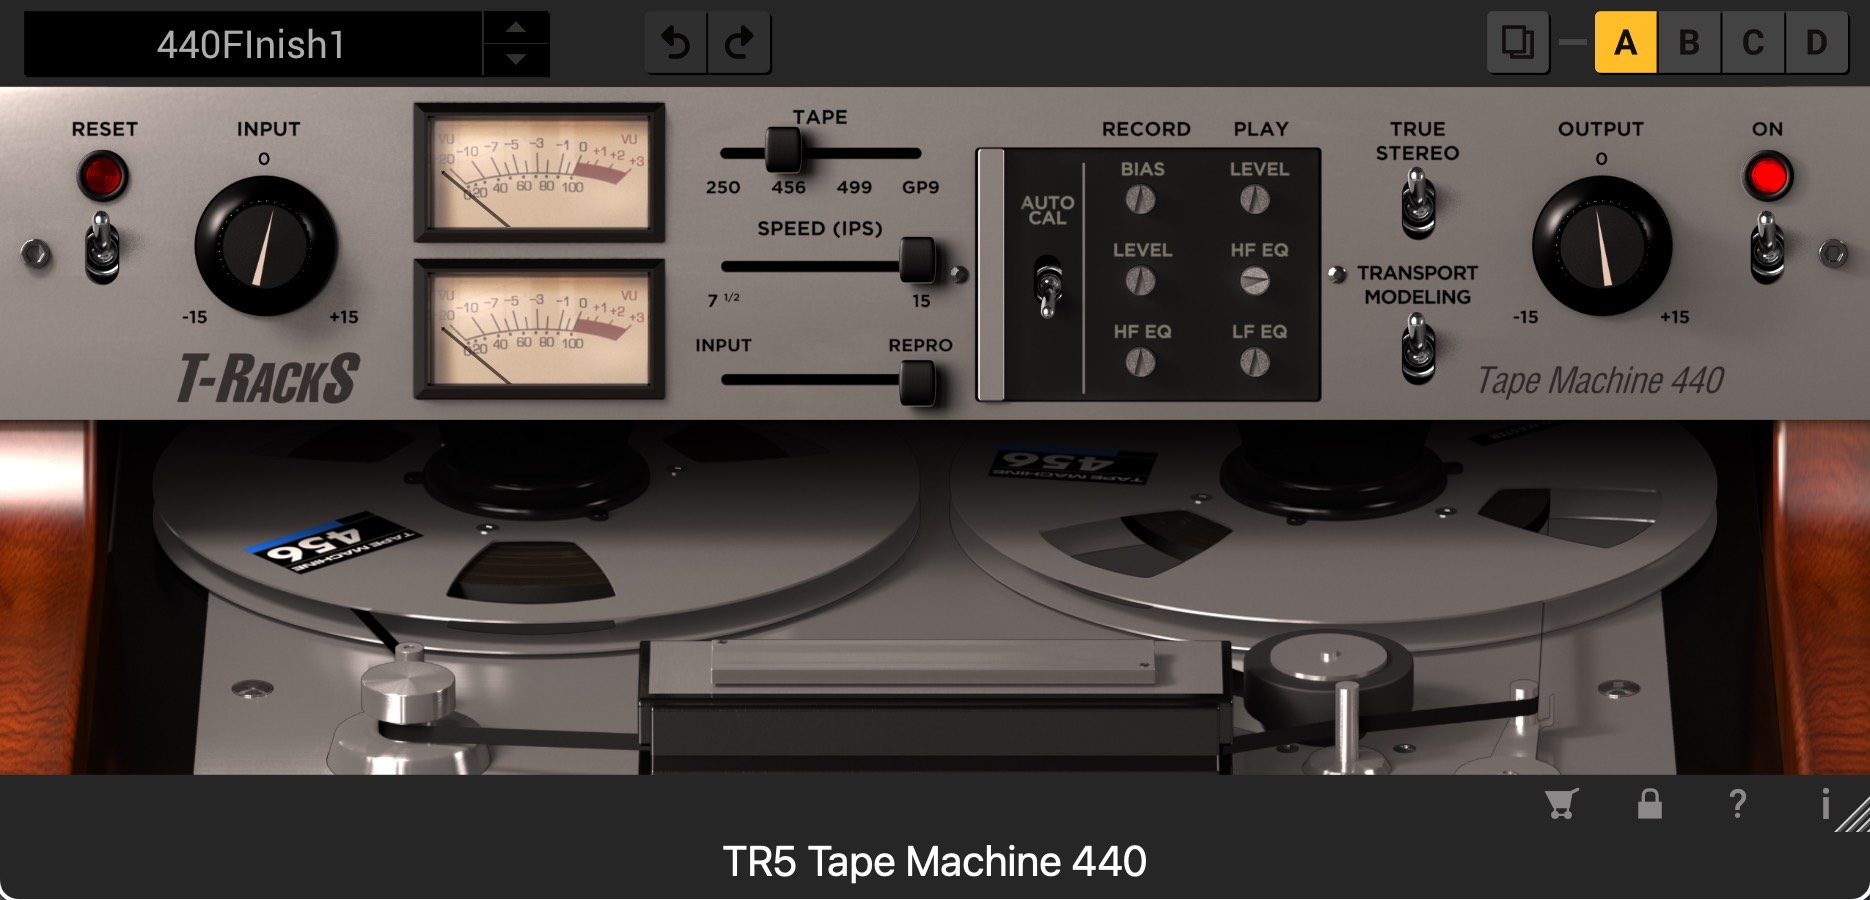
IK Multimedia has a great plugin for this called the Tape Machine 440 that you can get here.
Keep in mind, you're adding a lot of different saturation effects here, so make sure you keep things subtle with each one, as all of these effects add up quickly.
Conclusion
If you follow these steps, you'll hear a drastic different in your raw tracks. They'll sound warmer, richer, and just better overall.
This will make your mixing job much easier because you'll be working from a better place with your raw tracks.
That said, do you have to follow this process to create professional-sounding music? Not at all.
But if you're going after a more vintage or warm sound, then this is a great process to follow.
Crank Out Pro Tracks EVERY Time
If you really want to pump out pro tracks every single time you sit down to mix or master, then you need a proven step-by-step process that you can easily follow.
After 11+ years of experience, studying the experts, and spending tens of thousands of dollars on courses, college, and coaching...
I've been able to find the perfect mixing system to help you finish more radio-worthy songs, faster, and I've condensed this all down into a simple, free checklist that you can download here.

