If you're frustrated with inconsistent vocals that just don't sound as good as what you hear on other records...
Then it can be helpful to craft for yourself a set vocal plugin chain that you can come back to again and again for consistent pro-sounding vocals in just a matter of minutes.
So what is a great vocal chain?
A great plugin chain order for vocals that you can follow is: saturation, subtractive EQ, DeEsser, Serial Compression, Additive EQ, Send to effects (reverb and/or delay).
Does vocal chain order matter?
The order of your plugins in your effects chain DOES matter, as plugin processing takes sequentially, starting with the first plugin in the chain before going on to the second, third, and so on. Therefore, your plugins will impact the sound differently depending on their position in the chain.
For example, if you put a reverb plugin first in your chain, then add in compression and EQ, you are going to be compressing and EQing the reverb along with the raw track, which is not what you want.
So you definitely want to give some thought to the order in which you are placing your plugins.
In general, you want to place "signal controllers" before "signal effects".
This means you'll use plugins like EQ and compression (which shape and control the sound source) first, before adding effects (like reverb and delay) which effect the sound.
What is a good vocal chain?
With this in mind, what is a good vocal plugin chain to use on your tracks?
Keep in mind, there is no one size fits all approach when it comes to audio and mixing.
Every song is different, and when it comes to vocals, every performance is different.
So you'll want to listen critically to determine what the song and the track needs.
But if you want to a good starting point to work from, here is a good 6 step process to follow...
1. Saturation
Saturation is the beautiful combination of subtle distortion and gentle compression.
Adding some saturation to your vocals at the beginning of your plugin chain can be a great idea as it will add pleasant harmonics, thickness, and warmth while also helping to control transients.
If you want to read more about putting saturation on vocals, then check out my article here.
This guide will walk you through why saturation can help your vocals, and how to apply it.
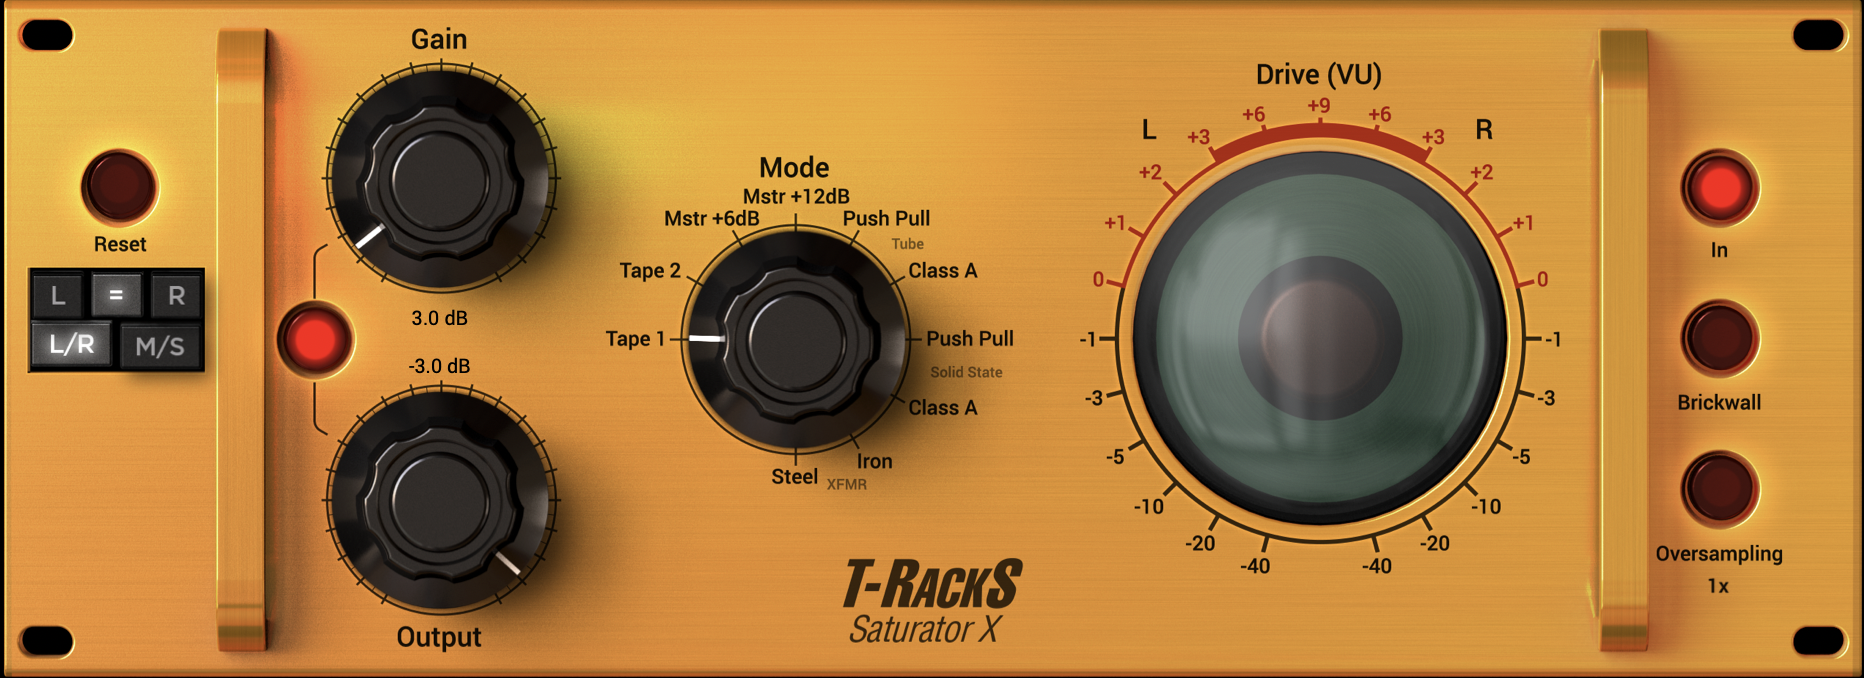
A great plugin you can use for saturating your vocals is IK Multimedia's Saturator X plugin.
This plugin is great because it actually contains 10 types of analog saturation "flavors" built into one plugin.
2. Subtractive EQ
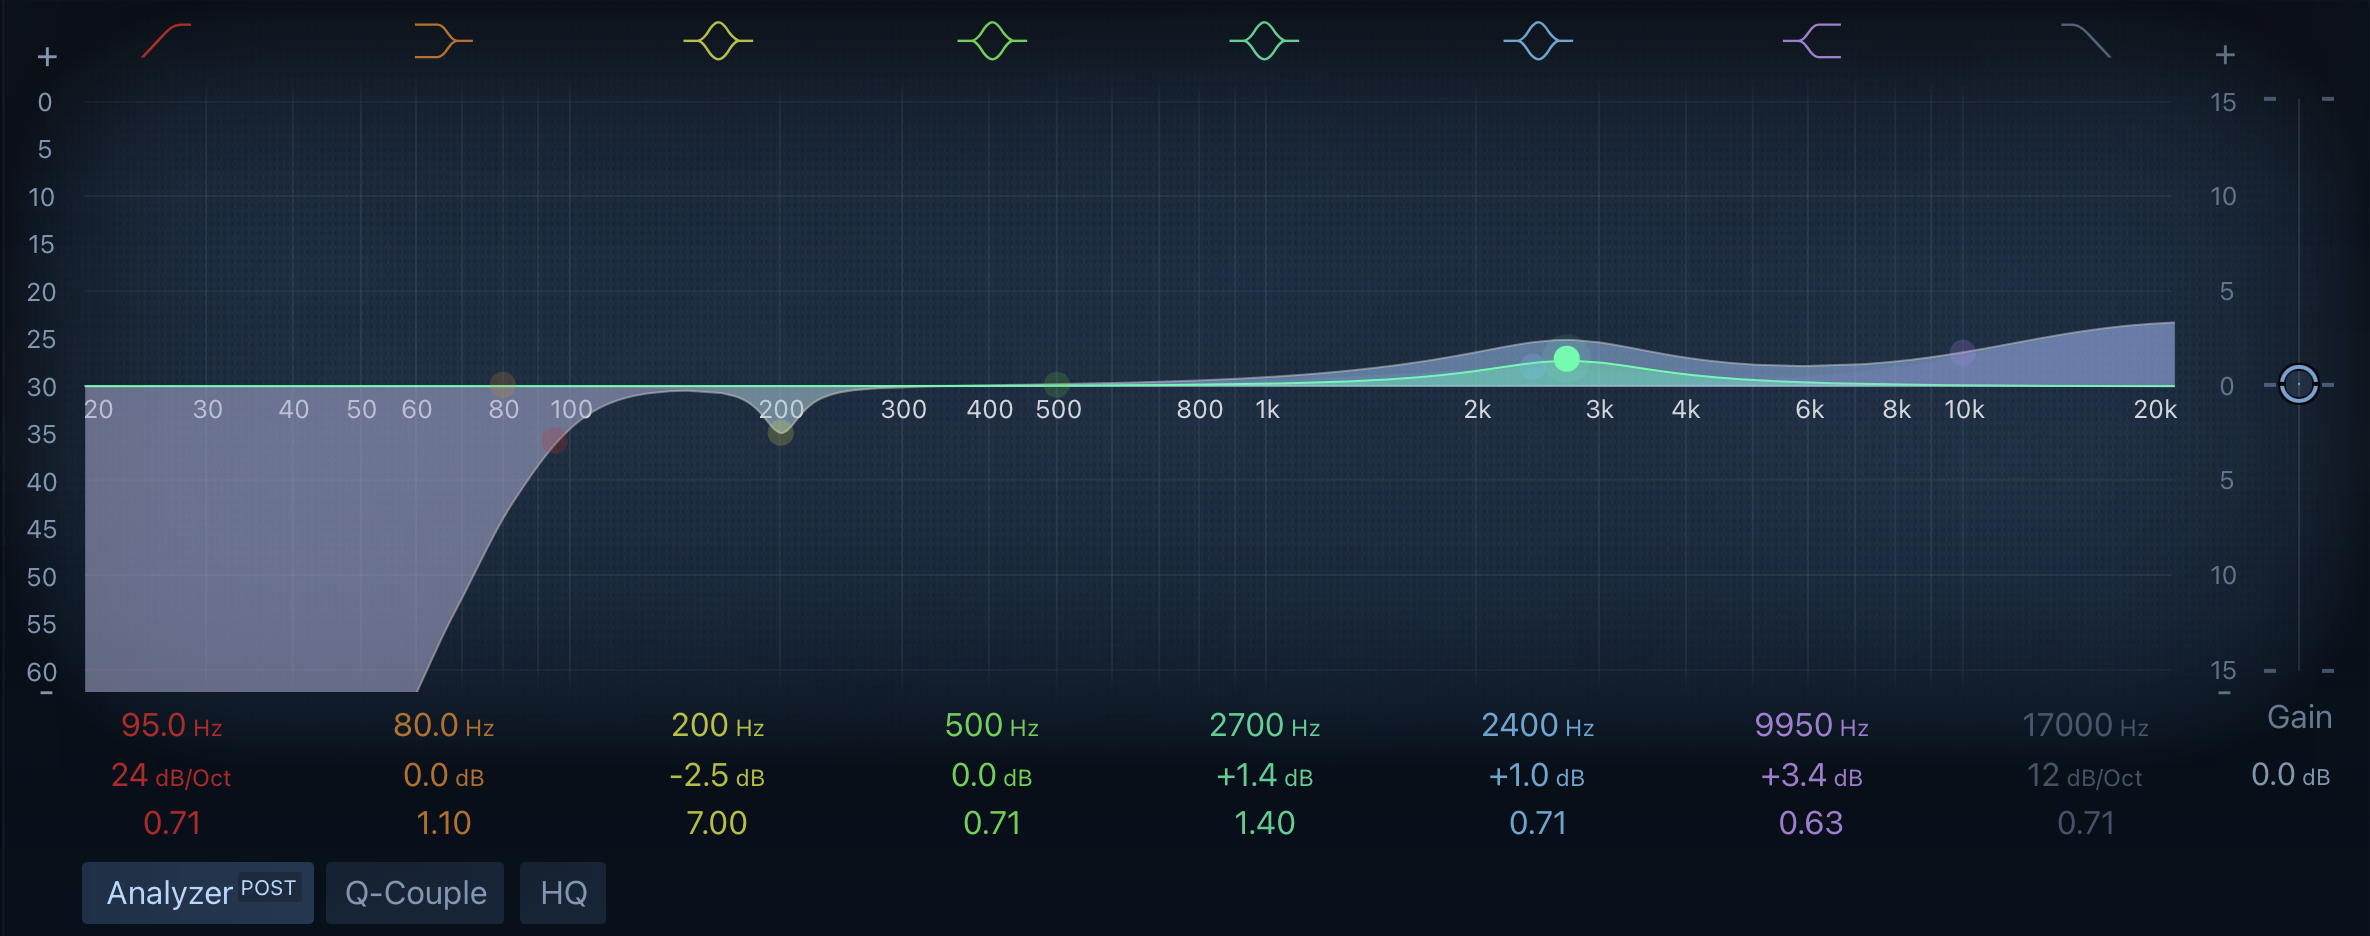
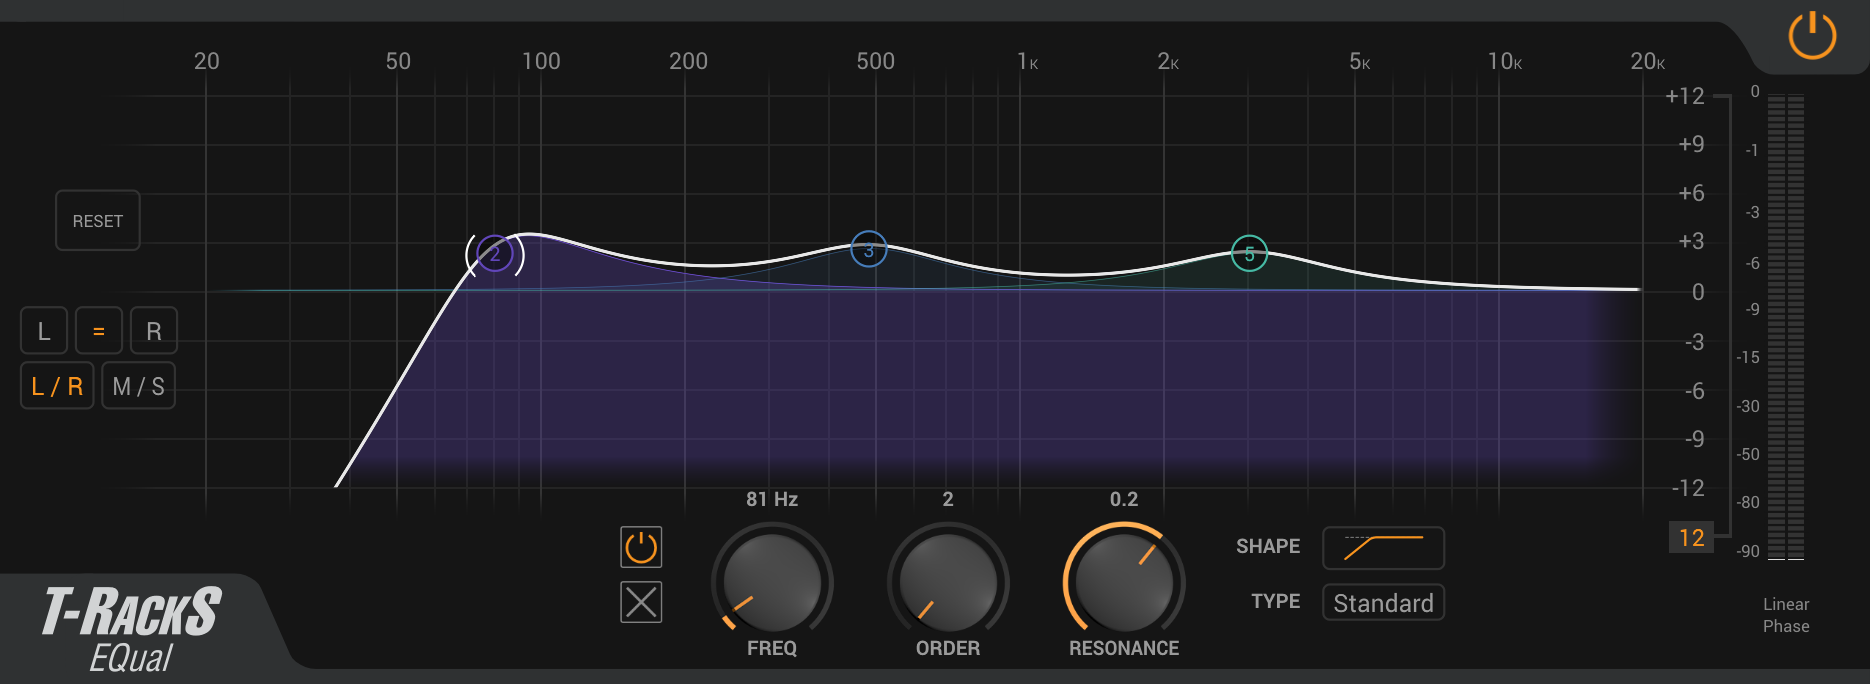
Subtractive EQ is a great next step because it allows you to remove all of those unwanted frequencies that can mask or clutter up your vocals and your mix as a whole.
The goal here is to remove any frequency ranges in your vocal that you don't want.
This could be some mud around 200hz, or maybe some harshness in the 1k-2k range, or maybe even some harshness in the higher frequencies.
By using EQ here, before compression, we're able ensure that the compressor will only be compressing and bringing forward those parts of our vocals that we actually WANT.

Create Better Songs, Faster
Click below to download my free song-finishing checklist to help you create radio-ready songs without taking months to complete them.
3. DeEsser
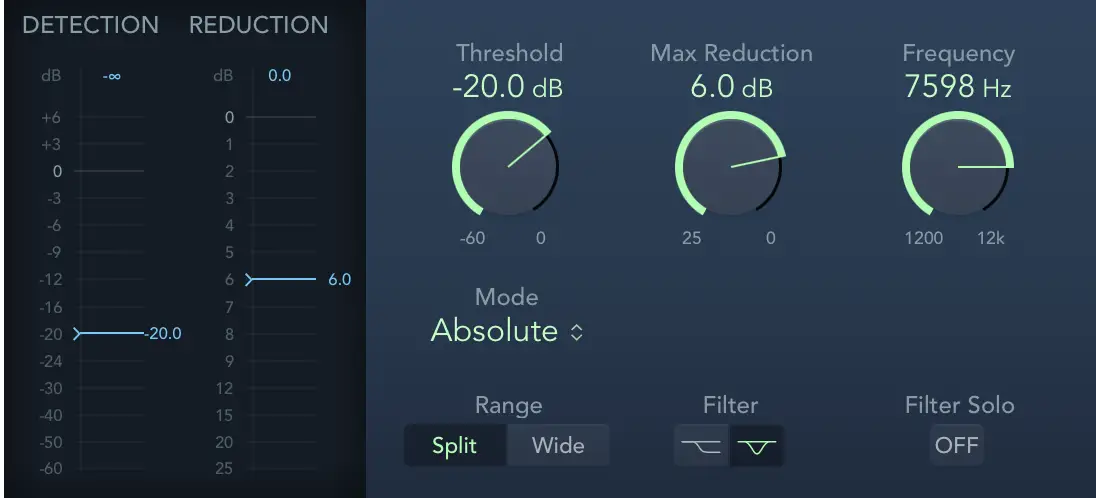
Next, you may want to add a DeEsser if you're still getting some harsh sibilance after EQing.
Your DeEsser can be much more precise than your EQ, and only take out those harsh frequencies when they pop up so you aren't making your entire vocal performance dull and dark.
4. Compression (Serial)
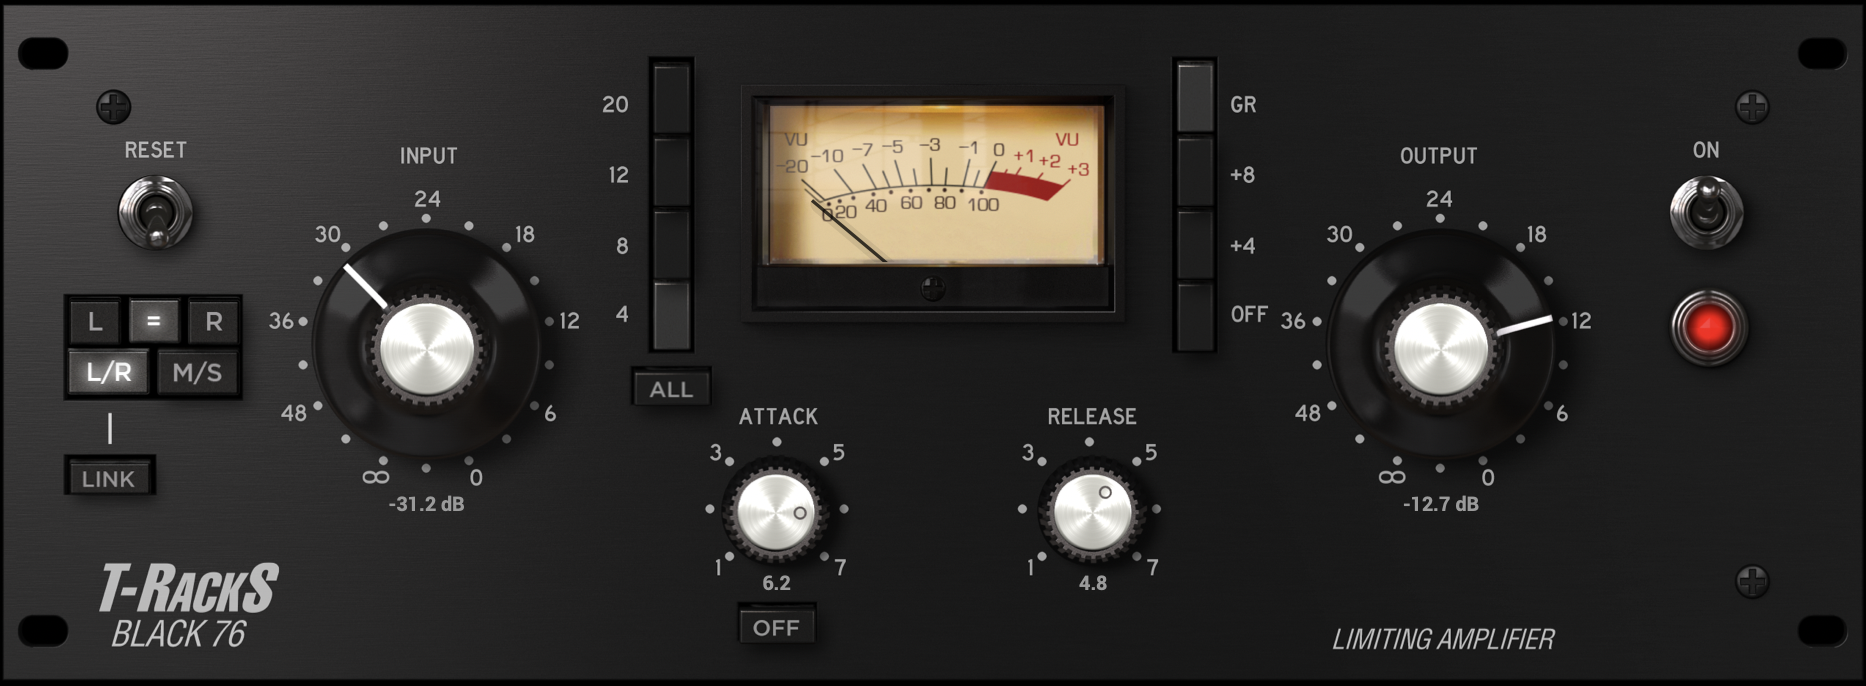
Step 4 is to add compression, and more specifically, you'll probably want to add serial compression.
Serial Compresson is the strategy of using multiple compressors, one after the other, to create an even, punchy, and upfront sound, so you aren't losing sections of your vocals in the mix.
To implement this strategy, you'll want your first compressor to only kick in and compress the "peaks" or the very loudest sections of your performance, rather than compressing the whole performance.
This first compressor will make sure your performance is more even in volume and less dynamic as a whole.
Next, you can use your second compressor to compress the entire performance to smooth everything out further, and bring up those quiet parts that are getting lost for an upfront vocal sound.
5. Additive EQ
At this point, you've added life to your vocals with saturation, removed the parts that sound bad, and smoothed out your vocals and brought them forward with compression.
Now we want to enhance those parts that sound good with additive EQ.
Listen to your vocal as it plays with the track, and if you find that it lacks body, then try boosting some of the low mids.
If you find the vocal can't quite cut through the mix, try boosting some of the high end.
Here, we're looking to enhance the parts that sound good.
6. Delay and/or reverb

Finally, we'll want to add some space to our vocals with delay, reverb, or both.
It's generally best to not use an insert for this, and instead, place the effect on an aux track which you can then send a portion of your vocal to.
Not only will this help you save on time and CPU processing power, but it also allows give you much more control over your effects.
If none of this is making sense to you, that's totally fine, as it took me a long time to understand the differences between and purposes of inserts vs. buses vs. sends. vs. aux tracks.
If you want help understanding all of these, then just check out my video below:
By adding some reverb or delay to your vocals, you will help them to fit in the mix, and give a sense of space to the performance.
You can go with something subtle so that your vocal still feels in your face with a slapback delay, or a short room reverb...
Or you can make your vocal feel big and airy with a large hall or plate reverb. It's up to you and what sounds best for your track.
Finish More Songs, Faster!
The fastest way to grow as a producer (and to grow a fanbase) is to finish more music faster.
The more songs you finish, the more you'll improve, and the more songs you'll have at your disposal to grow a fanbase.
If you want proven process for cracking out professional, radio-ready songs quickly…

Create Better Songs, Faster
Click below to download my free song-finishing checklist to help you create radio-ready songs without taking months to complete them.
This checklist will walk you through a proven step-by-step mixing and mastering process so that you don't ever have to guess or wonder what to do next.
You'll know exactly what to do, and when, so you can quickly mix, master, and finish more tracks.
I hope you found this post valuable on how to get vocals to sit upfront in the mix helpful.
If so, feel free to share, and let me know in the comments below…

