Do you have a cheap microphone and you're wondering if it's possible to get professional-sounding recordings from it?
Or, hey, maybe you just want it sound better than what it's currently been able to produce.
Well look no further because not only will I share with you why you don't need a super expensive microphone to create pro-level recordings...
But I'll also walk you through 10 tips for making your cheap microphone sound better and more professional.
Those tips are:
- Acoustically treat your room
- Turn off anything noisy
- Have the microphone back pointed to any sound sources
- Keep the microphone off your desk
- Sing at correct distance & side of mic
- Don't move around much while recording
- Set the gain level correctly
- DeNoise
- EQ
- Compression
I break down each of these tips in more detail later on in this article, but first...
What exactly is the difference between cheap mics and pro mics? Do you really need to invest in an expensive microphone to get pro-level recordings?
Create Pro-Mixes, Faster
Click below to download my free song-finishing checklist to help you create radio-ready songs without taking months to complete them.
The Difference Between Cheap & Expensive Mics
In general, your expensive microphones are going to built out of better components. Cheap microphones will be built out of lower-quality components, which means they will often distort the timbre of the sounds you’re trying to record in any number of ways.
Some cheap microphones may sound a little muddy, others shrill, some boxy, still others just not quite right.
In short, a cheap mic will result in a recording that may differ from the original sound you are recording in a variety of ways.
That said...
Budget-level recording equipment today, such as microphones, still enable you to produce great quality music, if you know how to use them.
Do You Need An Expensive Microphone To Get Pro-Sounding Vocals?
Since cheap microphones can distort the sound you are recording, does this mean that you can't get pro-level vocals unless you're willing to shell out thousands of dollars?
Absolutely not.
The reality is even cheap microphones today sound pretty darn good, and the improvement in quality you get from a professional microphone is relatively small.
Sure, a pro-mic would be nice to have, but not having one does not prohibit you from creating pro-sounding recordings.
What REALLY makes a differences is HOW you are using the microphone you have.
Even a $3,000+ microphone isn't going to sound good if you don't use it the right way.
If you don't believe me, check out this video by one of my favorite YouTubers, Andrew Huang. In it, he compares a $22 microphone to a $3,600 microphone, and while there definitely is a difference, it's probably not as big as you might expect:
Is the cheap microphone that good? Or is Andrew doing something that makes is sound better? A little of both.
You absolutely can get great-sounding vocals from a cheap mic, but there are also some other things you want to do to make that cheap mic sound great.
With the rest of this article, I'll share with you 10 tips for making a cheap microphone sound good and professional.

Create Better Songs, Faster
Click below to download my free song-finishing checklist to help you create radio-ready songs without taking months to complete them.
1. Acoustically Treat Your Room
In Andrew's video, all the microphones he uses sound good because he is recording in an acoustically treated room which heavily cuts down on audio "reflections" or echo in the room.
Reflections or "reverberation" coming back into the microphone is a trigger to our ears that screams "cheap and amateur".
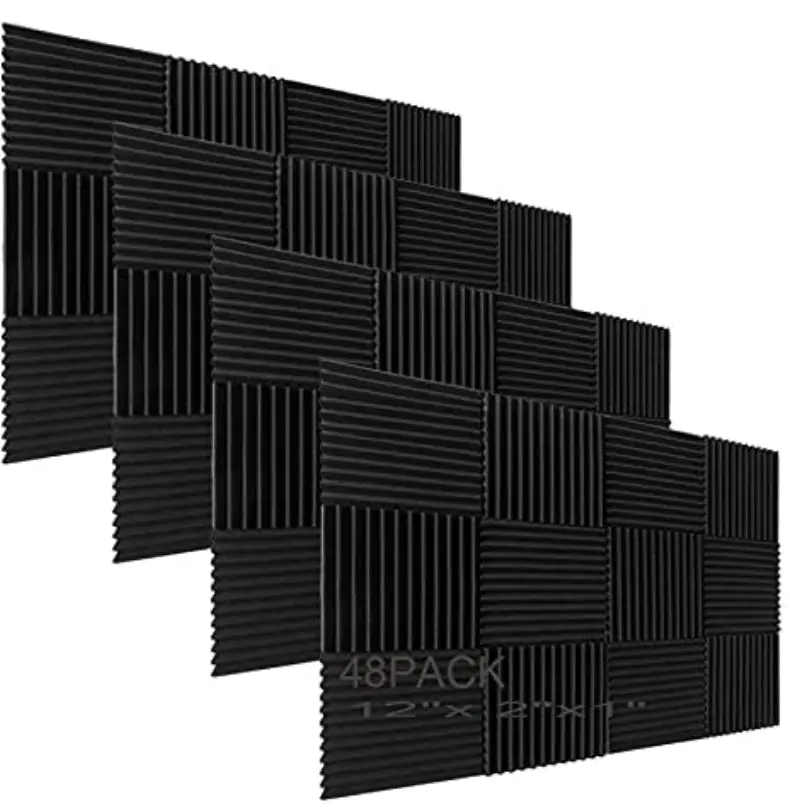
So be sure to cut down on any reverb or echo in the room you're recording by acoustically treating it with acoustic foam like this.
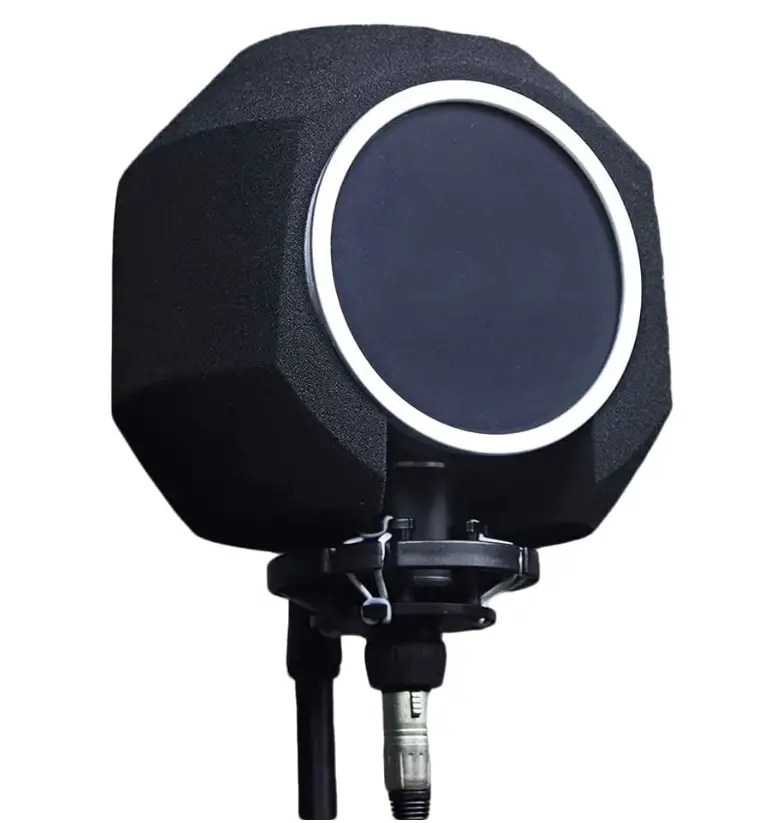
Or, for a short cut, you can actually get a microphone isolation filter that encompasses the mic and takes the room out of your recording.
What if you can't afford to acoustically treat your room?
If you can't afford to buy acoustic foam and treatment right now, that's totally fine.
You can "deaden" your room and cut down on reflections just by throwing anything in your room that will absorb sound. Anything soft should do the trick.
So if you have any blankets, couch cushions, pillows, mattresses, etc., that you can put in your room while you're recording, this will ensure you get a clean recording.
It might look pretty ugly, but it gets the job done.

2. Turn Off Anything Noisy
This might seem obvious, but it's still very important. Turn off anything in your room that makes sound.
For example, I have a ceiling fan in my room that I make sure to turn off when recording.
Anything that produces sound, no matter how quiet, is going to get picked up by your microphone if you are using a condenser mic.
Even if you're using a dynamic microphone, it's a good idea to turn off anything you don't want to be in your recording.
You may need to take a second to just sit and listen to what is making sound in your room as you may have become so used to the sounds in your space that you don't notice them.
I worked on a track for a client once that they recorded in shed in their backyard because they thought it was the most quiet spot they had.
However, they recorded at night, and you can clearly hear crickets in the background of their recording.
3. Have The Microphone Back Pointed To Any Sound Sources
Even when doing your best to quiet your studio, you may find it's impossible to make everything completely silent.
Perhaps your computer's fan is just slightly audible, or maybe you have a window in your room where noises from outside transmit through.
That's okay.
In an ideal world, you would sound proof your room from outside noises, but that is expensive, and a massive undertaking.
One thing you can do right now to help cut down on these sounds is to just point your microphone so that the back of it is directed at the sound source.
Most likely, you are using a cardioid microphone, which means that only one side of the microphone picks up sound (and it does so in a heart-shaped pattern, hence the name).
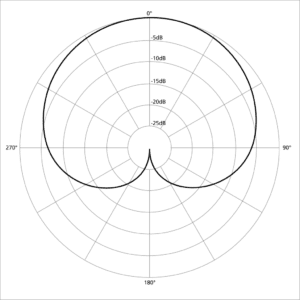
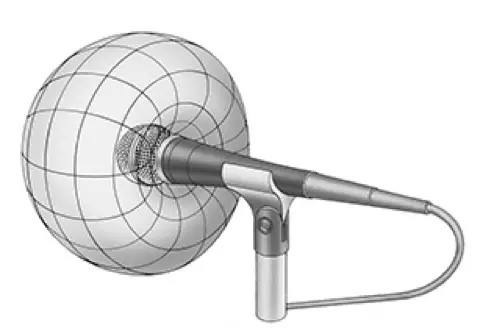
With a cardioid polar pattern, the rear of the microphone will actually reject sound sources, and will not pick them up. So pointing the back of your mic at any sounds in your room can help reduce how much is picked up.
4. Keep The Microphone Off Your Desk
Having your microphone on your desk is also a bad idea as any touch of the desk will send vibrations up into the microphone which will be recorded as dull bumping sound.
Not what you want.
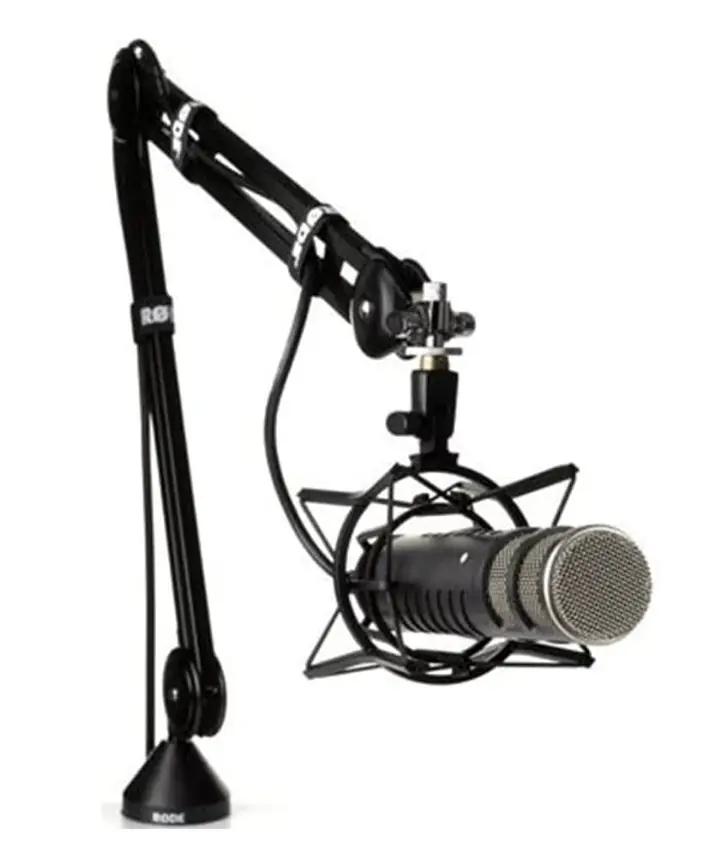
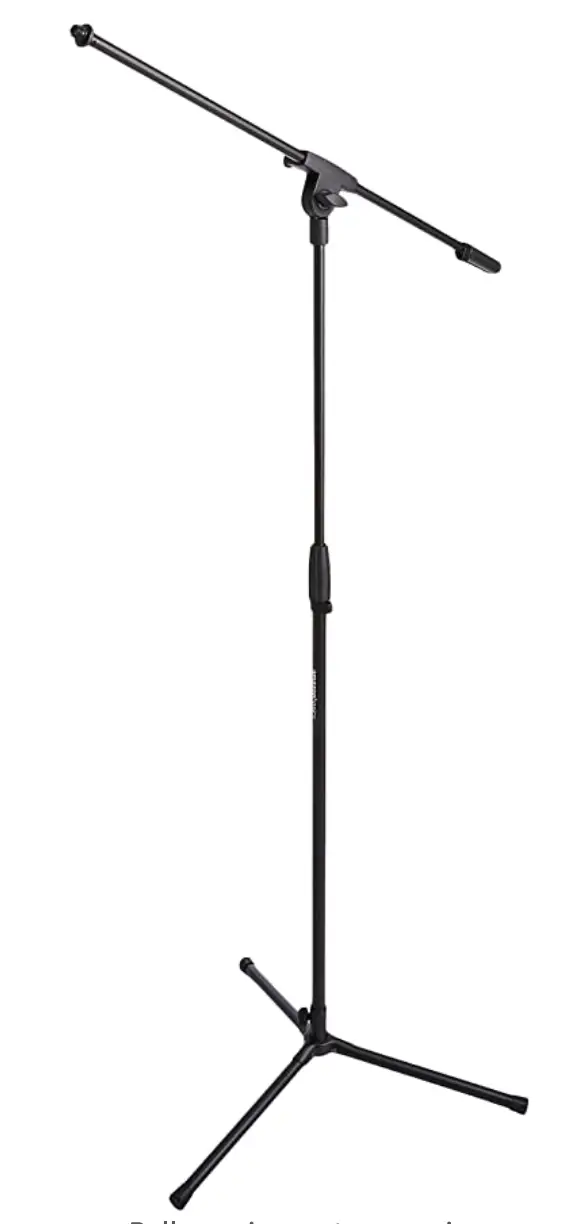
So be sure to use a mic stand when recording through your microphone, or something like a boom arm, which, while it does attach to your desk, it comes equipped with a microphone shock mount to absorb any vibrations.
I use the Rode PSA1.
But a simple mic stand works great as well.
5. Sing At The Correct Distance & Side Of The Microphone
Singing at the correct distance and location on the microphone is also very important for a pro-sounding vocal recording.
If you watched Andrew Huang's video above, then you'll notice that he sang a different positions for each microphone.
This because the type of microphone you're using dictates how it picks up sound, and how you should sing into it.
If you are using a cardioid condenser microphone (which I recommend for studio recording), then you're actually going to want to have a good amount of distance between you and the microphone.
Somewhere in the 6 to 12 inches range, depending on how loud you are singing and the sound you're going for.
You can check out my video below for a demonstration of this:
If you are using a dynamic microphone, then you'll want to get as close to the microphone as possible.
I used to run sound for a church, and we used dynamic microphones for the singers and speakers (which is what you want in a live environment) and it always drove me crazy when they would wave the microphones around when talking like they were magic wands.
Everyone would look at me for why we couldn't hear what they were saying, but all I could do was throw up my hands because I couldn't make the microphones louder unless they were actually in front of the mouths of the speakers.

Create Better Songs, Faster
Click below to download my free song-finishing checklist to help you create radio-ready songs without taking months to complete them.
So sing at the right distance, not too close as you can get clipping, but not too far away so that you pick up too much room noise and get a cheap-sounding recording.
Speaking of clipping, you can check out my article here on how to prevent vocal clipping if you are finding this a struggle.
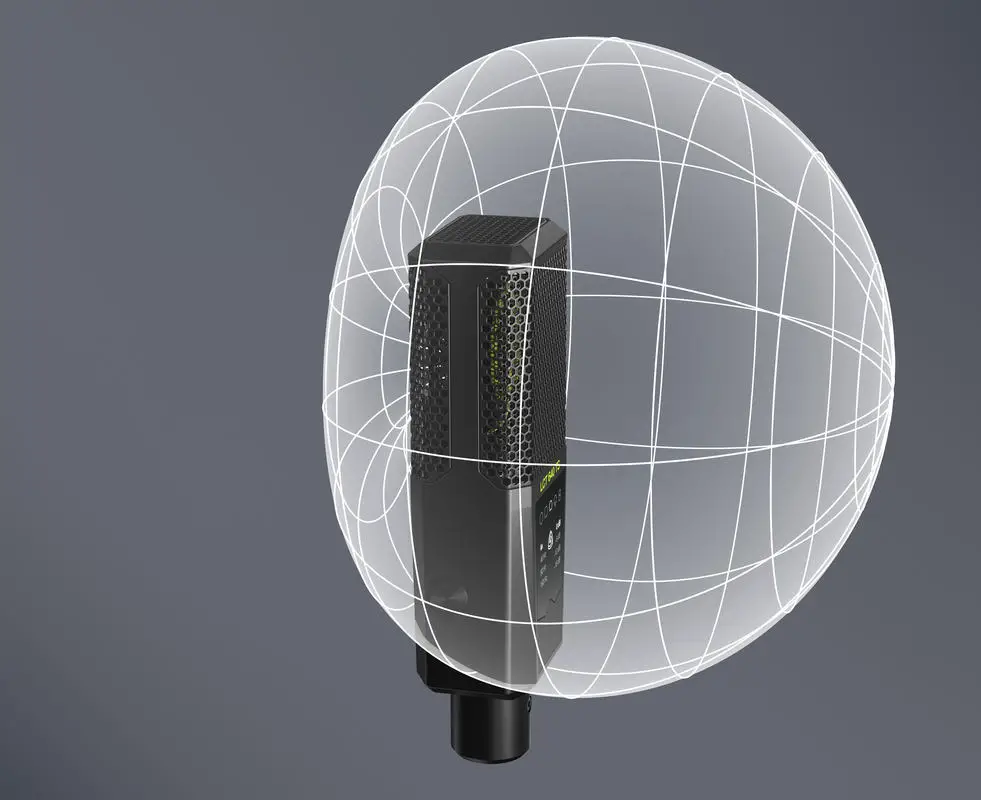
Besides distance, you always want to record into the correct side of the microphone. Know the polar pattern of your mic. Don't sing behind the microphone as that will produce a very dull vocal.
Also don't try singing into the top of it (as I've seen a lot of people do), unless your microphone's polar pattern is actually on top of it.
But for most condenser microphones, they actually pick up sound from one of the sides, not the very top.
6. Don't Move Around Much While Recording
It can be easy to get into the groove of the song and start bobbing your head while singing, or even dancing, but you must resist!
You, or your vocalist, will want to stand as relatively still as possible while recording so that the recording is as consistent in volume as possible.
If you move around a lot, you're going to get a very amateurish vocal.
That said, you also don't want to be a stiff robot when recording either, as that can interfere with your vocal performance. You want to feel the groove of the song when recording, but just keep it under control.
Additionally, if you are singing a soft part followed by a very loud part, you may want to lean in slightly when singing the soft part, and lean back a bit when recording the loud part to keep the performance more balanced.
7. Set The Gain Level Correctly
Setting your gain levels correctly when recording is also key for a pro-quality recording. Too loud, and you'll get clipping, but too quiet, and your audio can actually lose audio resolution.
Record vocals at an average of -18dB for 24-bit resolution. The loudest parts of the performance should peak at -10dB and be lowest at -24dB. This is ensures you capture the highest quality audio possible.
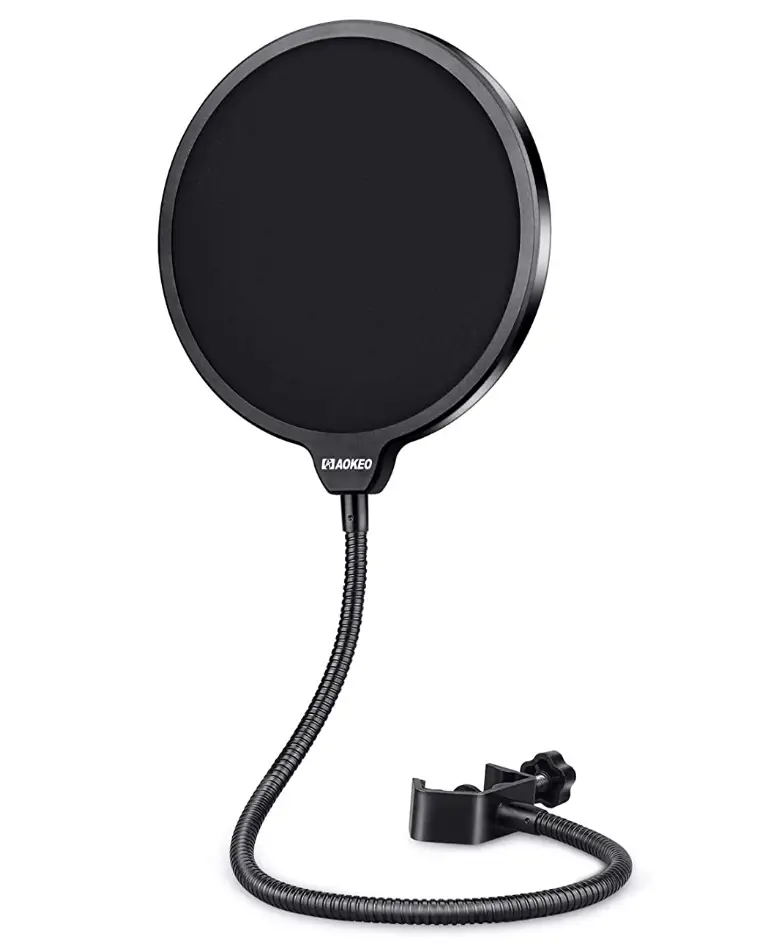
8. Use A Pop Filter
Another element in your recordings that can make your vocals sound amateur are plosives.
Plosives are those annoying "P" and "B" sounds that can happen when the mouth releases excess air into the mic.
To reduce these, you can place a pop-filter in front of your mic.
9. DeNoise The Vocal
Even with all of these measures, it's still possible you've picked up some unwanted noise.
Plus, depending on the mic you're using, you also might have the microphone itself introducing noise.
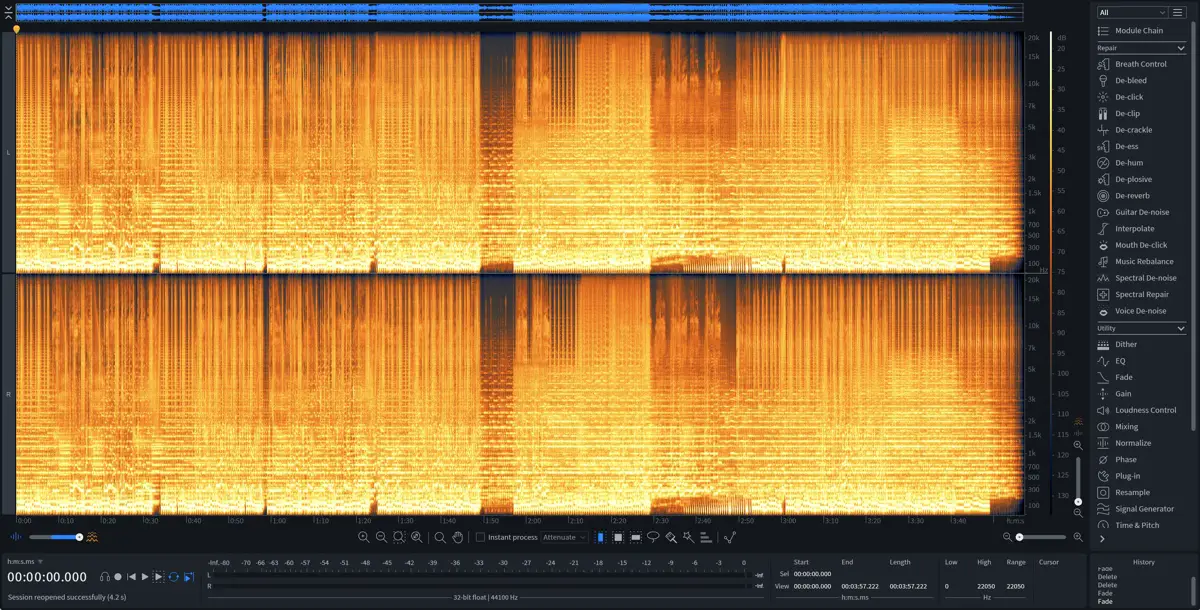
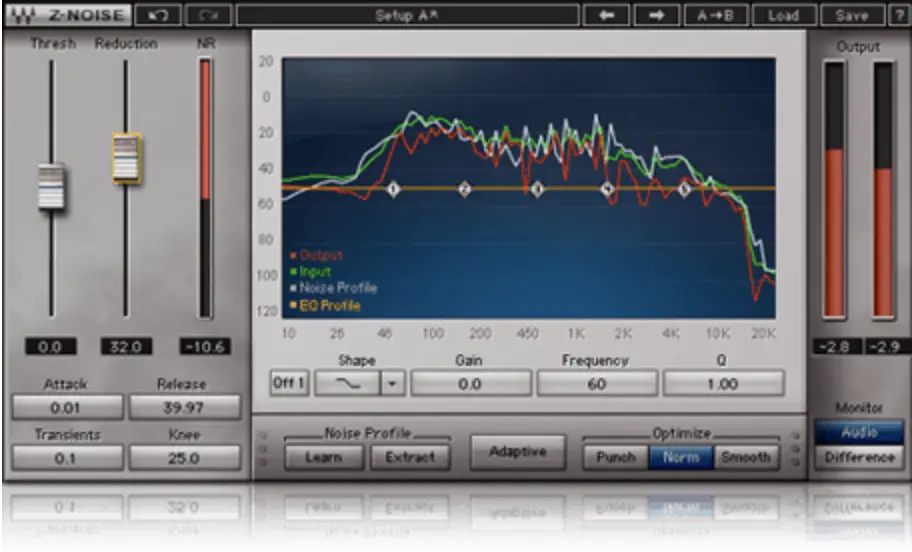
A great way to clean up your vocals and get a pristine performance is to use a DeNoising plugin.
The absolutely best DeNoising plugin is iZotope's RX, which allows you to easily go in and surgically remove noise, clicks, pops, and more.
If RX is a bit too pricy for you, then you can also pick up Wave's Z-Noise which is also great at DeNoising, but just has a lot fewer bells and whistles.
10. Add EQ & Compression
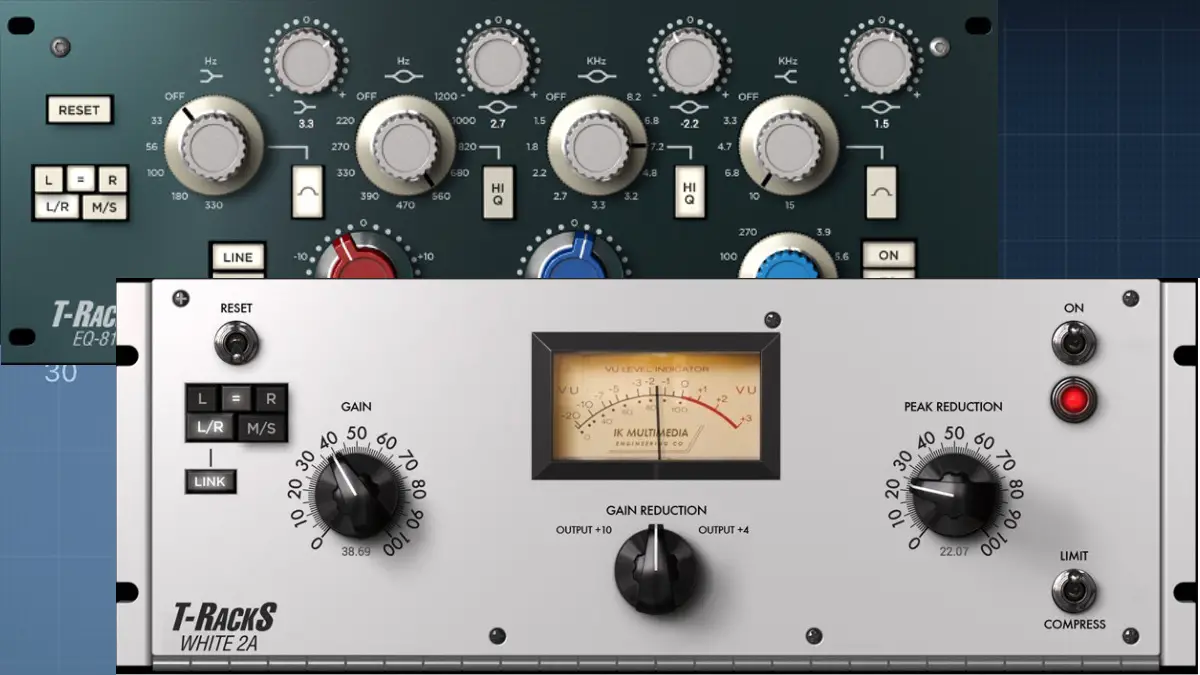
Finally, you're also going to want to add some EQ and compression to your vocals.
With EQ, you'll want to carve out any problem frequencies, and depending on the mic you're using, you may need to boost some of the body or low mid-range frequencies, and you may also be missing some of the top end sheen.
Boost in these ranges should help compensate for what is missing.
Finally, you can use compression to balance out the dynamics so that the performance is more uniform, and you don't have sudden spikes in volume whereas other sections get lost in the mix.
You can check out my article here for how to add compression to get pro-sounding upfront vocals.
And you can also check out my article here which breaks down a great vocal chain you can use for processing professional-sounding vocals.
Finish More Radio-Worthy Songs, Faster!
Recording clean vocals is just one piece of the puzzle when it comes to producing pro-quality songs.
If you want a proven step-by-step formula for mixing radio-worthy tracks from start-to-finish...
Create Pro-Mixes, Faster
Click below to download my free song-finishing checklist to help you create radio-ready songs without taking months to complete them.
This checklist will walk you through a proven step-by-step mixing and mastering process so that you don't ever have to guess or wonder what to do next.
You'll know exactly what to do, and when, so you can quickly mix, master, and finish more tracks.
I hope you found this post valuable on how to make a cheap microphone sound professional.
If so, feel free to share, and let me know in the comments below…

