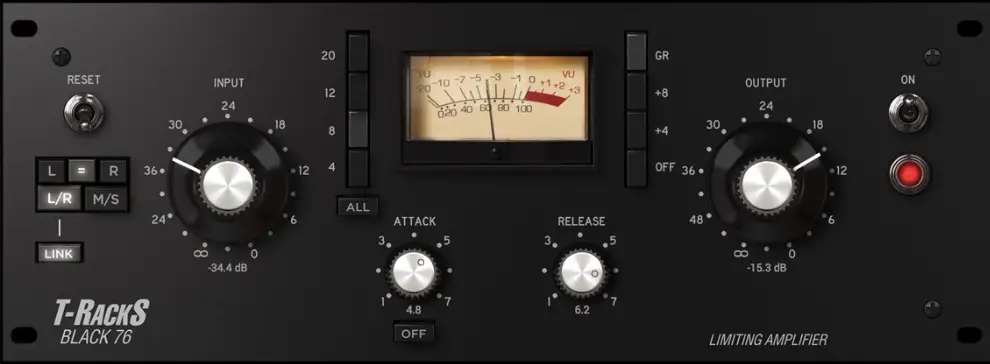
Vocal compression can be tricky, but no more! In this article you'll discover how to easily compress vocals for a professional sound...
Once and for all!

Create Better Songs, Faster
Click below to download my free song-finishing checklist to help you create radio-ready songs without taking months to complete them.
By the way, if you're new to compression, or not 100% confident in how to use it...
Use Vocal Automation First

Vocal automation can be used to tame both the overall level and dynamics of a vocal performance. Turn down any parts of the performance that are obviously too loud, and bring up any parts that are far too quiet.
You can even use a plugin to do this for you, like the Waves Vocal Rider, which is an automatic vocal automation plugin.
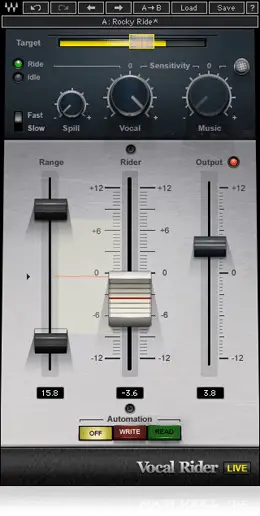
By automating the vocal level so that it sits well in the mix, the compressor will work better and produce a more consistent sounding vocal because it's not having to work too hard on the peaks, and not hard enough on the softer sections.
When To Use A Vocal Compressor
A vocal compressor can be used in a number of ways to change the sound of a vocal. You can use it to:
- Tame the overall dynamics of a vocal performance.
- Make the vocal sound more consistent.
- Change the tonal character of the vocal.
- Add sustain to a vocal performance.
- Reduce the overall level of a vocal performance.
If you're making any kind of modern music, then you're going to want to use compression on your vocals.
Compression Settings
The settings you use on a vocal compressor will depend on what you're trying to achieve.
However, here are some general tips:
- Use a slow attack time so that the initial transient is not squashed.
- Use a fast release time so that the vocal doesn't sound unnatural or forced (try and have the needle reset before the next vocal phrase).
- Start with a moderate threshold so 3-6 dB of compression is taking place.
- Use a moderate ratio of 3:1 or 4:1 so that the vocal is compressed a decent amount.
- Play around with the knee setting to see what sounds best.
Attack Time
The attack time controls how quickly the compressor kicks in after the vocal hits a certain level (i.e. the threshold).
A fast attack time (1-5 ms) will compress the vocal right away, which is great for taming peaks. However, it can also sound unnatural and squashed.
You could try using one compressor to JUST tame the peaks of your vocal, so you can use a fast attack and release time with a very high threshold so that only the loudest parts make it through, and then you squash these quite heavily.
You can then use a second compressor for more gentle smoothing.
A slow attack time (20-50 ms) will allow the initial transient of the vocal to pass through un-compressed, which can sound more natural, and bring up the tail end of the vocal for a thicker sound.
Release Time
The release time controls how quickly the compressor stops compressing after the vocal falls below the threshold.
A fast release time (1-5 ms) will stop compressing the vocal very quickly, which can sound more natural.
A slow release time (20-50 ms) will keep the vocal compressed for longer, which can be good for adding sustain. However, it can also sound forced and unnatural.
Test both settings to see what works best for your situation.
Threshold
The threshold controls how loud the vocal has to be before the compressor starts compressing it.
If you set the threshold too low, the vocal will be compressed all the time, even when it's not supposed to be. This can sound unnatural and squashed.
If you set the threshold too high, the vocal will only be compressed when it hits a very loud peak, which can sound uneven and uncontrolled.
A good rule of thumb is to set the threshold so that the vocal is being compressed about 50-70% of the time.
Ratio
The ratio controls how much the vocal is compressed when it hits the threshold.
A high ratio (4:1, 8:1, 16:1) will compress the vocal quite heavily, which can be good for taming peaks and adding sustain. However, it can also sound unnatural and squashed.
A low ratio (3:1, 2:1, 1.5:1) will compress the vocal less, which can sound more natural.
Knee
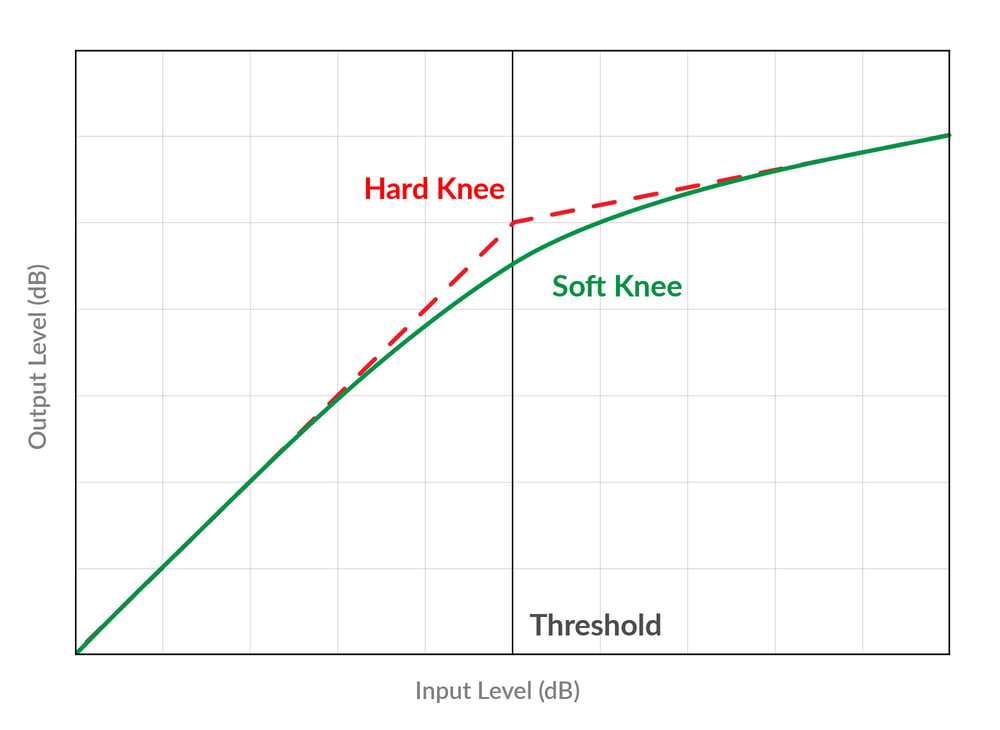
The knee setting controls how hard or soft the compression is applied, as the knee refers to how the compressor transitions between non-compressed and compressed states.
A hard knee (0 dB) will have no transition from non-compressed to compressed, and will create more of a ducking sound as the track is immediate compressed.
A soft knee (6 dB) will compress will provide a more gradual transition, which can sound more natural.
Output
The output level controls how loud the compressed vocal is.
If you turn the output level up, the vocal will be louder overall. This can be good for making the vocal sit better in the mix.
If you turn the output level down, the vocal will be quieter overall. This can be good for reducing the overall level of a vocal performance.
Makeup Gain
The makeup gain control is similar to the output control, but it only affects the compressed part of the vocal.
You'll want to adjust the makeup gain of the compressor to match what the volume level was BEFORE compressing.
When you compress your vocal, you are turning down the volume, and making the vocal quieter by default.
By adjusting the makeup gain, you can ensure that you are maintaining unity gain.
Additionally, this will help bring up the volume of the quieter parts of your vocal performance, helping to smooth out the dynamics of the vocal.
How To Get Tonal Compression
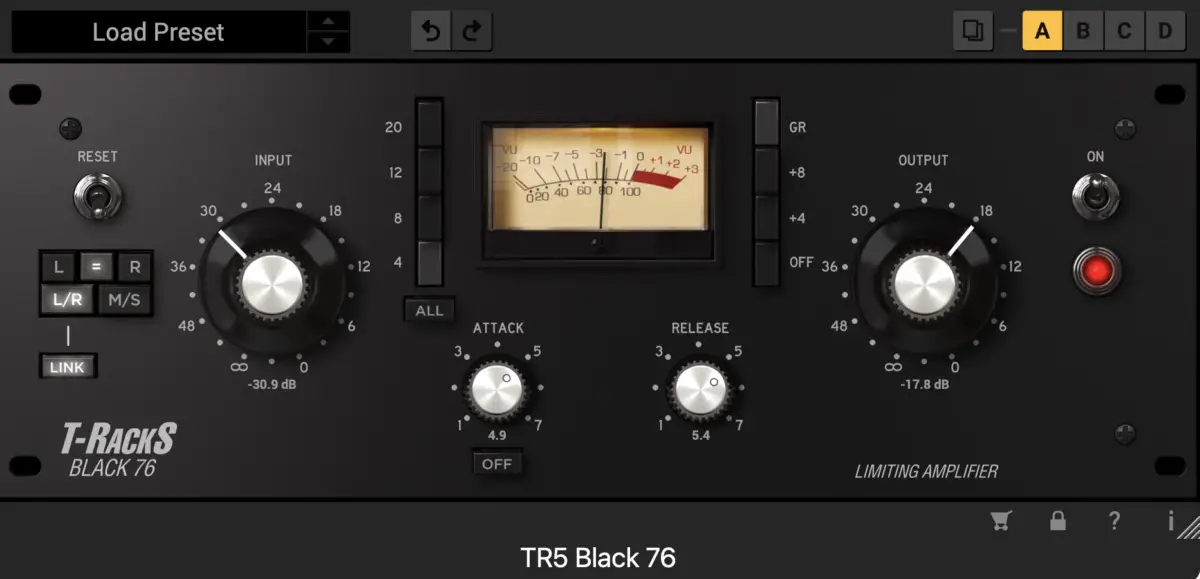
Tonal character is all about how the vocal sounds in relation to the rest of the instruments in the mix, and there are several different ways to impact the tonal character of your vocal with compression.
Ratio & Threshold
If you want the vocal to sound more upfront and present, you can use a higher ratio and lower threshold. This will compress the vocal quite heavily, and give it a more aggressive tone, which can help it sit better in a busy mix.
If you want the vocal to sound more laid-back and relaxed, you can use a lower ratio and higher threshold. This will compress the vocal less, which will make it sit further back in the mix.
Knee
You can also adjust the tonal character of the vocal by changing the knee setting.
A hard knee (0 dB) will compress the vocal quite heavily, which will make it sound more upfront and present. A soft knee (6 dB) will compress the vocal less, which will make it sound more laid-back and relaxed.
Compressor Type
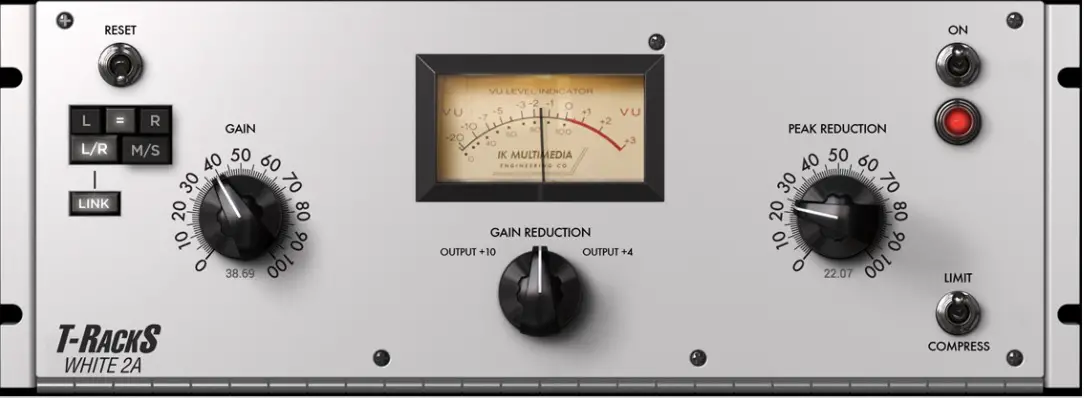
Finally, you can also adjust the tonal character of the vocal by using a compressor plugin that emulates the analog character of a vintage plugin.
A lot of compressor plugins model analog equipment which applied subtle distortion and compression to audio signals by default because of their physical circuitry.
Digital plugins can emulate this character, and by intentionally using an plugin that models this, you can add some warmth and richness to the character of your vocals.
The White 2A by IK Multimedia is a great example of this kind of plugin, and it's great on vocals.
How To Get Dynamic Vocal Compression
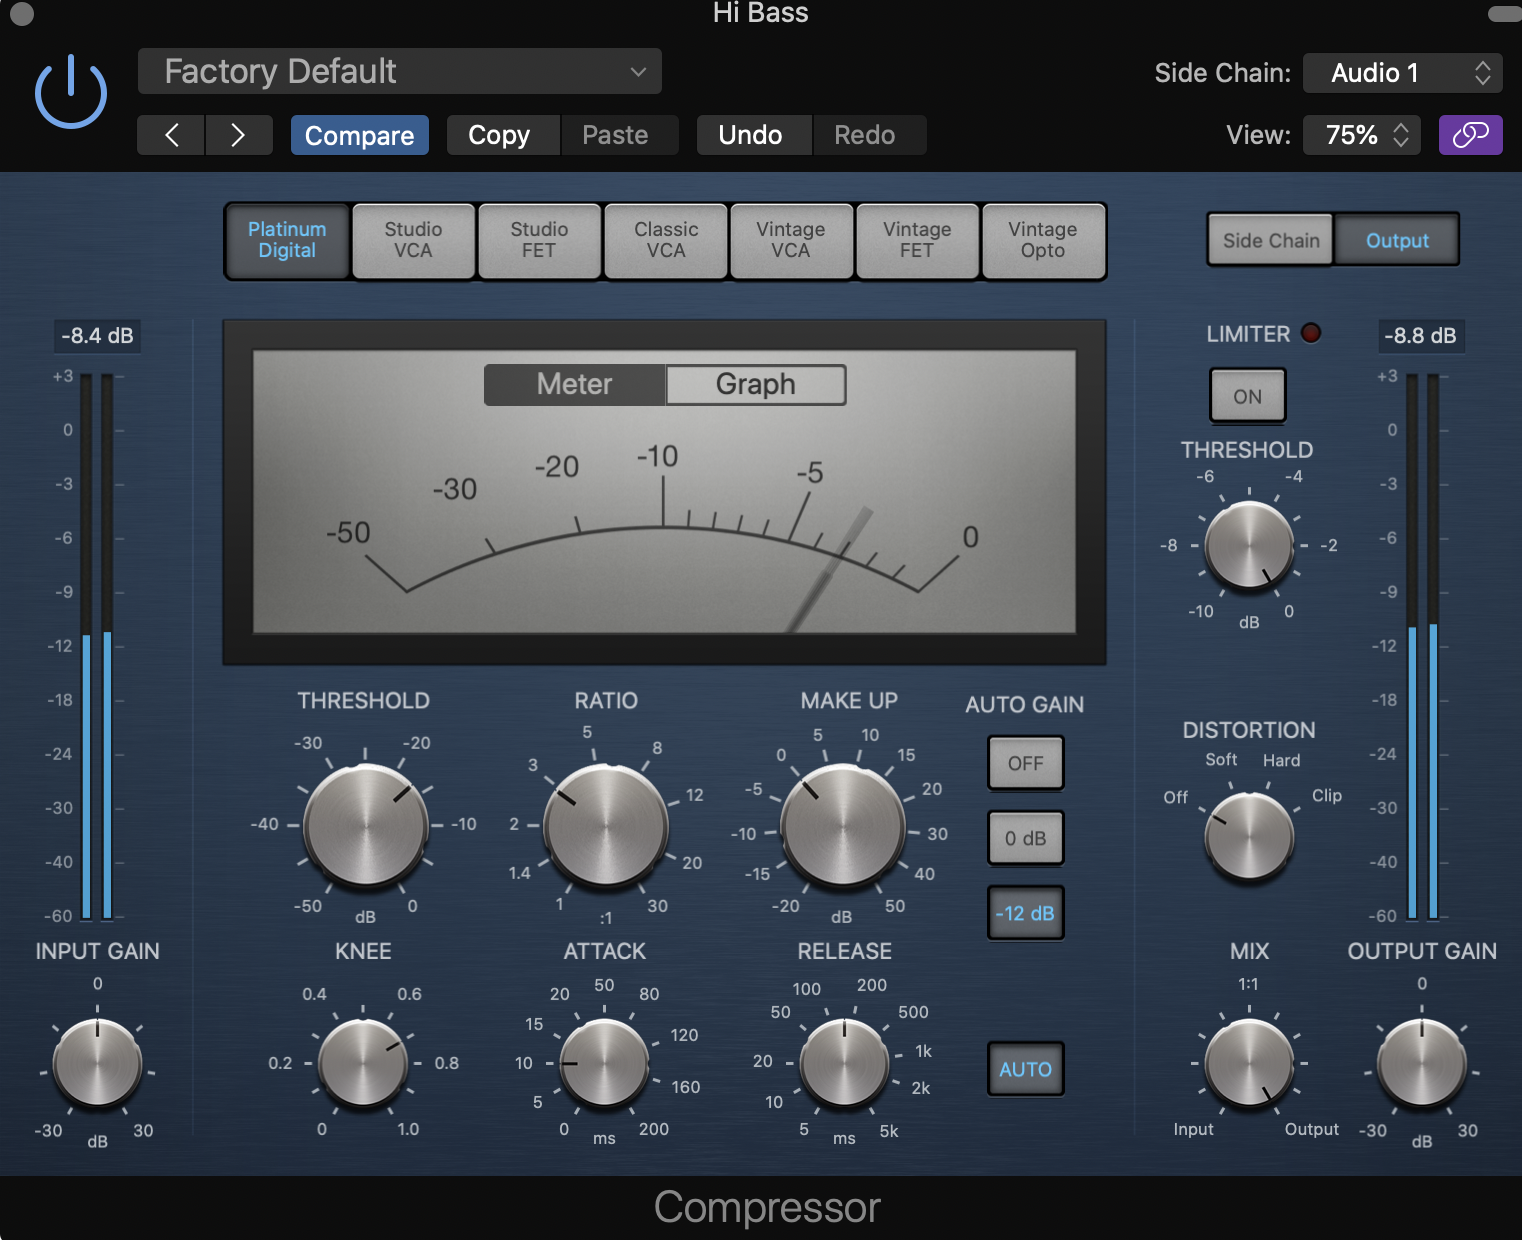
Dynamic vocal compression is all about evening out the vocal level.
If you want to even out the vocal level, you can use a low ratio and high threshold. This will compress the vocal less, which will allow the peaks and valleys of the vocal performance to remain intact.
You can also adjust the dynamic character of the vocal by changing the knee setting. A hard knee (0 dB) will compress the vocal quite heavily, which will make it sound more even. A soft knee (6 dB) will compress the vocal less, which will make it sound more dynamic.
Dynamic Vocal Compression Tips
- Use a low ratio and high threshold to make the vocal sound more even.
- Use a hard knee (0 dB) to make the vocal sound more even.
- Use a soft knee (6 dB) to make the vocal sound more dynamic.
- Turn the makeup gain up to make the vocal sound more even.
Create Pro-Mixes, Faster
Click below to download my free song-finishing checklist to help you create radio-ready songs without taking months to complete them.
When Should You Use A Limiter On Vocals?
A limiter is a type of compression that is used to prevent the signal from going above a certain threshold.
If you want to prevent the vocal from getting too loud, you can use a limiter. This will keep the vocal level under control and stop it from clipping.
You can also use a limiter to add sustain to the vocal. This is because a limiter will prevent the signal from decaying too quickly.
It can be a good idea to use a limiter on a vocal bus, or across several layers of vocal harmonies which can build up and become too loud.
A limiter with a slow release time can allow you effectively "duck" these sections down in volume without being too noticeable .
Vocal Limiting Tips:
- Use a limiter to prevent the vocal from getting too loud.
- Use a limiter to add sustain to the vocal.
- Set the threshold so that the vocal is just below clipping.
- Set the release so that the vocal has enough sustain.
- Add limiting to buses or groups of vocals
Prevent Sibilance With A De-Esser
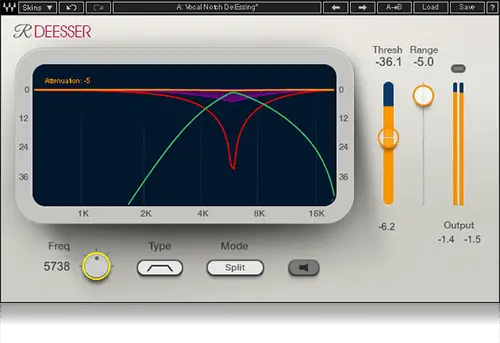
A de-esser is a type of compression that is used to reduce sibilance.
Sibilance is a problem that can occur when the vocalist pronounces certain words with hard consonants. These consonants can cause the vocal to sound harsh and piercing.
A de-esser will reduce the level of these consonants, which will make the vocal sound smoother and less harsh.
To set up a de-esser, you need to find the frequency that is causing the problem. You can do this by using a spectrum analyzer, or simply "hunting" for it with an EQ.
Once you have found the problem frequency, you can set the de-esser to target that frequency.
Vocal De-Essing Tips
- Use a de-esser to reduce sibilance.
- Find the problem frequency with a spectrum analyzer.
- Set the de-esser to target that frequency.
- Adjust the threshold and ratio until the sibilance is reduced.
Read my article here for a complete guide on how to de-ess vocals.
Make Vocals Cut Through The Mix With Multiband Compression
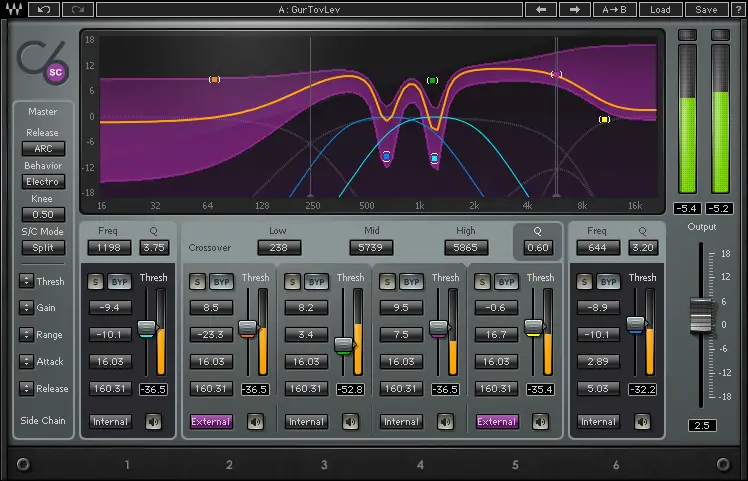
Multiband compression is a type of compression that splits the signal into multiple frequency bands so that each band can be compressed separately.
This is useful for vocals because it allows you to control the vocal level in each frequency range.
For example, you can turn down the level of the low frequencies to make the vocal sound thinner, or you can turn up the level of the high frequencies to make the vocal sound brighter.
You can also use multiband compression to add presence to the vocal. This is because you can boost the level of the midrange frequencies, which will make the vocal sound more forward in the mix.
Multiband Compression Tips
- Use multiband compression to control the vocal level in each frequency range.
- Turn down the level of the low frequencies to make the vocal sound thinner.
- Control sibilance by taming frequencies in the 4-10kHz range when the frequencies become too loud.
Create Powerful Vocals With Parallel Compression
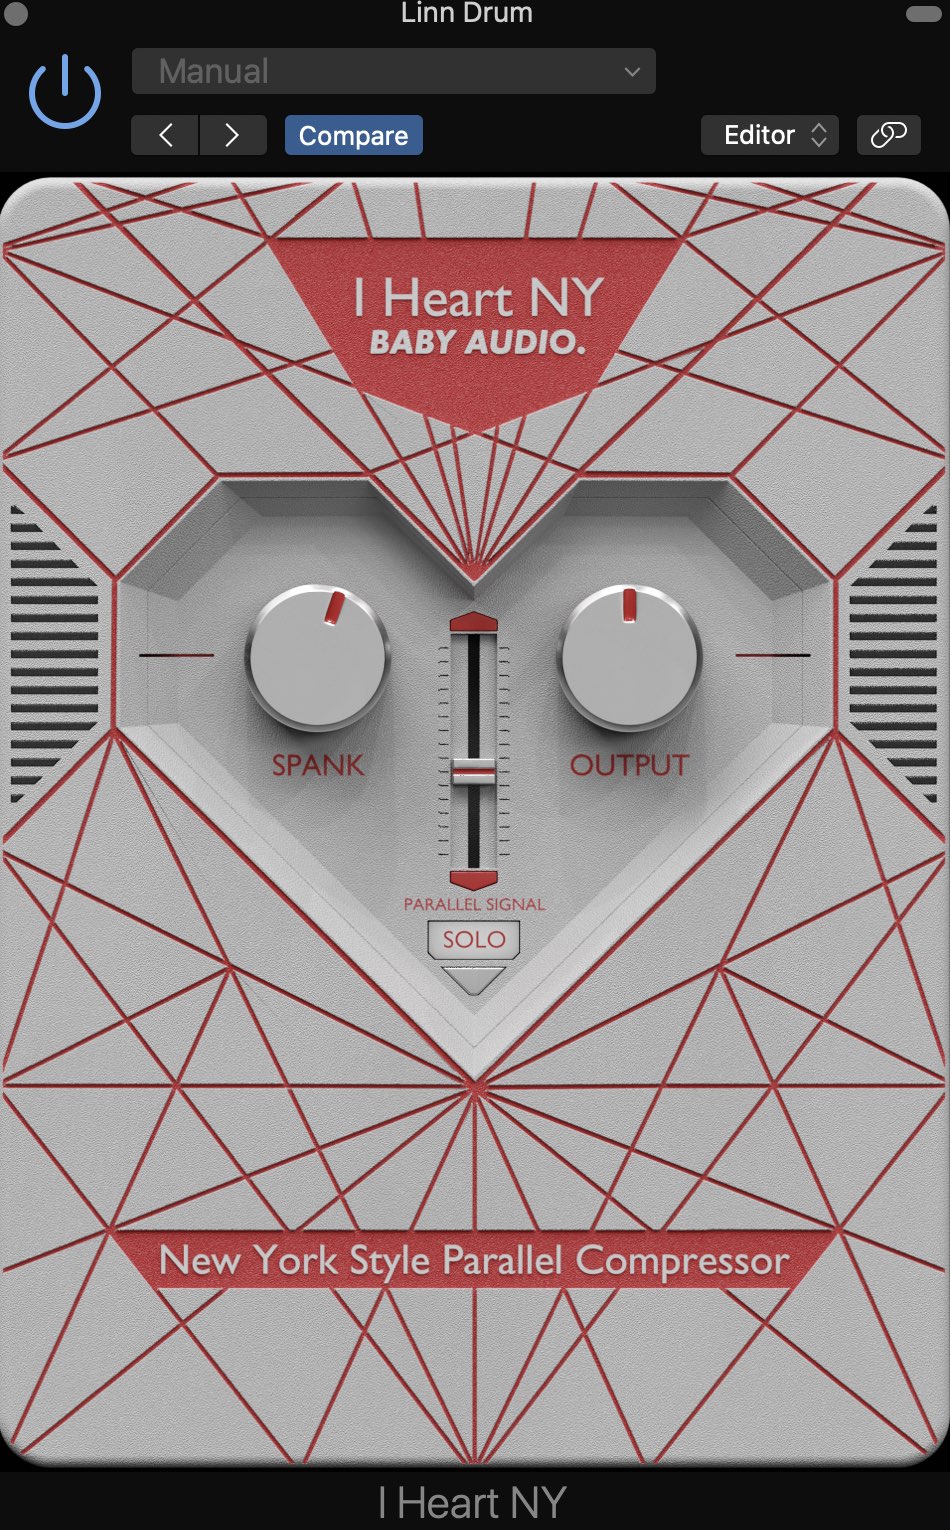
Parallel compression is a type of compression that combines the dry signal with a compressed version of the signal.
This is useful for vocals because it allows you to add power and presence to the vocal without making it sound over-compressed.
To set up parallel compression, you need to send the vocal signal to two compressors. The first compressor should have a high ratio and a low threshold, and the second compressor should have a low ratio and a high threshold.
You then need to mix the two signals together. The amount of compression will depend on how much you mix the two signals together.
You can check out my full parallel compression tutorial here.

Create Better Songs, Faster
Click below to download my free song-finishing checklist to help you create radio-ready songs without taking months to complete them.
Parallel Vocal Compression Tips
- Use parallel compression to add power and presence to the vocal.
- Send the vocal signal to two compressors.
- The first compressor should have a high ratio and a low threshold.
- The second compressor should have a low ratio and a high threshold.
- Mix the two signals together to taste.
How To Compress Background Vocals
Background vocals are often an important part of a song, but they can be difficult to mix. This is because they need to be audible, but they shouldn't sound too loud or dominate the lead vocal.
One way to achieve this is to apply some heavy compression to the background vocals as a group. So be sure to send all of your background vocals to an aux track for group processing.
Backing Vocal Compression Tips
- Use vocal compression to even out the level of the background vocals.
- Aim for between 5-10dB of gain reduction
- Keep attack and release at medium settings
- This will help to create a more homogenous, blended, sound.
What Type Of Compressors Should You Use On Vocals?
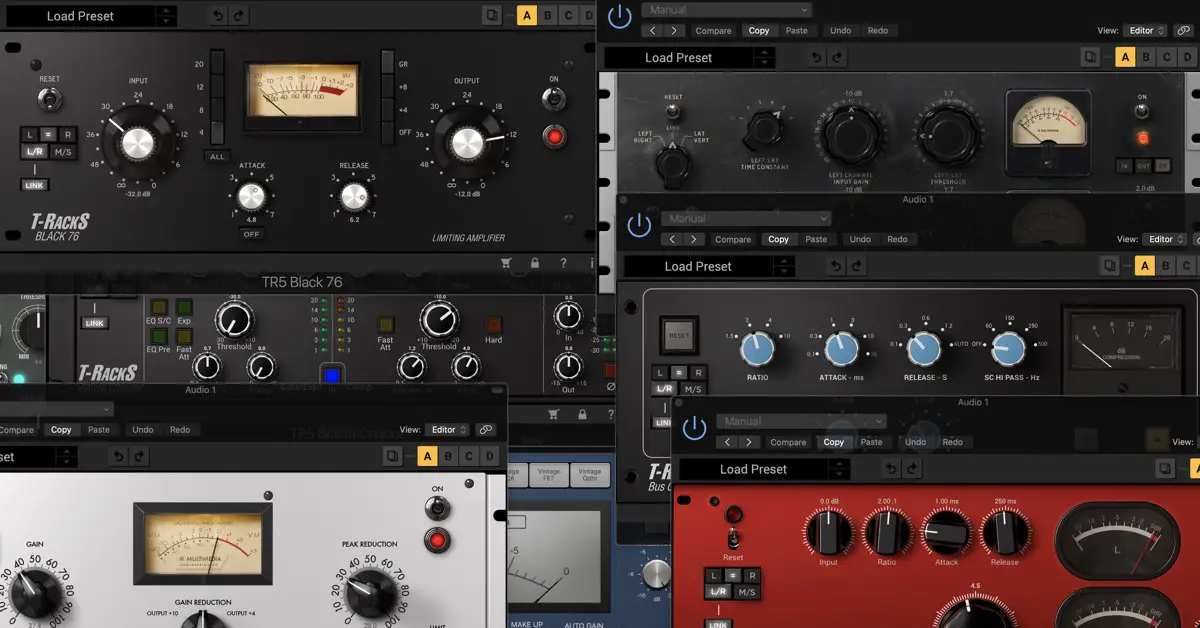
There are many different types of compressors, but not all of them are best for vocals.
Optical compressors are generally the best types of compressors for vocals because of their smooth and transparent qualities. For a more aggressive sound, use a FET compressor.
Read my article here for more on the best type of compressors for vocals.
Best Compressor Plugins For Vocals
Two of the best compressor plugins you can use on vocals are any that are modeled after the Urei 1176 or the Teletronix LA2A.
Many companies have plugin versions of these compressors, and Logic Pro X even has it's own versions of these compressors built in.
If you're wanting to grab a copy of these yourself, I love the versions put out by IK Multimedia.
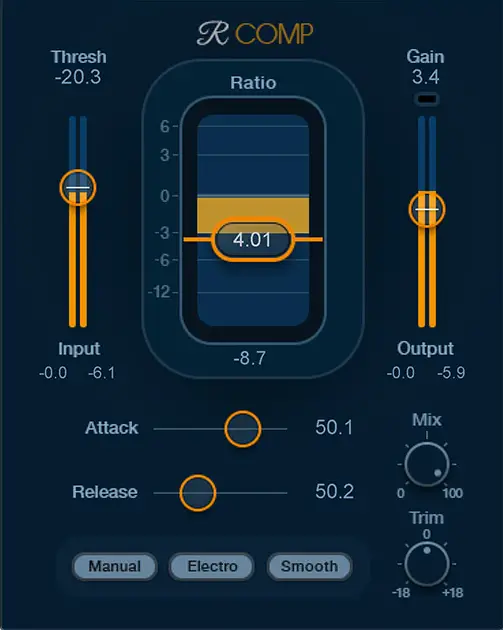
If you're looking for more transparent compression, then one of the best plugins out there is the Rcompressor by Waves.
How Do You Know If Your Vocals Are Too Compressed?
One way to tell if your vocals are too compressed is to listen for pumping and breathing. Pumping is when the vocal level suddenly drops, and breathing is when the vocal level suddenly rises.
If you hear either of these, it means that the vocal is being over-compressed.
Another way to tell if your vocals are too compressed is to listen for distortion. If you hear distortion, it means that the vocal is being over-compressed.
If your vocals start to sound over-compressed, just back off on the threshold or ratio.
Finish More Radio-Worthy Songs, Faster!
Mixing clean vocals is just one piece of the puzzle when it comes to producing pro-quality songs.
If you want a proven step-by-step formula for mixing radio-worthy tracks from start-to-finish...
Create Pro-Mixes, Faster
Click below to download my free song-finishing checklist to help you create radio-ready songs without taking months to complete them.
This checklist will walk you through a proven step-by-step mixing and mastering process so that you don't ever have to guess or wonder what to do next.
You'll know exactly what to do, and when, so you can quickly mix, master, and finish more tracks.
I hope you found this post valuable on how to get vocals to sit upfront in the mix helpful.
If so, feel free to share, and let me know in the comments below…

