Sibilance is that annoying sound that can occur when certain words are spoken. It's caused by excessive consonants like "s" and "sh," and it can be a real headache to get rid of.
To De-Ess a vocal, add a De-Esser plugin to your vocal track and locate the frequency range with the greatest amount of sibilance. You can solo JUST what is being taken out to help yourself identify the problem frequency. Next, set the threshold and reduction to taste.
In this article, I'll walk you thorugh how to de-ess vocals in just a few easy steps!
What Is A De-Esser?

A de-esser is a type of audio processing plugin that is designed to reduce or eliminate sibilance from a vocal track. De-essing can be useful for both recording and live sound situations, and can help to make a vocalist's performance sound less harsh and more polished and professional.
How Do You Get Rid Of Sibilance In Vocals?
Sibilance can typically be found in the 3 kHz to 8 kHz range, depending on the vocalist. To reduce sibilance, you just need to tame the offending frequencies.
However, you don't necessarily want to just use a basic EQ for this, as you will be cutting the vocal performance even when there isn't any sibilance presentin the vocal.
Instead, there are several other potential options you can try.
3 Ways To De-Ess
- Manual De-Essing
- Automated De-Essing
- Equalization
1. Manual De-Essing

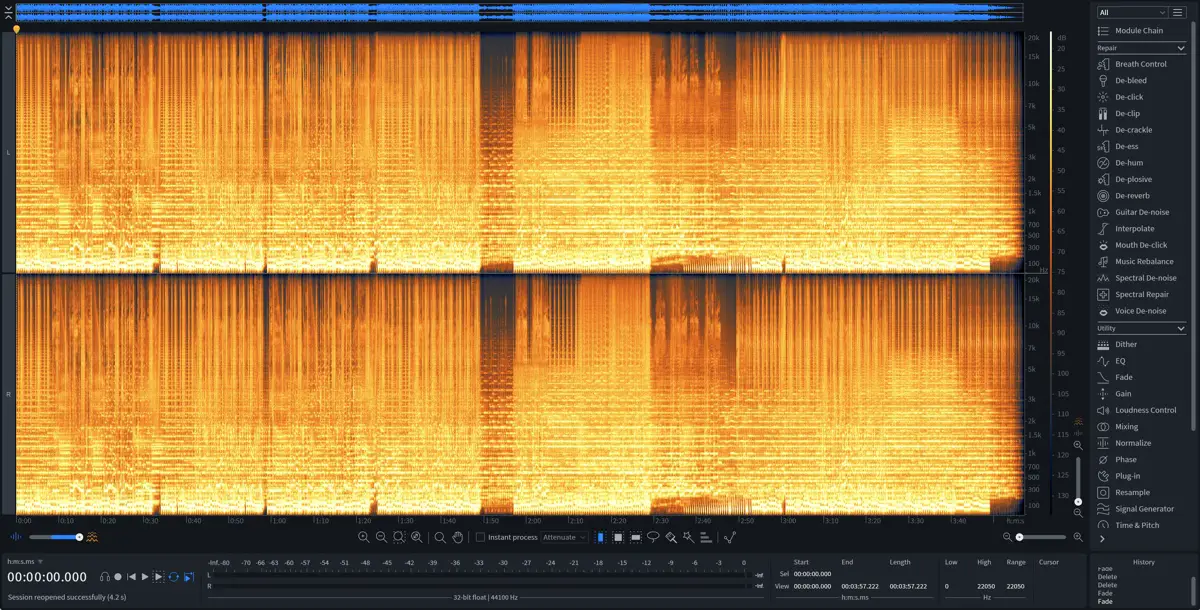
The first way to de-ess is to do it manually. This can be a bit of a tedious process, but it's definitely the most effective and precise way to remove sibilance.
The best way to do this is with a tool called RX by iZotope. This tool displays a spectrogram of your audio, and allows you to clearly SEE where the problem frequency is.
The brighter the color of the audio in the spectrogram, the louder the audio is.
Once located, you can simply select the problem frequency and knock it down a few db until it isn't sticking out any more.
2. Automated De-Essing

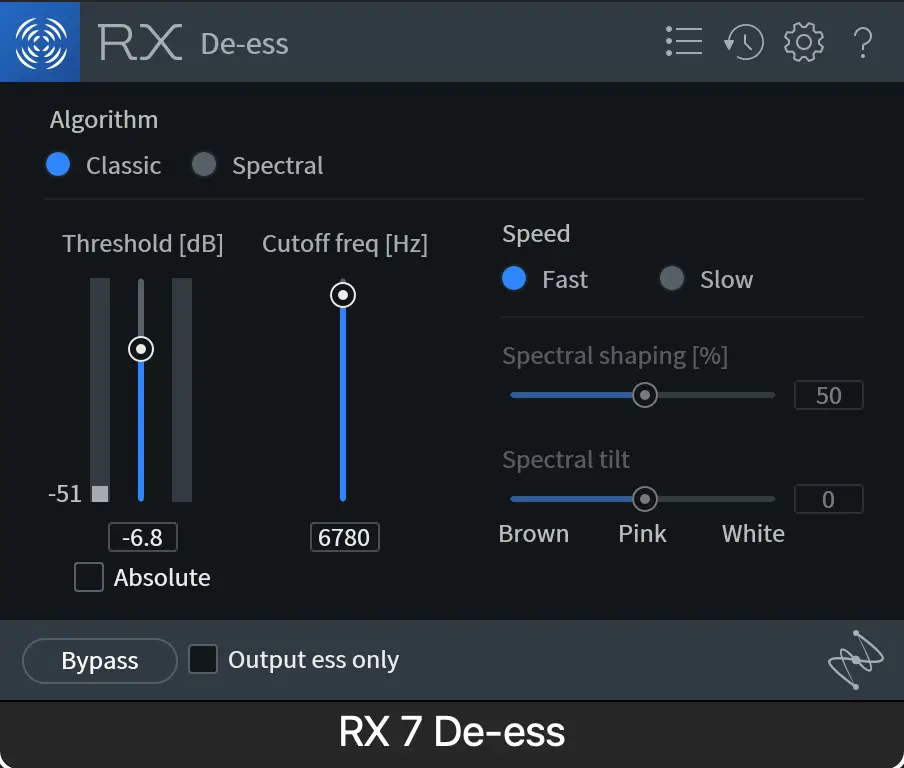
If manual de-essing sounds like too much work, don't worry - there's an easier way! Automated de-essers are plugins that will do all the hard work for you.
Simply insert the plugin on your vocal track and then dial in the settings.
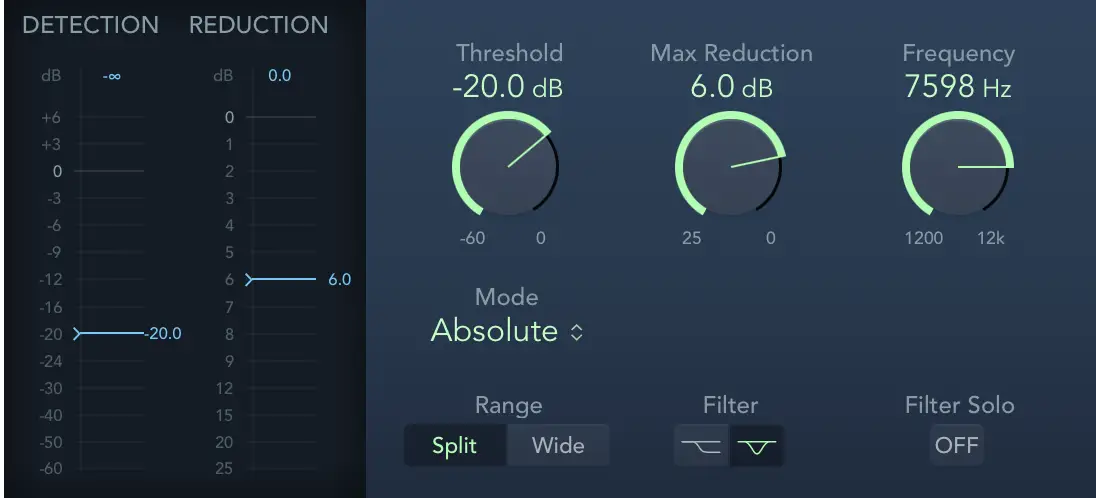
Again, use the frequency setting to locate the problem area in the spectrum, and then bring down the threshold until ONLY the sibilance is triggering the plugin.
From there, adjust the reduction to determine how much you want the de-esser to turn down the sibilance. Be careful, though, as too much reduction can make your vocalist sound like they have a lisp.
3. Dynamic Equalization

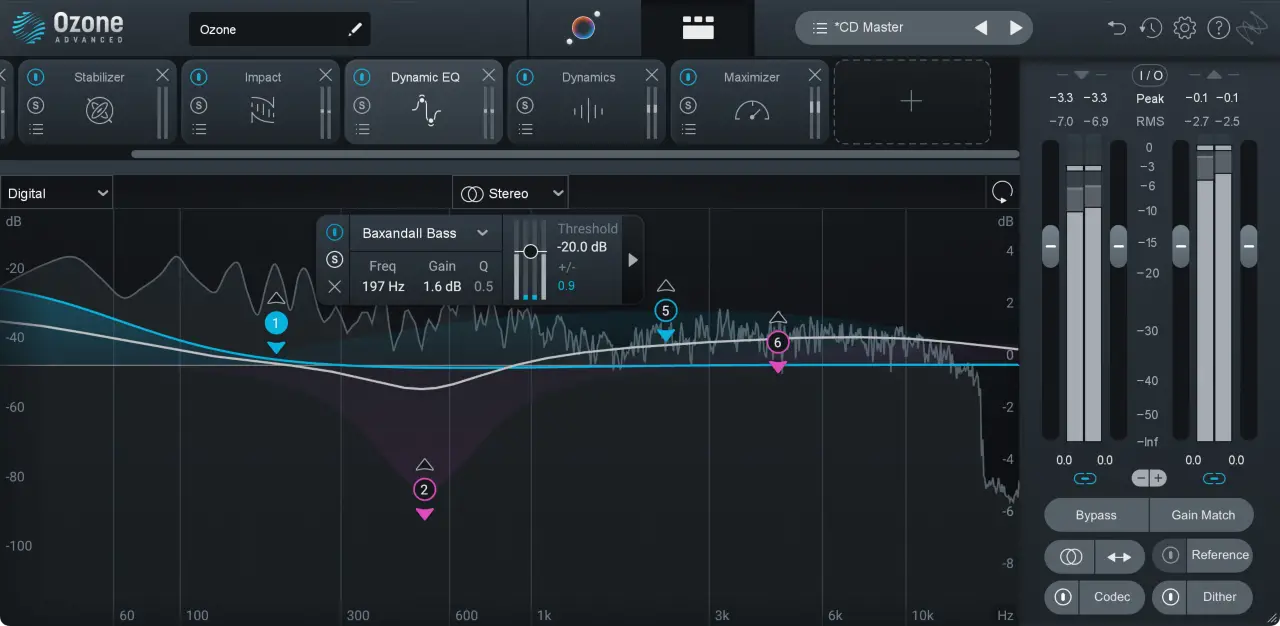
Dynamic EQ is essentially a compressor and EQ all rolled up into one tool. It combines traditional EQ with elements of dynamics control like compressors or expanders (gates).
Normally, EQ has a fixed gain setting. Once you boost or cut, that change remains throughout the entire track. With dynamic EQ, the EQ cuts and boosts are impact depending on the intensity of the incoming audio signal.
So to use a dynamic EQ to tame sibilance, start by finding the offending frequencies by sweeping an EQ band through the upper frequency ranges. Again, look in the 3 kHz through 8 kHz range.
Once you've found your problem area, simply set your EQ band over the area, and then dial in the threshold settings to tame the sibilance to your desired level.
Dynamic EQ might be a good option if you're encountering A LOT of sibilance, since you can also use the EQ to apply a small amount of cutting in addition to the dynamics-triggered cutting.
How To De-Ess Vocals
Out of all of these ways, you're likely best option is simply to use a de-esser plugin for some automated de-essing.
Here's a quick step-by-step guide to de-essing vocals.
1. Insert a de-esser plugin on your vocal track.

2. Locate The Problem Frequency
You next need to locate the frequency with the most sibilance. You can solo the part that you are filtering so that it becomes easier to hear where the most sibilance is.
3. Set The Threshold So That It ONLY Triggers When there is excessive Sibilance
Again, having the filter soloed will help with this. If you are ONLY hearing the sibilance when your filter is soloed, then your threshold is good.
4. Adjust the reduction until the sibilance is reduced
Finally, dial up your reduction until you are taking out the sibilance. Don't go too far or the vocal will sound unnatural.
Use Multiple De-Essers If Needed
In some cases, one de-esser may not be enough to get the job done. If you're still hearing excessive sibilance even after trying all of the above methods, try using multiple de-essers.
For example, you could insert one de-esser before your compressor and another after.
Where Do You Put A De-Esser In A Vocal Chain?
There's no right or wrong answer to this question - it all depends on your personal preference.
Some people prefer to insert the de-esser before other effects such as compressors and EQs, while others prefer to put it after. Ultimately, it's up to you to experiment and see what sounds best!
Personally, I like to put my De-Esser AFTER EQ and Compression to tame any sibilance that was brought out from these effects.
Best De-Esser Plugins
There are lots of different de-esser plugins available, so it can be tough to choose the right one. Here are three of our favorites:
- Waves Renaissance De-Esser - This plugin is great for taming sibilance without affecting the rest of the vocal track.
- iZotope RX De-Esser - This plugin is part of iZotope's RX suite, and it does an excellent job at removing sibilance.
- IK Multimedia De-Esser - This plugin is another excellent option.
Conclusion
De-essing is an essential part of any vocal production. By removing excess sibilance, you can make your vocals sound smoother and more natural. And as we've seen, there are a few different ways to do it!
So next time you're working on a vocal track, don't forget to give de-essing a try. Your vocals will thank you for it!
Finish More Radio-Worthy Songs, Faster!
Recording clean vocals is just one piece of the puzzle when it comes to producing pro-quality songs.
If you want a proven step-by-step formula for mixing radio-worthy tracks from start-to-finish...
Create Pro-Mixes, Faster
Click below to download my free song-finishing checklist to help you create radio-ready songs without taking months to complete them.
This checklist will walk you through a proven step-by-step mixing and mastering process so that you don't ever have to guess or wonder what to do next.
You'll know exactly what to do, and when, so you can quickly mix, master, and finish more tracks.
I hope you found this post valuable on how to de-ess vocals to sit upfront in the mix helpful.
If so, feel free to share, and let me know in the comments below…
