Have you created a sweet 80s or synthwave-style track but it just seems to be missing...something?
Have no fear, because in this article you'll learn the production techniques you need to create great-sounding, authentic, 80s-inspired music.
Why Does 80s Music Sound Different (And So Good)?
There are of course many factors that contribute why the music of the 80s is so distinct and good, but a few of the biggest elements are the full use of new technology that allowed artists to develop sounds that had not been possible up to that point.
These new technological developments include the use of synthesizers, drum machines, digital reverbs and delays, and SSL console EQ and Compression which contributed to a "tighter" sound than existed previously in music.
How Do You Mix Like The 80s?

If you want to make music that sounds like the 80s, it's simple; just use the instruments, gear, and production techniques that trended in the 1980s.
Instruments & Gear of The 1980s
Of course you have instruments like guitars which had been used in decades prior, but the the new inventions were those of the synthesizer and drum machine.
These new instruments existed before, but they really saw an explosion in the 1980s and become more accessible and wide-spread.
And then you have all of the hardware gear that was used to produce 80s music, such as digital delays, reverbs, and the SSL 4000E console, which really revolutionized music.
If you want to pick up all of this hardware gear, it's going to set you back several tens of thousands of dollars...
But the good news is that there are TONS of software plugins in existence which emulate these hardware units.
So when mixing, just be sure to use some plugins that emulate the gear and synthesizers that were used in the 80s.
Also...
Be sure to check out my 17 top free plugins for making Synthwave and 80s-style music.
Production Techniques of The 1980s
Once you have the tools you need to make 1980s music, now you just need to know how to apply them.
With the rest of this article, I'll break down 10 80s production techniques to help you mix Synthwave and 80s-style music.
1. Gated Reverb
Gated reverb is a staple of both 80s music and Synthwave, especially on snare drums. It's what creates that "exploding snare" sound.
You can hear it prominently on "Drive" by The Cars.
Gated reverb was invented in 1979 when producer Hugh Padgham, "discovered the sound accidentally when he opened an overhead mic, intended to be used as a talkback channel, above [Phil] Collins' drum set when the pair were working on a track." - Wikipedia
How To Create Gated Reverb
You can check out my video below which walks you through how to create a gated reverb sound on a snare, or you can follow the written steps further down.
Step 1:
Send the snare to an auxiliary return with a reverb placed on it. A long hall or plate reverb works best.
Step 2:
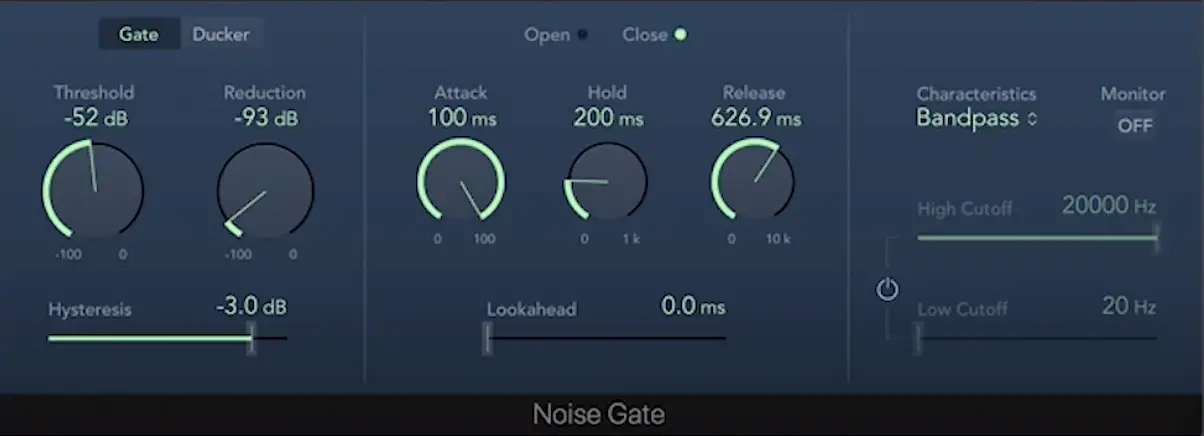
We want to chop off the reverb tail to create the effect we want, so add a Noise Gate next. Experiment with the Threshold setting to taste, and set a Release time of around 20ms to 700ms, depending on how long you want the reverb to ring out.
Adjust the hold/attack to hold the gate open before letting the snare's crack through.
Free Synthwave Sample Pack
Just click the button below to download 191 synthwave drum and FX samples, and much more!
2. Long Vocal Reverb & Delay
80s vocals are very distinct. The vocals were often sung rather dramatically with plenty of vibrato.
Reverb was used liberally, so dial up the wet value of your hall and plate reverb plugins to create a ‘cave’- like ambience.
Lexicon hardware reverbs helped to define the sound of the era, so try and find emulations of Lexicon hardware if you can.
You can get the Lexicon 224 unit (pictured above) as a modelled plugin from Native Instruments (Reverb Classics) here.
If you're looking for something free, I absolutely love the TAL-Reverb-4 plugin, which is a plate reverb with a vintage 80's character.
3. Slapback Delay on Vocals
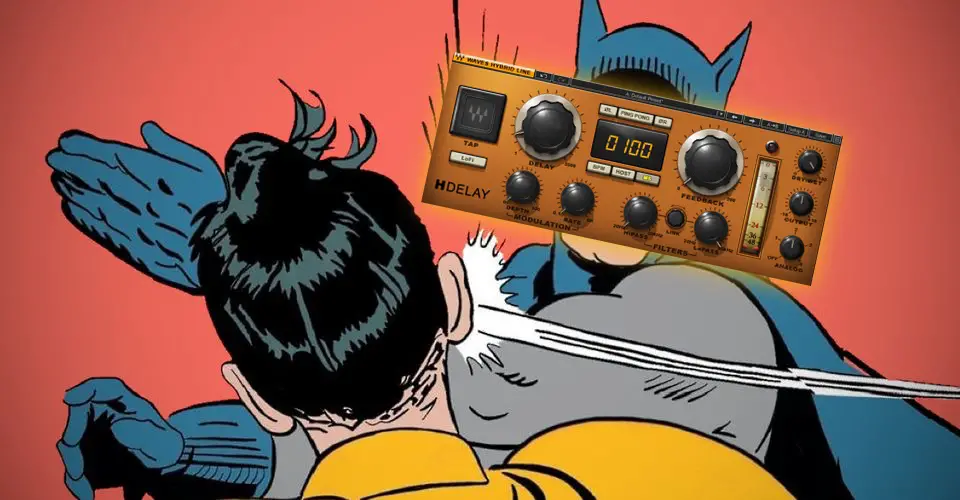
Slapback delay was also very common on 80s vocals, and you can hear it on ton of hit records.
Slapback delay is a little different from normal delay, as we typically think of delay as an "echo" where a sound is repeating several times. With slapback delay, you are just getting one single echo.
It's more similar to when you clap in a large empty room and you hear a very quick repeat of your clap.
The ultimate impact of slapback delay is that it adds a sense of space to your vocals, without pushing them back in the mix or muddying up your sound.
How to create Slapback delay
Creating a slapback delay is very simple:
- Send the vocal to an auxiliary return with a delay plugin placed on it
- Set up a mono delay where the left and right sides are linked
- Set the delay time to be between roughly 40 and 140ms.
- Set the feedback to zero so there is only one repeat
- Make the delay 100% wet since you can control the amount with the send knob
4. Harmonization & '80s Style ADT
The use of harmonies, especially on vocals, was very popular in the 80s.
Layers of harmonies and the recording of multiple tracks (double tracking) of the same melody created big and lush vocal lines.
You can hear this in the chorus of "Heaven Is A Place On Earth" for example.
However, double tracking wasn't the only way to get this effect, as artificial double tracking (ADT) was also prevalent.
While popularized in the 1970s, artificial double tracking underwent a transformation in the 1980s as digital delays largely replaced tape delay.
This resulted in a "shinier" and less colored sound.
ADT is technique that allows you to create the illusion that you've recorded multiple versions of a performance that are then blended together.
This was used often on guitars and vocals in the 80s, and creates a wide and glossy sound.
How To Create A Double Tracked Effect
The easiest way to achieve this is simply to record multiple takes of whatever it is you want to double.
If it's a vocal melody, say for the chorus, then sing the chorus (the same way) at least 3 times, and pan one performance hard left, one hard right, and have the third go down the center.
To make your vocals even bigger, add in some harmonies, and double track those as well.
5. Ping-Pong Delay On Arps Or Guitar
"Hardware synths like the Roland Juno-60 featured onboard arpeggiators. You can hear the effect on tracks like Limahl’s NeverEnding Story and Take On Me by A-ha. The classic up/down pattern was common, and often had a ping-pong delay effect added to lend further life and movement to the sound.
You can mimic this easily using the arpeggiator in your DAW or synth, along with a basic delay." - Music Radar
6. 80s Drum Machine Sounds
'80s drum tracks featured some very unique sounds. Samples from drum machines like the Oberheim DMX and Linn LM1/ LM2 were ubiquitous.
This isn't so much as a production tip as it is a sound design tip, but valuable nonetheless.
You can grab some free Linn drum samples by clicking the button below.
Free Synthwave Sample Pack
Just click the button below to download 191 synthwave drum and FX samples, and much more!
When it comes to programming the drums, use plenty of synthetic (almost laser gun-sounding) toms, cowbells and delayed claps.
Kicks and snares were seldom used in a basic 4/4 arrangement, but peppered throughout rhythms on the offbeats.
Synthwave, however, is the exception to this rule, as it tends to follow more an EDM pattern, with 4 on the floor kicks and snares hitting on the offbeats.
If you're wanting a more authentic 80s sound, then only use light compression on the drums.
If it's a more modern sound you're after, compress the drums hard, perhaps even with parallel compression.
Kick drums in the 80s often didn’t sound as weighty as they do now, but when it comes to making Synthwave, it's common to use more modern-sounding drum processing.
Finally, if you want to push your drums back in the mix and give more of an 80s sheen, add in some chamber or plate reverb.
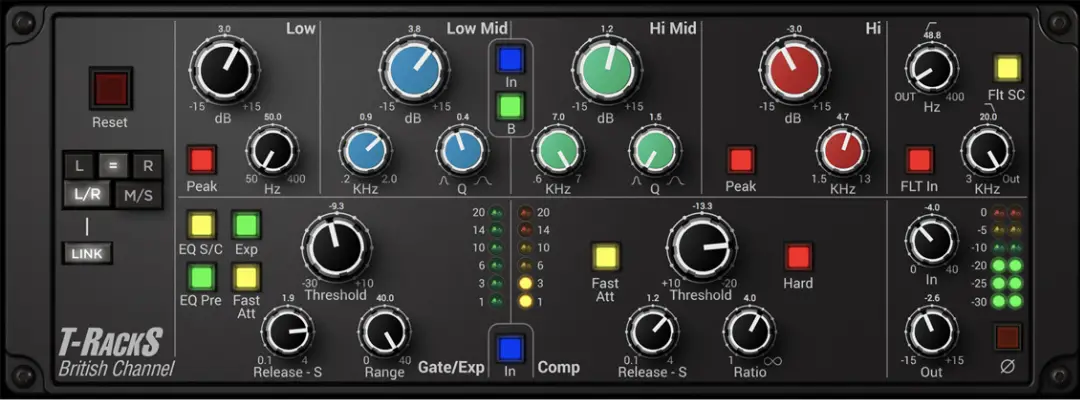
7. Console EQ & Compression
The British SSL consoles of the 1980s revolutionized music, and provided a brighter sonic character to the tracks produced on them.
IK Multimedia's British Channel emulates the E Series console strip (click here to learn more).
You can even switch between the earlier "Brown Knob" version, which made more broad adjustments, and the later era "Black Knob" which created more precise and tighter curves.
With the British Channel, you also get a dynamics section, which you can use to really tighten up your sounds, and add punch.
8. Saturation
You can't talk about 80s music production techniques without mentioning saturation.
Literally everything in the 80s was saturated because every song was mixed and produced using hardware gear, as DAWs as we know them weren't invented yet.
Therefore, use plugins that model analog gear when using compressors and EQs.
However, the saturation doesn't end here.
Tape and vinyl saturation were also present.
In the 80s, Tape was king for multi-tracking and mixing down, even though digital formats started to become popular at the end of the decade.
Most records were made entirely on analog tape, so consider using a tape emulation plugin to add tape saturation.
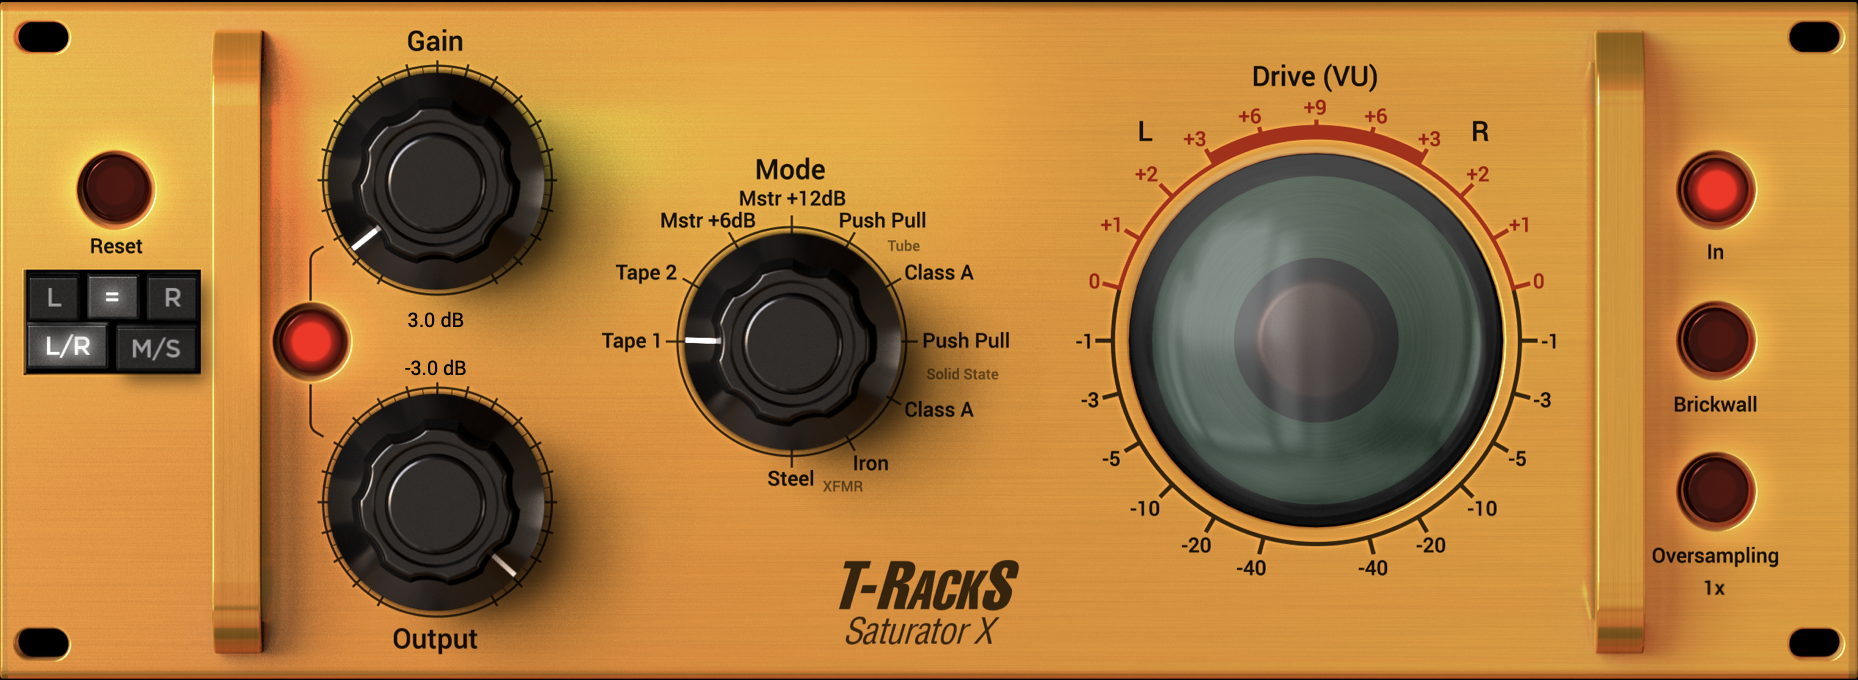
One example is the IK Multimedia Saturator X, which allows you to apply various types of saturation, including Tape.
Speaking of Tape, Saturator X actually comes with two tape saturation modes:
Tape 1: This mode reproduces the classic character and high frequency compression of an analog tape machine reaching saturation when pushed above normal recording levels.
Tape 2: Similar to Tape 1 in terms of typical uses, this mode reproduces a more "Lo-Fi" analog tape response with more pronounced distortion and high frequency roll-off.
The result is a very flexible and powerful saturation plugin, and you can get it here.
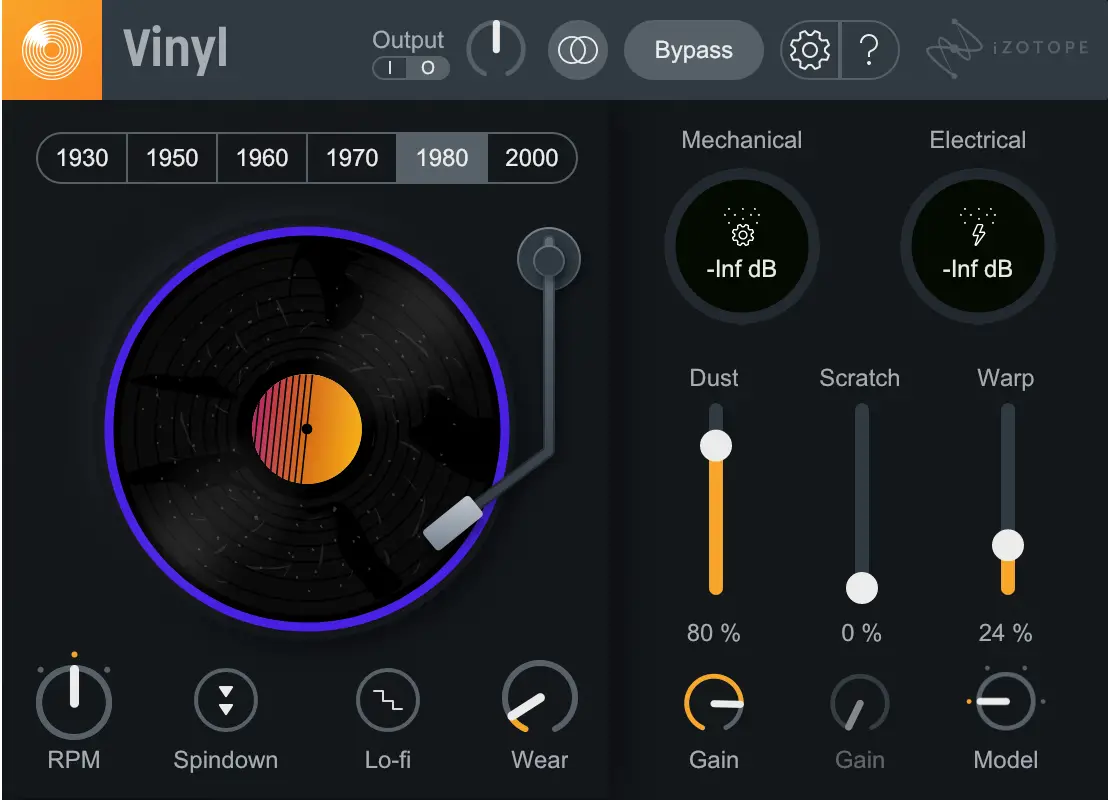
If you want to add some vinyl warmth and grit to your production, then consider getting the free Vinyl plugin by iZotope.
9. Master Bus Processing
Even though the 80s were basically 40 years ago (WHAT?), the production quality of songs from that era is still great, and has surprising clarity.
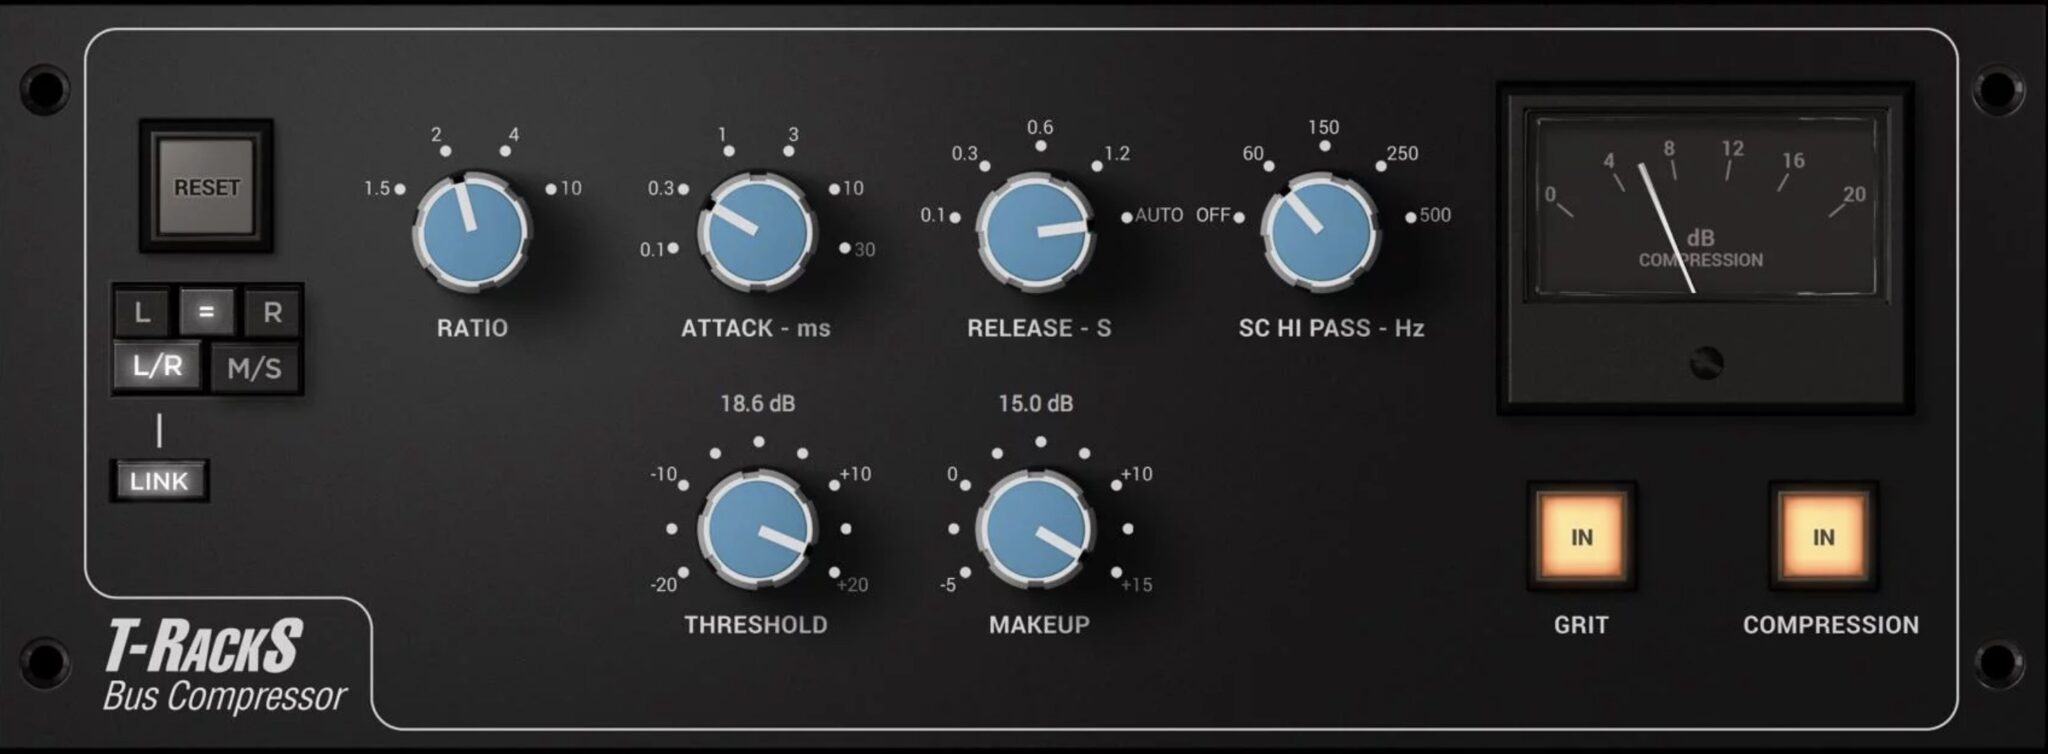
This is in part due to the Solid State Logic 4000 mixing consoles I mentioned earlier, with their clean-sounding EQ and punchy master bas compressor.
This signal path has since been modeled by IK Multimedia in their Bus Compressor (below).
In addition to compression, there are some other mix bus processing you might want to apply to get that 80s sound.
There was typically an emphasis in the 8-9kHz range to add bite and sheen, and low frequencies were often turned down.
If you're wanting to make more modern Synthwave, I wouldn't remove too much of the low-end though.
On the master channel, brickwall limiting as we now know it was not used, but subtler compression was common. This created more dynamic range in the music than modern tracks.
I still recommend you use a brickwall limiter, but use it lightly and don't squash your mix.
After all, in our age of streaming, how loud your track is doesn't really matter.
You can check out my article here for how loud your mix and master should be.
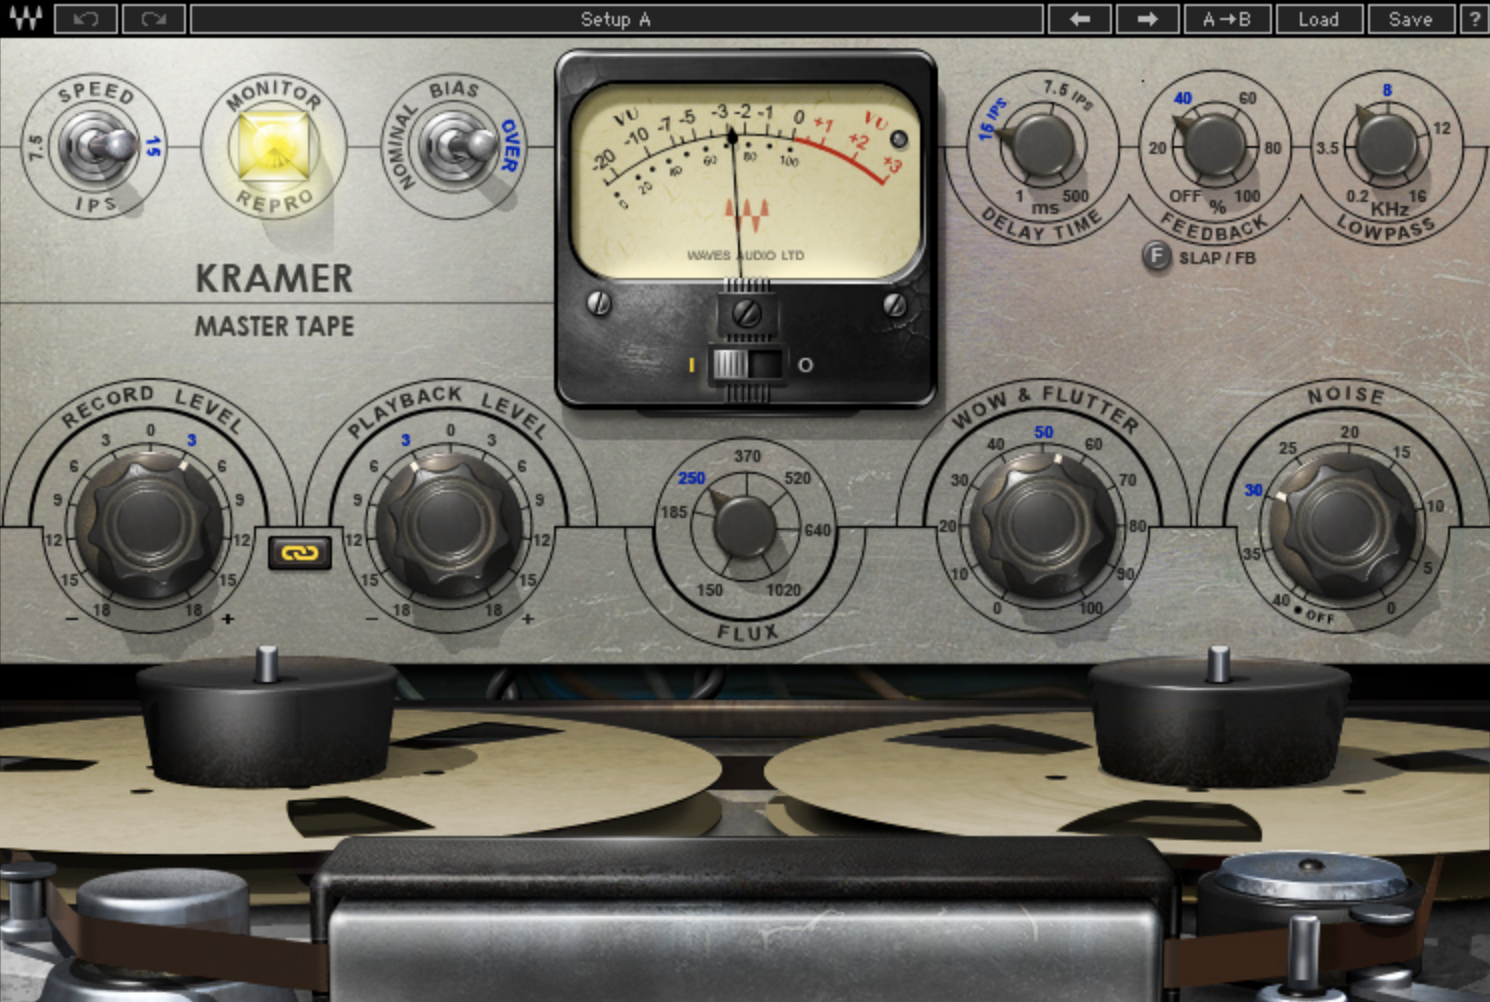
Lastly, use a tape emulation plugin to ‘glue’ the track together and mimic two-inch tape recording.
The Kramer Tape plugin by Waves is great for this.
Finish More Tracks, Faster
If you're looking to finish more tracks, faster, so you can publish more music...
Create Better Songs, Faster
Click below to download my free song-finishing checklist to help you create radio-ready songs without taking months to complete them.
This checklist will walk you through a proven step-by-step mixing and mastering process so that you don't ever have to guess or wonder what to do next.
You'll know exactly what to do, and when, so you can quickly mix, master, and finish more tracks.
I hope you found this post valuable on how to mix Synthwave and 80s-style music.
If so, feel free to share, and let me know in the comments below…

