Setting up a home recording studio may seem like a daunting task, but with a little bit of planning and preparation, it can be a relatively easy and affordable process.
Whether you're a musician looking to record your own music, or a podcaster looking to improve the sound quality of your recordings, a home recording studio can be a valuable tool.
In this article, we will go over the steps you need to take to set up a basic home recording studio.
But real quick, before diving into the content, be sure to download my free song mixing and mastering checklist below.
Create Better Songs, Faster
Click below to download my free song-finishing checklist to help you create radio-ready songs without taking months to complete them.
1. Determine Your Needs
The first step in setting up a home recording studio is determining what you need.
Consider what type of recording you will be doing, how many people will be recording, and what equipment you already have.
If you're just starting out, it's just you, and you'll be using mostly virtual instruments, then a basic setup with a computer, single I/O interface, microphone, and some free recording software will likely be sufficient.
However, if you're planning on recording a full band or multiple people at once, you'll need more advanced equipment such as an audio interface with multiple I/Os, and multiple microphones.
For this post, I'll assume you're a solo producer.
2. Choose The Right Room
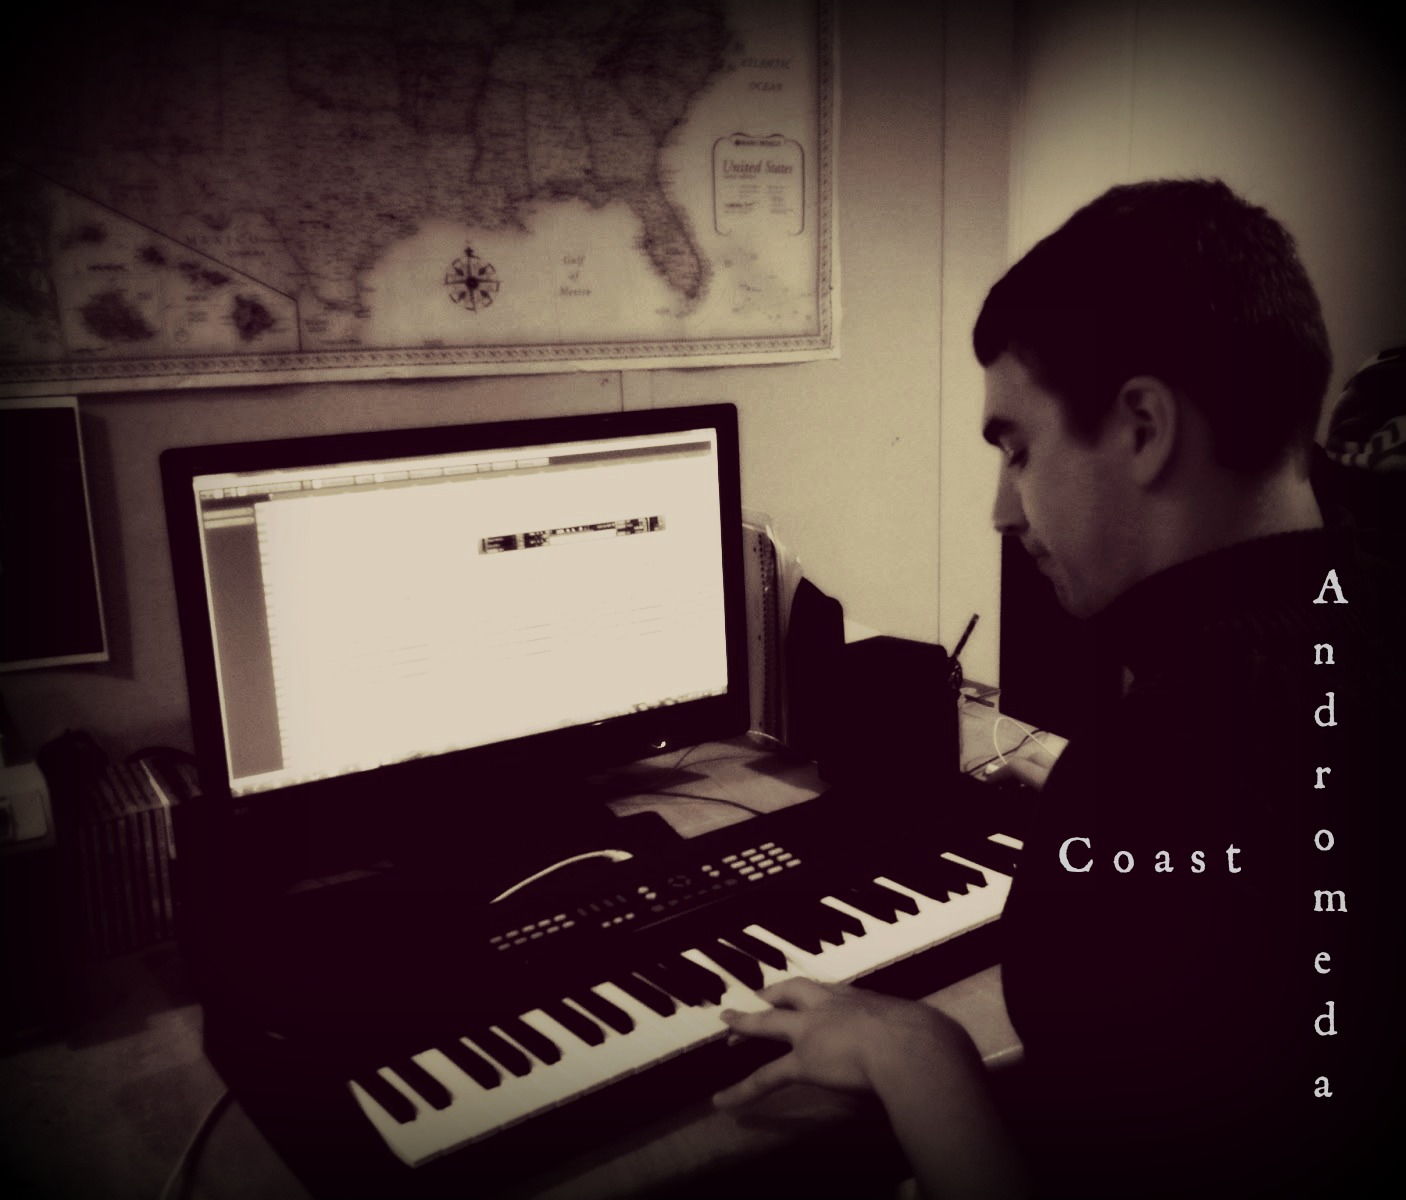
Me at 17 in my first "recording studio" in my parents' basement. Hey, if it's good enough for Adam Young of Owl City, it can be good enough for you!
Choosing the right room for your home recording studio is crucial.
The room should be relatively quiet, with minimal outside noise and echo.
A room with carpet and curtains can help to absorb sound and reduce echo.
Additionally, the room should be large enough to accommodate your equipment, and have enough power outlets for all your devices.
A basic bedroom should get the job done.
3. Gather The Right Equipment
Once you've determined your needs and chosen the right room, it's time to gather the equipment you'll need to set up your home recording studio.
The basic equipment you'll need includes:
- Computer
- Recording Software
- Audio interface
- Microphone
- Headphones
Computer
You'll need a computer to run the recording software and store your recordings.
A laptop or desktop with a fast processor and enough storage space will work well.
Minimum Computer Specifications For Music Production
So, what is the bare minimum you need to get by?
The more RAM you can get, and the faster your CPU, the better.
Storage isn't a huge issue as you can always store your sound banks and projects on external drives.
If you want to be a little more comfortable, I'd go with something like this:
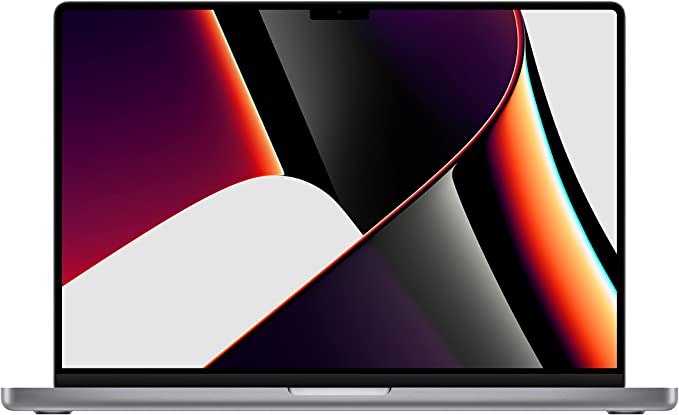
If you're curious what the specs of my computer are, I use a 2021 MacBook pro, and they are as follows:
If you want to get the computer I have, just click the button below:
I've also hooked my MacBook Pro up to an external monitor so that I can have a dual monitor setup with a little bit more screen real-estate.
Here's what it looks like:
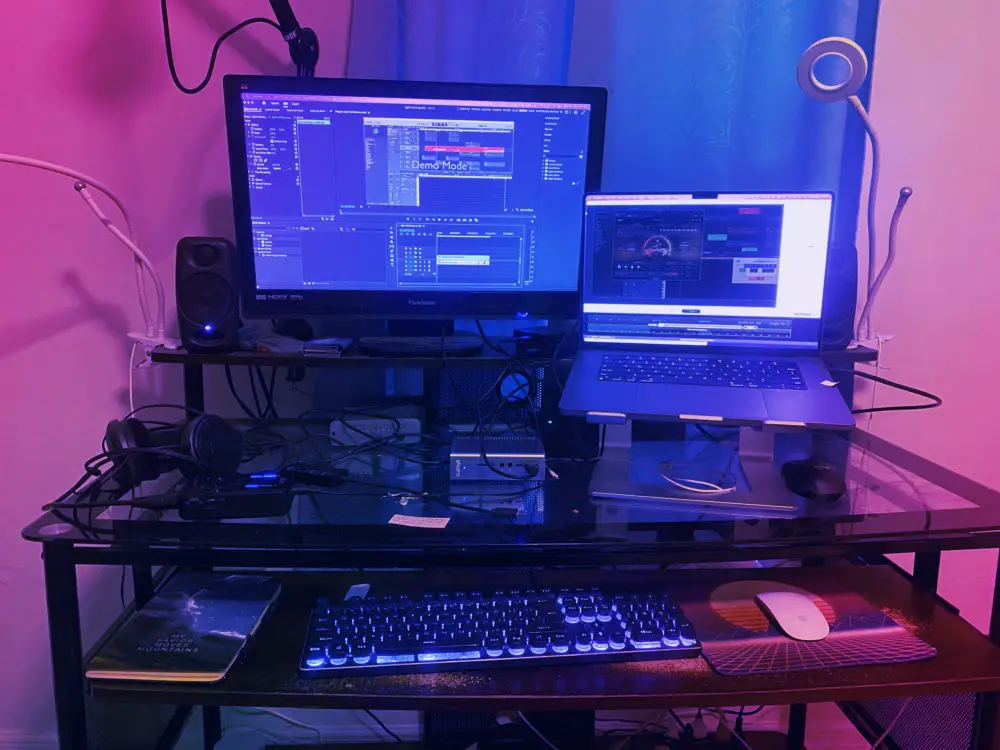
It's not fancy, but it gets the job done.
Digital Audio Workstation (DAW)
Next you'll need some recording software. This is known in the industry as a "digital audio workstation", or a "DAW" for short.
There are many different recording software options available, both free and paid. Some popular free options include:
When you're ready to buy a pro version of a DAW, the video below breaks down some of the best ones.
Audio Interface
For pro audio quality, you'll want to use an audio interface, which is a little box you can plug your microphones or guitars into.
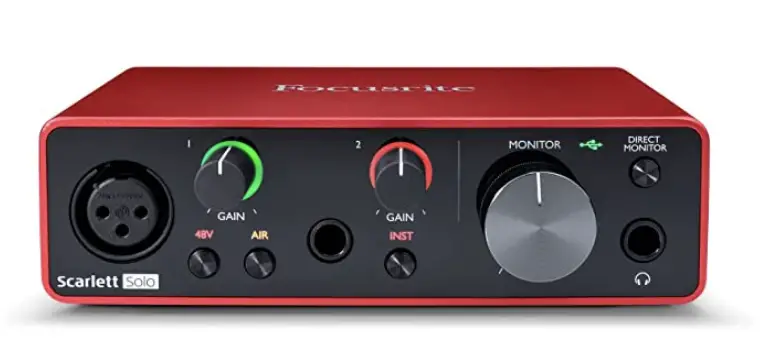
One of the best beginner audio interfaces you can get is the Focusrite Scarlett Solo.
Audio Interface - Focusrite Scarlett Solo
The Focusrite Scarlett Solo audio interface is a solid choice for those looking for a high-quality, affordable option for recording and producing music. It offers the high-quality pre amps you need to get started recording pro audio. The sound quality is excellent and it's also very portable, making it easy to take on the go.

Create Better Songs, Faster
Click below to download my free song-finishing checklist to help you create radio-ready songs without taking months to complete them.
Microphone
If you're planning on recording vocals or instruments, then you'll need a good microphone.
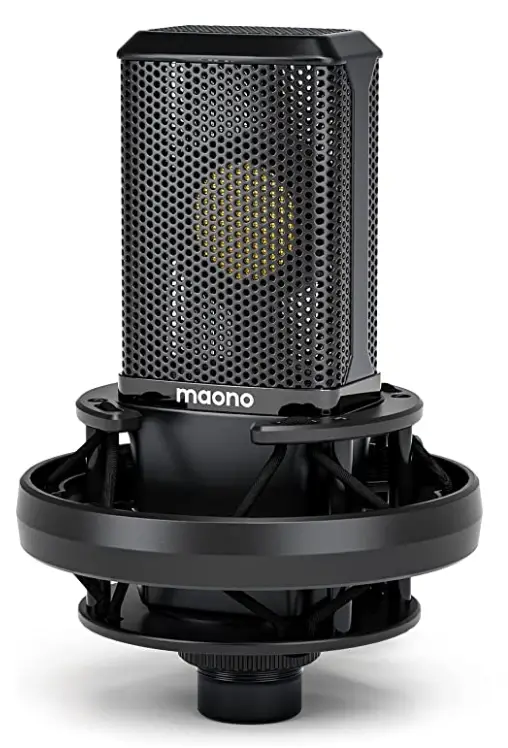
The best beginner microphone I've found is the Maono AU-PM500, and it's what I use.
But there are plenty of other great ones out there.
Microphone (Plus Mic Stand, Pop Filter, XLR Cable) - Maono PM500
The Maono PM500 is a fantastic and versatile large diaphragm condenser microphone, and the one I use in my studio for recording vocals. Not only is it great quality and well-built, but it comes with a mic stand, pop filter, and XLR cable, so you don't have to buy these separately.
You hear what the Maono AU-PM500 sounds like for yourself in my video review below.
Headphones
Studio monitors are expensive, so you're best bet is starting out with some headphones. Good-quality headphones are essential for monitoring your recordings. Closed-back headphones are best as they will block out external noise, allowing you to focus on your recording.
One of the best pairs you can get for cheap are the Tascam TH-02.
How To Mix & Master On Headphones:
By the way, if you want some tips for how to mix and master on headphones, then check out my video below.
If You Want To Upgrade: Best Mixing & Mastering Headphones
Or, if you're wanting to upgrade to some pro-quality headphones, then check out my video below about the best mixing and mastering headphones.
Optional: Studio Monitors (Speakers)
If you decide you do want to invest in some studio monitors, then best pair for beginners is the IK Multimedia iLoud Micro Monitors, which are designed for small rooms (like bedroom home studios) and portable mixing.
There are also the monitors I have in my studio.
IK Multimedia iLoud Micro Monitors
Linear frequency response. Zero coloration. Transparency. Headroom. With iLoud Micro Monitor, you will hear the truth in your music no matter whether you’re mixing in your bedroom, mastering in a small studio or just listening to your favorite tunes at home.
Quality
These monitors produce absolutely beautiful, ultra-accurate, true linear frequency response with no coloration, and is designed specifically for home studios
Size
The perfect size for small rooms and desks, and their small size also gives them great portability. Bluetooth connectivity makes them great listening speakers as well.
Cost
Not the cheapest studio monitors, but considering the quality you're receiving, these are extremely affordable monitors.
If you want to learn more about these monitors, you can read my review here.
4. Set Up Your Equipment
Once you've gathered all the equipment you'll need, it's time to set it up.
I'll assume you already have your computer set up.
From there, simply plug your interface in via USB, and then plug your microphone and headphones into your interface.
Next, install and set up your recording software. Follow the instructions provided by the software, and test the microphone and headphones to make sure they're working properly.
From there, learn how to use your interface and the stock plugins and software that come built-in.
5. Optimize Your Room
To further improve the sound quality of your recordings, you can optimize the room in which your studio is located.
Acoustic Treatment: Level 1
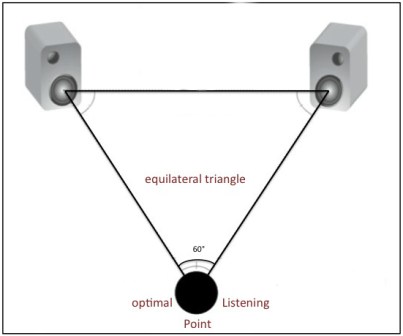
You can optimize your listening environment without having to buy anything extra.
All you need to do is make sure that your speaks are pointing at your ears, and form an equallateral triangle with your head. Also read the instructions for how far away your speakers should be from your wall. Mine say at least 8 inches.
By taking these steps, you'll ensure that you'll get the most out of your speakers.
Acoustic Treatment: Level 2
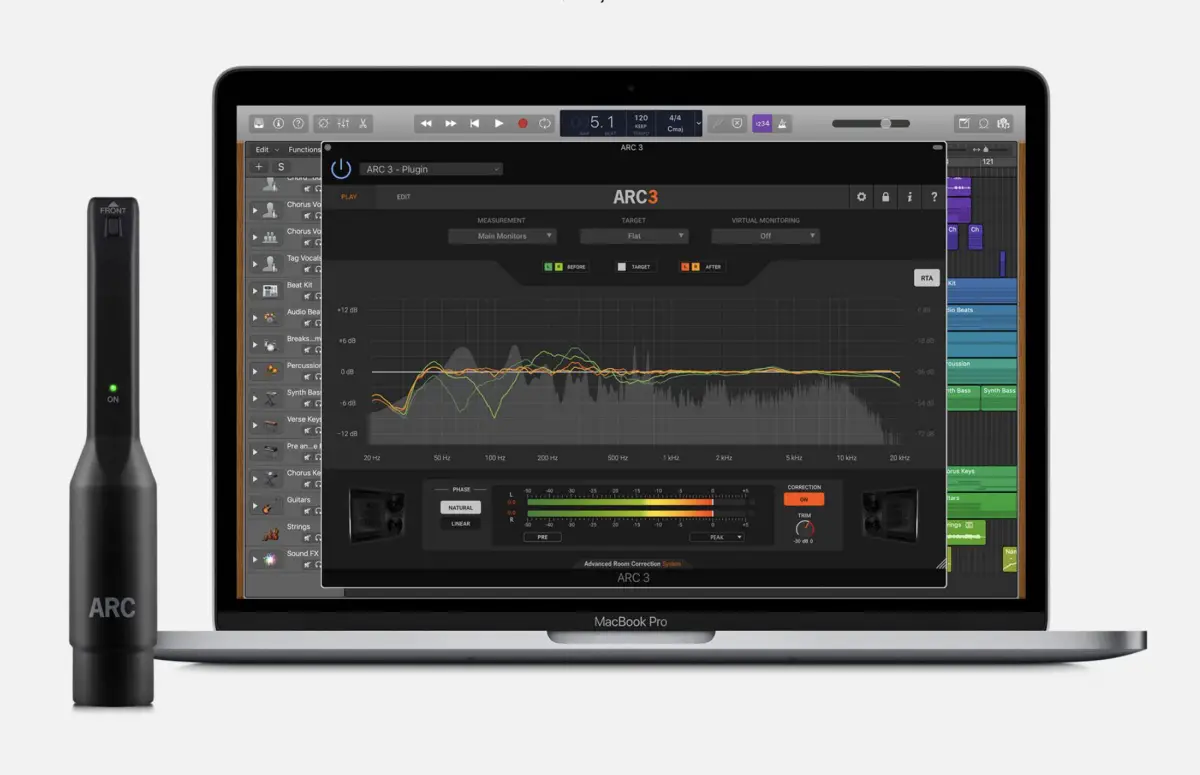
If you want to take things to the next level, you can tune your room with a tool like IK Multimedia's ARC system.
This system comes with a microphone and software that allows you to map the frequency response of your room, and apply a EQ curve to you projects while mixing.
This will help you to make accurate mixing decisions and prevent you from getting tricked by your room.
Yeah, in case you didn't know it, your room can trick your ears.
For example, if you're in a smaller room, your bass frequencies are probably penetrating through the walls and leaving your room.
This means you're hearing less bass in your mix than there actually is.
This isn't as big of an issue if you're just using headphones, as you are taking the room out of the mix, but if you are using speakers, then you definitely want to tune your room.
Acoustic Treatment: Level 3
If you want to go even further toward improving your room, you can actually start to add acoustic treatment by adding sound-absorbing materials such as acoustic panels and/or bass traps to reduce echo and improve the overall sound quality of your recordings.
Next Steps
Now you have your home studio set up!
From here, it's just a matter of improving your knowledge and skills.
For example, if you want to record better vocals at home, check out my video below.
Or, if you're diving into mixing but haven't been able to really treat your room, then watch this other video below.
Finish More Radio-Worthy Songs, Faster!
Setting up your home studio is just one piece of the puzzle when it comes to producing pro-quality songs.
If you want a proven step-by-step formula for mixing radio-worthy tracks from start-to-finish...
Create Pro-Mixes, Faster
Click below to download my free song-finishing checklist to help you create radio-ready songs without taking months to complete them.
This checklist will walk you through a proven step-by-step mixing and mastering process so that you don't ever have to guess or wonder what to do next.
You'll know exactly what to do, and when, so you can quickly mix, master, and finish more tracks.
I hope you found this post valuable!
If so, feel free to share, and let me know in the comments below…

