Bright vocals that cut through a mix are a hallmark of professional-sounding vocals.
But just how do you get brighter vocals? It's not as simple as just boosting the high frequencies as then you run into problems of harshness.
Get brighter vocals by cutting lower frequencies, and boosting only one key high frequency range. Additionally, you can add saturation and harmonic enhancement to further add brightness. Finally, you can also add an EQ boost to the sides of your signal, or even add parallel processing.
Keep reading as I'll break down 7 techniques for getting brighter vocals.
Create Pro-Mixes, Faster
Click below to download my free song-finishing checklist to help you create radio-ready songs without taking months to complete them.
EQ Frequency Range Characteristics
To help you understand each of the frequency ranges of your vocals so that you can make the best decisions, here is a handy guide:
- Low-End Noise - 20 Hz to 80 Hz
- Boominess - 80 Hz to 300 Hz
- Muddiness - 250 Hz to 500 Hz
- Nasal Honk - 800 Hz to 1.5 kHz
- Presence - 4.5 kHz to 9 kHz
- Breathiness - 10 kHz to 15 kHz
1. Remove The Low End
I know this might not make sense, but bear with me.
When you add compression to your vocals (with the low end still present), you are going to bringing up a lot of those quieter low frequencies, which will overall make the vocal sound darker and muddier.
By simply removing the low end, you'll make your vocal appear brighter.
Additionally, but simply boosting the high end, you can lose headroom, or cause your vocals to clash and compete with other sounds.
Settings:
- Apply a high pass filter up to about 80hz (stop and dial it back if you start to hear the vocal being taken away)
- Consider a cut to the 200-350hz range to remove boxiness
2. Only Boost ONE Key Frequency
Once you've made your cuts, you may want to apply a boost as well.
Target the main frequency range you want to your vocal to occupy, and boost this a few dB.
Settings:
- Use a fairly wide Q
- For "air", apply a couple dB shelf around 10kHz and above
- For "presence", consider boosting around 4kHz to 5kHz
By the way, if you're looking for a great beginner microphone for recording vocals, then check out the Maono PM500.
3. Add Analog Saturation
Adding in some analog saturation can also help to bring your vocals to life, and make them sound brighter without being too harsh.
If you don't have any analog gear, that's totally fine, as you can just use plugins that emulate analog saturation.
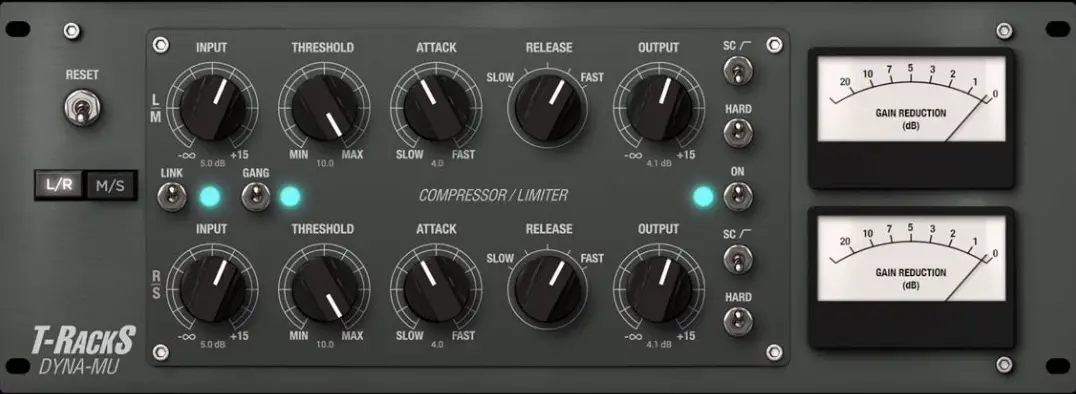
This could be subtle saturation in the form of a channel strip emulation, or using a tube compressor, like the Dyna-Mu by IK Multimedia.
When I used to help with recording bands at a commercial recording studio, we used the physical hardware version of this plugin (The Manley Slam!) on every vocal we recorded.
The hardware unit had a noise floor that we would have to then edit out of the vocal recording, but this software version doesn't have that drawback, AND it doesn't cost close to 10 grand like the hardware model.
4. Apply A Harmonic Enhancer
You can also add a harmonic enhancer to your vocal, which can help you to enhance the high frequencies without increasing volume or harshness.
Waves makes a bunch of these, but my favorite one is Parallel Particles, which is also very easy to use, and only has 4 main controls (not counting input and output).
This plugin will actually introduce new harmonics and frequencies to your track that weren't there before.
Sub
Sub is a harmonic generator that creates lows and adds sub frequencies that were never there before. By working more with resonance than EQ, it’s a great way to create a presence in the low end without things getting out of control.
Air
Air focuses on those elusive air frequencies and brings them to the forefront. Like Sub, it is a harmonic generator which creates innovative resonances that do not exist in your source. Traditional EQ can sometimes magnify unwanted noise or artifacts; but this control circumvents this issue by synthesizing the top end from existing lower frequency material.
Bite
Bite is designed to create sonic vitality and emotion. It controls the front ends of the notes (those that reach your ear first), but it also has a big impact on the release. It can be used on anything to make your sound more aggressive. A singer will sound more energetic, a snare drum will have more attack, a bass guitar will sound more present, and so on.
Thick
Thick adds solid body to the signal, evening out the lower mids and midrange, creating a feeling similar to that of a microphone being a little bit closer, or the room ambience being darker.
5. De-Ess
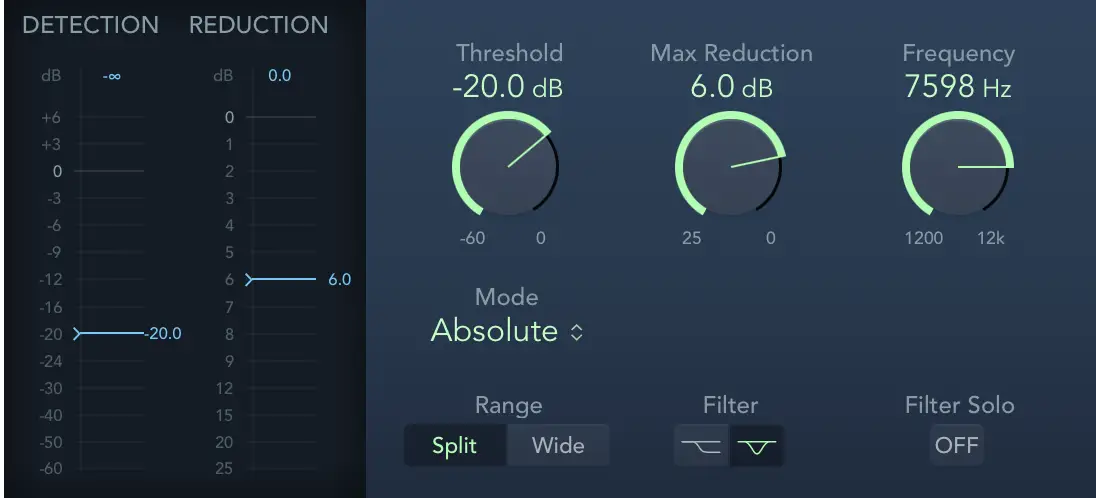
If your boosting and other effects are increasing brightness, but also increasing sibilance, you can add a De-Esser plugin to tame those specific frequencies.
A De-Esser is essentially a noise gate that reacts to frequency instead of volume. When the volume level of a specific frequency gets too loud, the De-Esser will automatically turn it down.
6. Add Mid-Side EQ
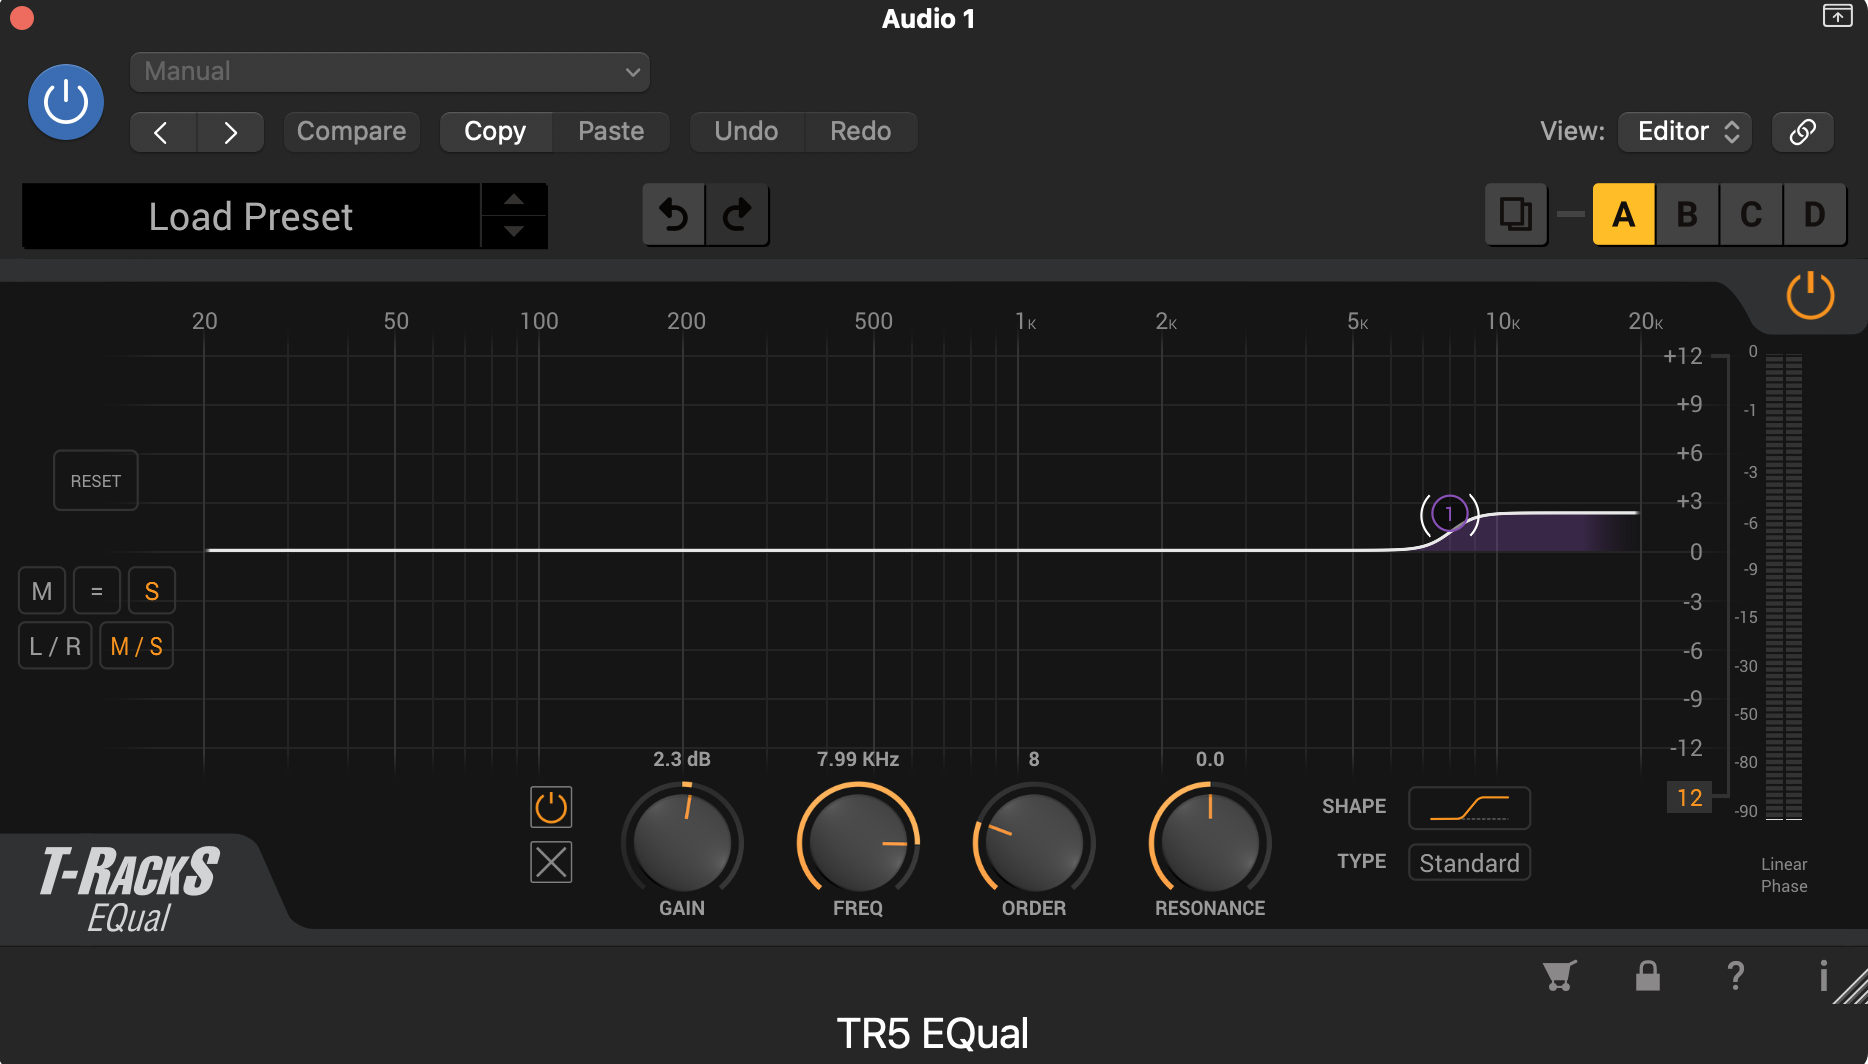
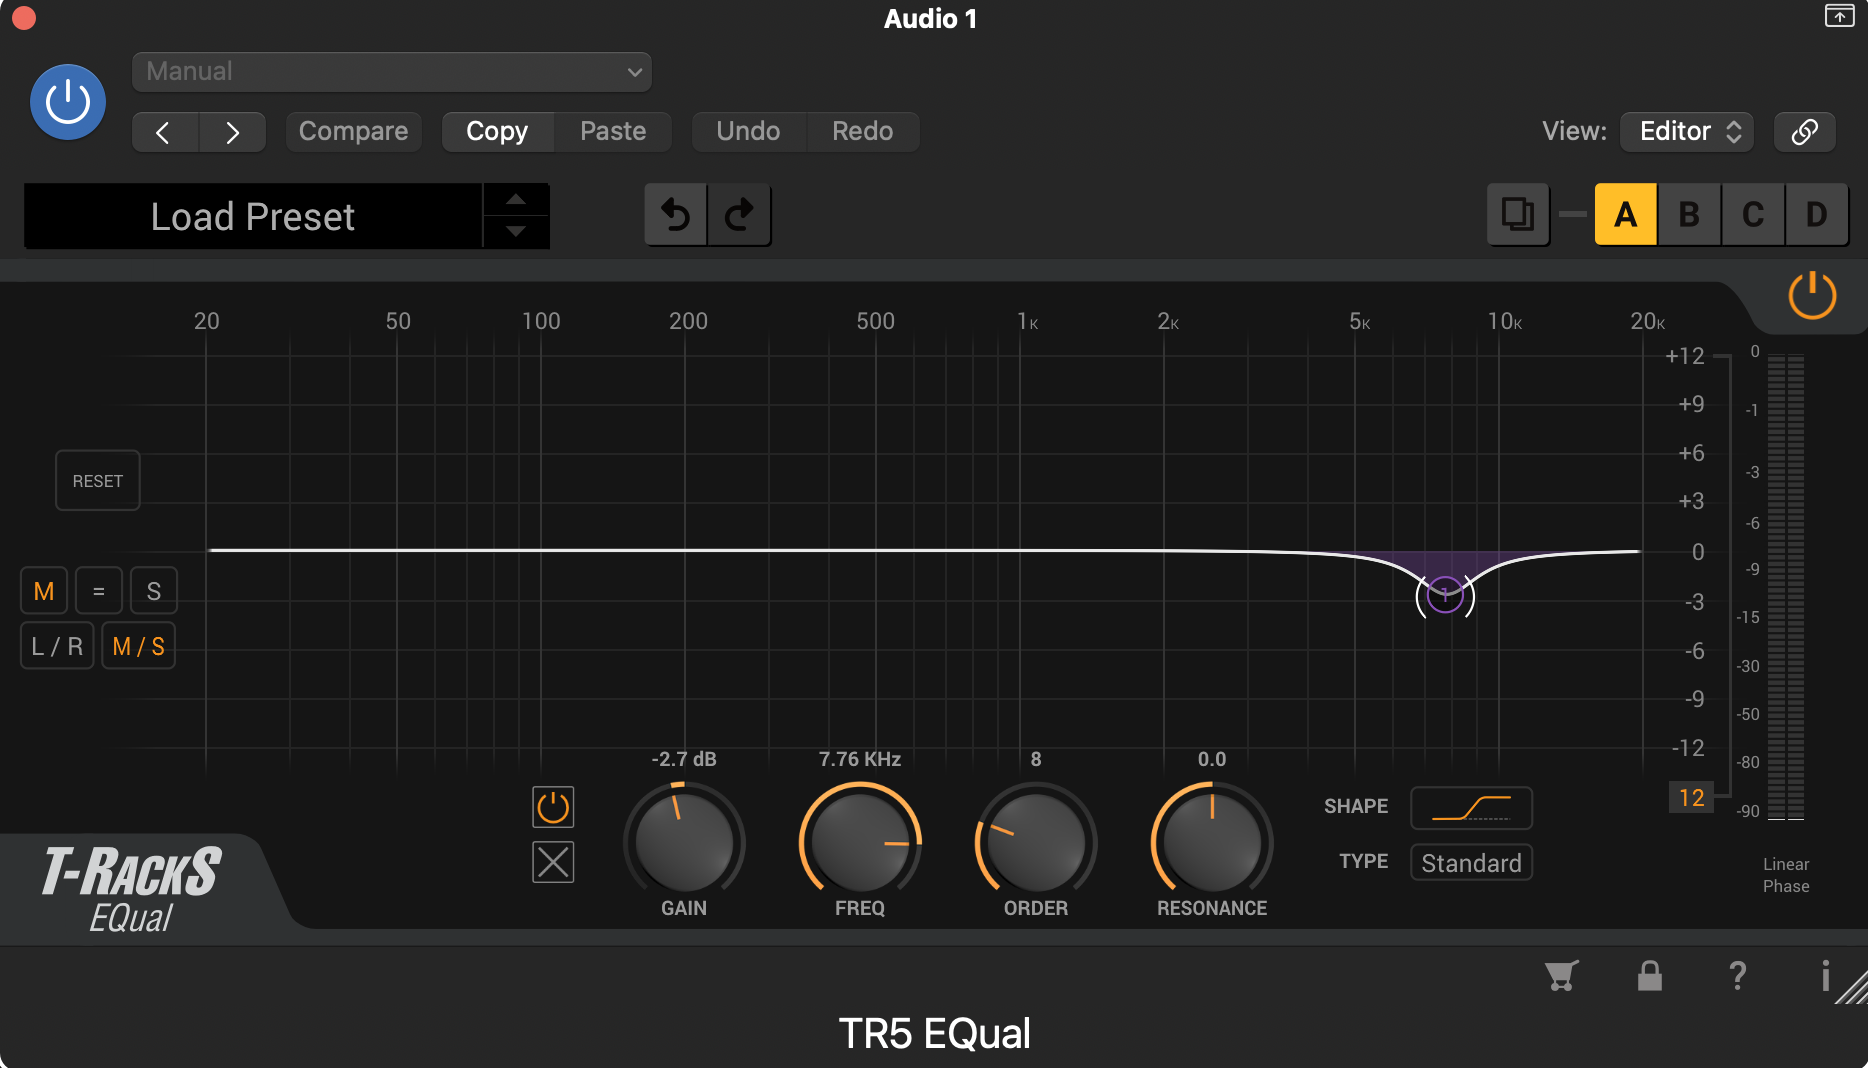
If you are finding your vocals are still too harsh, you can try using mid-side EQ in order to reduce harshness, but maintain brightness.
Mid-side EQ allows to EQ the middle portion of a sound differently than the left and right sides of the sound in the stereo spectrum.
You might consider cutting some of those harsh frequencies in the middle portion of the vocal, but then boosting those frequencies on the sides.
By doing this, you can maintain brightness while reducing some of the harshness.
7. Parallel Processing
One final strategy you can try is parallel processing.
You can send your vocal track to a bus where you apply extreme vocal brightening measures, whether that's in EQ boost, harmonic enhancement, or some combination of effects.
You then blend in this ultra-bright version of your vocal in with your main vocal to add in some brightness.
Finish More Radio-Worthy Songs, Faster!
Achieving bright vocals is just one piece of the puzzle when it comes to producing pro-quality songs.
If you want a proven step-by-step formula for mixing radio-worthy tracks from start-to-finish...

Create Better Songs, Faster
Click below to download my free song-finishing checklist to help you create radio-ready songs without taking months to complete them.
This checklist will walk you through a proven step-by-step mixing and mastering process so that you don't ever have to guess or wonder what to do next.
You'll know exactly what to do, and when, so you can quickly mix, master, and finish more tracks.
I hope you found this post valuable on how to get bright vocals.
If so, feel free to share, and let me know in the comments below…

