Do you mix the instrumental first and then vocals or vocals first?
With almost everything in the music production world, there is no one or "right" way to do something.
But that being said, there is still a general rule of thumb that you want to follow when mixing.
Start mixing the instruments first, then move on to the vocals. By saving the vocals for last and starting with the instrumentation, you help ensure that your vocals (the most important part of any song) sit on top of the mix.
Why does mixing the instruments first help the vocals to sit on top of the mix?
And if you do start with the instruments, which instrument do you start with?
I'll cover that in the rest of this article.
Why You Start With The Instruments
The reason you want to start with your instruments first is because we as humans naturally tend to mix the sound we're currently working on the loudest.
When you're working on a particular instrument, you want to be able to hear what you're doing, so you tend to make it stick out just a little bit more than the last section you mixed.
This is why you want to do vocals last.
Vocals as the most important part of any song because they carry the melody and the message of the song. You want your vocals to sit on top, or at the very least, be the most intelligible part of the song.
So start with your instruments, and then work your way up to the vocals.
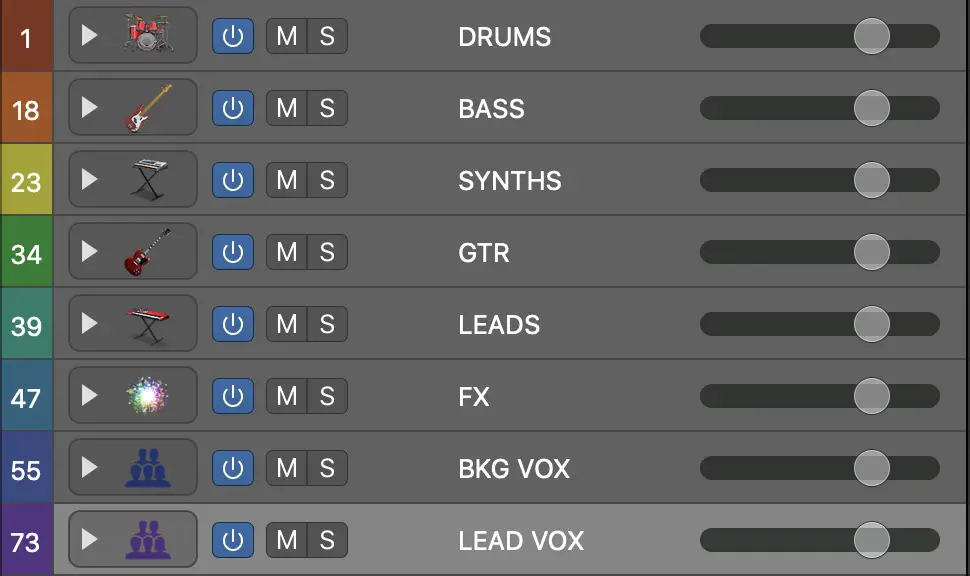
I emphasize this myself with my mixing template, as I have each of my instrument sections arranged in a "bottom to top" order. I put my drums and bass at the top of my DAW project, and then work my way down until I arrive at vocals.
The Mixing Process: Organize, Fix Problems, Then Sweeten
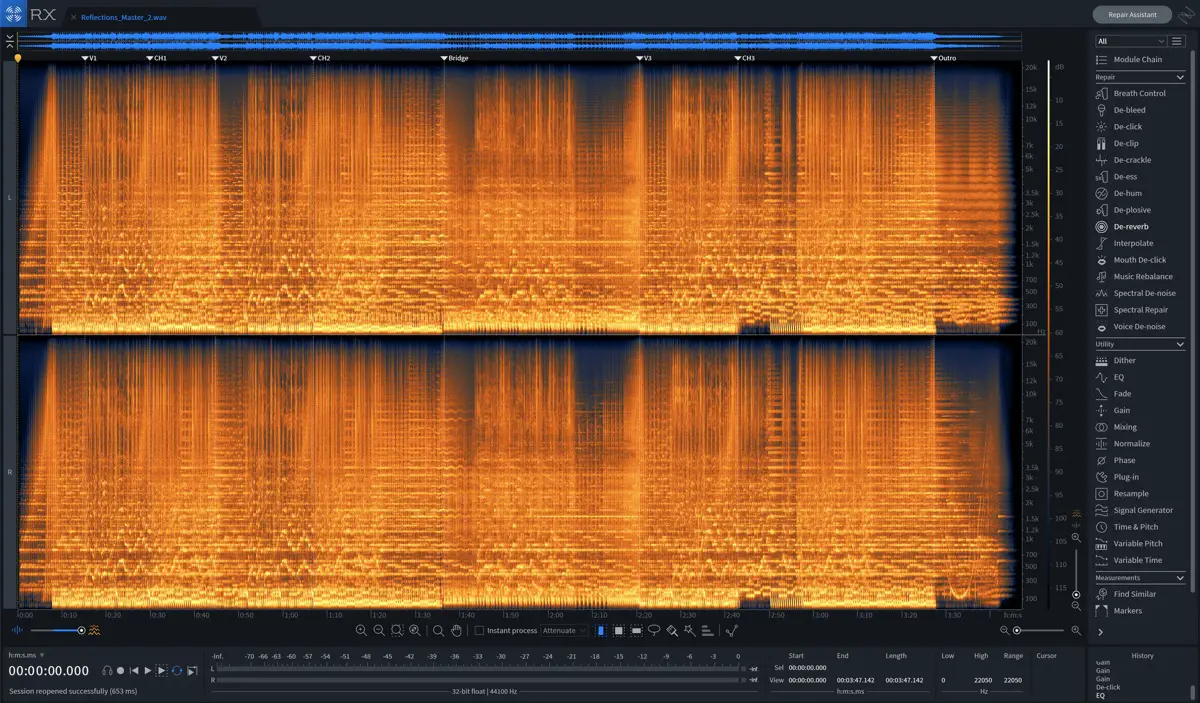
Like it's name implies, iZotope's RX is great for "doctoring" and fixing just about ANY issue you have with a recording.
Backing up for a second, the overall mixing process can be broken down into three steps.
- 1Orgnization
- 2Fixing Problems
- 3Sweetening
Organization
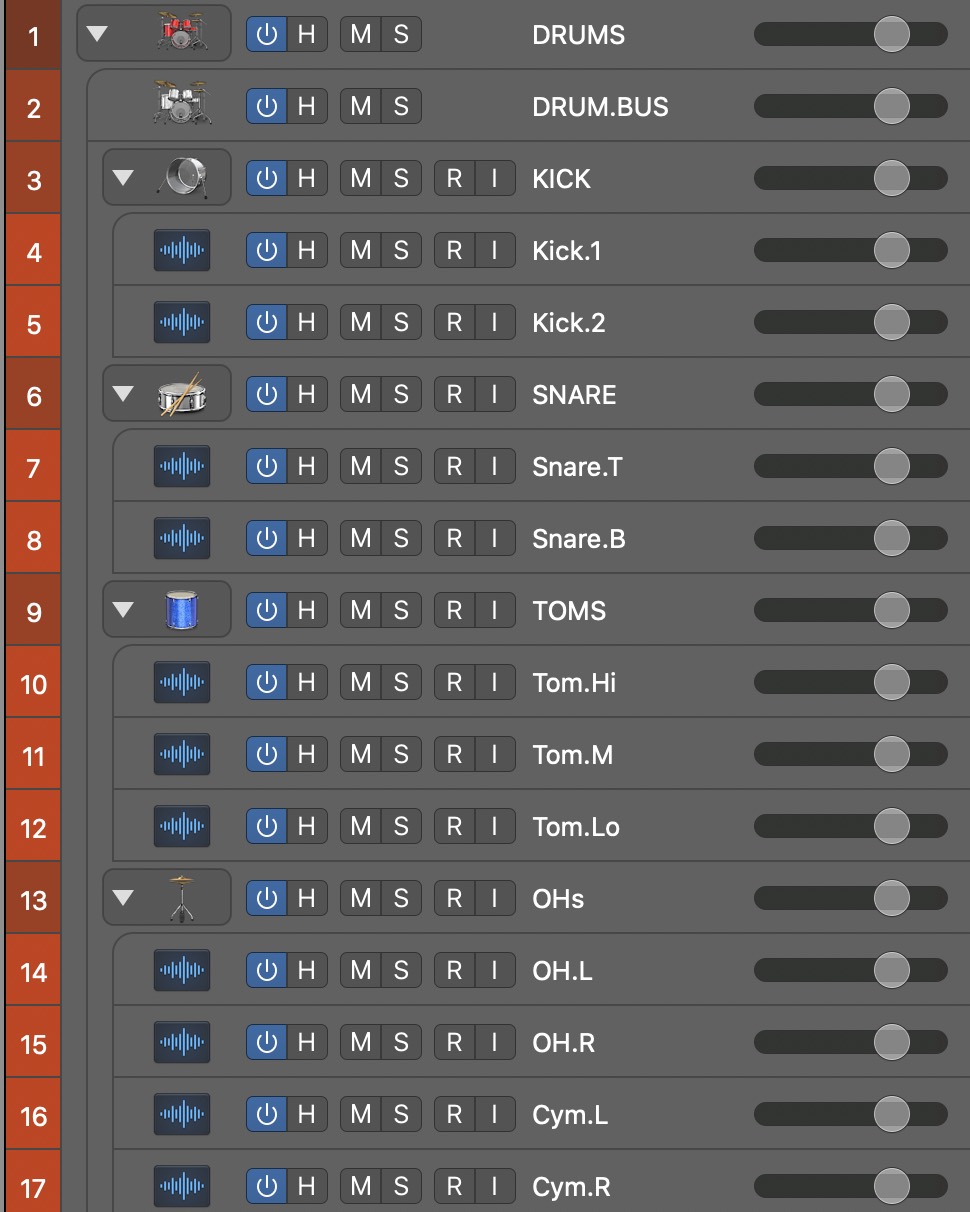
During the organization phase, you are setting up your DAW and recordings to be easier to mix.
This includes:
Organization cuts down on confusion and the amount of time it takes to mix a song effective.
This is so important, that I actually recommend you create a mixing template for yourself that already has your tracks arranged, colored, and routed into buses the way you'd like.
As you can see in the picture above, in my mix template, I have all of my different drum parts (Kick, Snare, Toms, Overheads) routed to individual buses, which in turn, feed into the main drum bus.
I'll go into why bussing is so important a little later on in this post, but for now, just know that this really helps with organization, and saving on CPU resources.
Fixing Problems (Editing)
Next, you have to fix any problems that you have. This is also known as the "Editing phase".
In a perfect world, if you record correctly, you won't have many problems to deal with, but hey, this isn't a perfect world, and if you're reading this, you probably have a home studio (like I do) which isn't the ideal recording environment.
So there are going to be problems to fix.
Even when I would help to record bands at a professional recording studio, we still always had problems to fix. Vocals needed tuned, and guitars and/or drums weren't quite in time with the beat, and needed aligned.
A problem is anything that isn't intended, or distracts the listener. These include, but are not limited to:
Sweetening
This is when you start adding EQ, compression, effects, and so on.
This is the section where the question arises...
"Do you mix instruments or vocals first?"
And, sure, not everyone follows this advice, but the way I was taught by my mentor (who has recorded artists like Dave Brubeck, and Brian Johnson and Cliff Williams from AC/DC) was that you mix "Botton to top".
In other words, you start with your lowest frequency sounds, and mix your way up to the top, ending with vocals.
Create Better Songs, Faster
Click below to download my free song-finishing checklist to help you create radio-ready songs without taking months to complete them.
How To Start Mixing
Once you've organized your project and fixed any problems, now you're really ready to start mixing.
Create A Static Mix
Before even diving into mixing individual instruments, you'll first want to create a static mix.
This is where you set the base volume and panning setting for all of your tracks.
Panning
You'll want to pan just about all of your instruments, either left or right, giving everything it's only place in the stereo spectrum.
The only instruments you typically do NOT want to pan are your kick drum, bass, and lead vocals. Leave these for the center.
Volume
Next, bring all of your instrument faders down, and then start bringing back in your instruments one at a time to set the volume balance the way you like.
Keep an eye on your over LUFS while doing this so that your mix doesn't get louder than about -23.
Listen Back In Mono
It's also a good idea at this point to listen back to your mix in mono using a gain or trim plugin that you probably already have in your DAW. The one in Logic Pro X is just called "Gain".
Drop it on your mix bus, click the little "mono" button to "on", and you're good to go.
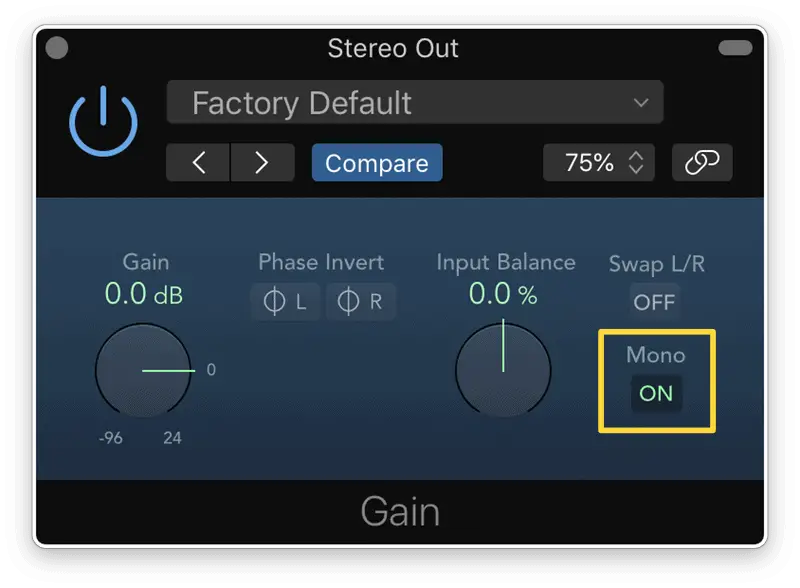
When listening in mono, your left and right audio signals are merged together into a single channel. All instruments will sound like they are coming right out of the middle, no matter where they are panned.
It's essentially the same as listening through a single speaker.
Mixing in mono might sound counter-intuitive, but it can actually be quite helpful.
When instruments are panned, you might not notice certain problems.
These are problems that exist in stereo as well, but they're just harder to hear.
Additionally, there could be phase issues (that you don't hear in stereo), which can actually cause certain sounds to cancel each other out. You think your mix is good than you listen in mono and the vocal completely disappears!
Finally, a lot of audiences listen to music in mono, so it's good to check and make sure your track sounds good in mono.
If it sounds good in mono, it will probably sound good in stereo.
Having this set up on your mix bus will allow you to switch back and forth between stereo and mono as you mix, ensuring that everything checks out.
Kick & Bass
Now it's time to really dive in, and once you do, you'll want to start with your kick and bass.
These instruments are the backbone of your song, and should be the only sounds occupying the lowest frequencies of your track (roughly 100k and below).
Since your kick and bass go in roughly the same frequency range, there is a real danger that they clash with each other.
So while mixing these, you'll want to make sure you carve out separate spaces for both your kick and your bass.
You may also want to consider side-chaining your bass to your kick so that every time your kick hits, the volume level of your bass dips so that it is "ducking" under the kick.
Other Drums & Rhythm
Next, move on to your other drum instruments so that your drums blend together as a cohesive group.
From there, you can move on to your other rhythm instruments, whether that's guitars, piano, or synths.
Again, keeping in mind that you want to give everything a "place" in the spectrum so that everything can be heard.
Leads & Vocals Last
The final thing you mix are your lead instruments and vocals.
These are the parts that carry the melody, so you want them to be the most prominent.
As a result, they tend to fall in your more upper mid and high frequency ranges.
Mix Top To Bottom
Now, there is also a "top to bottom" mixing concept that you may want to implement as well, but it has a completely different context than the "bottom to top" process I outline above.
This mixing technique refers to starting with mixing your mix/stereo bus, and then working your way down to your main instrument busses before actually tackling individual tracks.
This approach can be handy and time-saving because you're able to move the needle closer to the "finished" end of the spectrum faster by mixing multiple instruments at a time.
You may find you can put ONE plugin on a bus and fix your problem rather than having to process each individual track that feeds that bus.
Mix Bus
Starting with your mix bus, what you do here impacts literally every other track in your mix, so you want to be careful and subtle.
You may just want to add some gentle compression, saturation, and EQ.
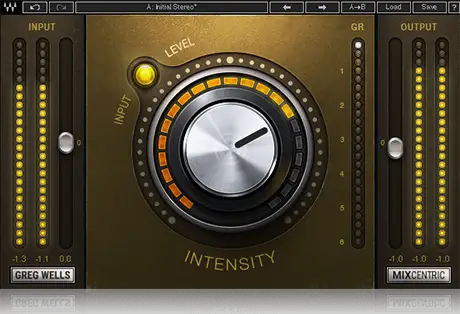
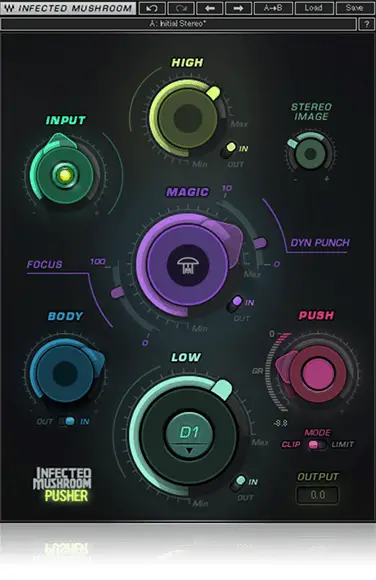
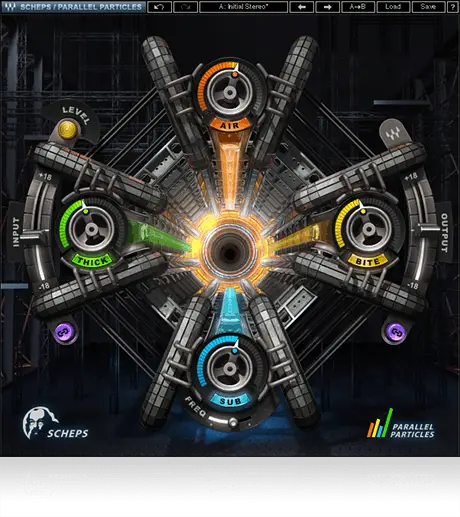
Some more drastic measures you can take is adding a harmonic enhancer plugin to your mix bus like a Greg Wells Mix Centric, Infected Mushroom Pusher, or Scheps Parallel Particles.
Of all of these harmonic enhancers, I probably like Mix Centric the best because it's the simplest and just makes your mix sound better every time.
One final thing you might want to do is add a limiter to your mix bus just so you can be mixing your song at roughly the volume it will be at when you master it.
You'll turn off this limiter when you go to master, but it can be helpful to have on when mixing so you are hearing what it's actually going to sound like.
Bus Mixing

Once you've adjusted your mix bus, the next step down is your bus processing.
But again, you'll want to follow the "bottom to top" system here, so start with your drums and bass, then move on to rhythm and vocals.
Like the mix bus, you'll want to be subtle here as well, adding saturation, EQ, and compression as needed in a way that enhances your track groups as a whole.
The goal isn't to try and fix everything, but to get things close so that when you go to tack individual tracks, you have a minimal amount of work to do.
Finish More Mixes, Faster
And that is how you go about mixing!
But how would you like to finish more commercial-quality tracks, faster?
If that sounds good to you, then grab my free rapid song-finishing checklist below.

Create Better Songs, Faster
Click below to download my free song-finishing checklist to help you create radio-ready songs without taking months to complete them.
I hope you got value from this post on which should you mix first, instruments or vocals.
If so, I'd love for you to share, and let me know in the comments below...

