Saturation is one of the most important, yet often overlooked concepts in mixing.
But what exactly is saturation?
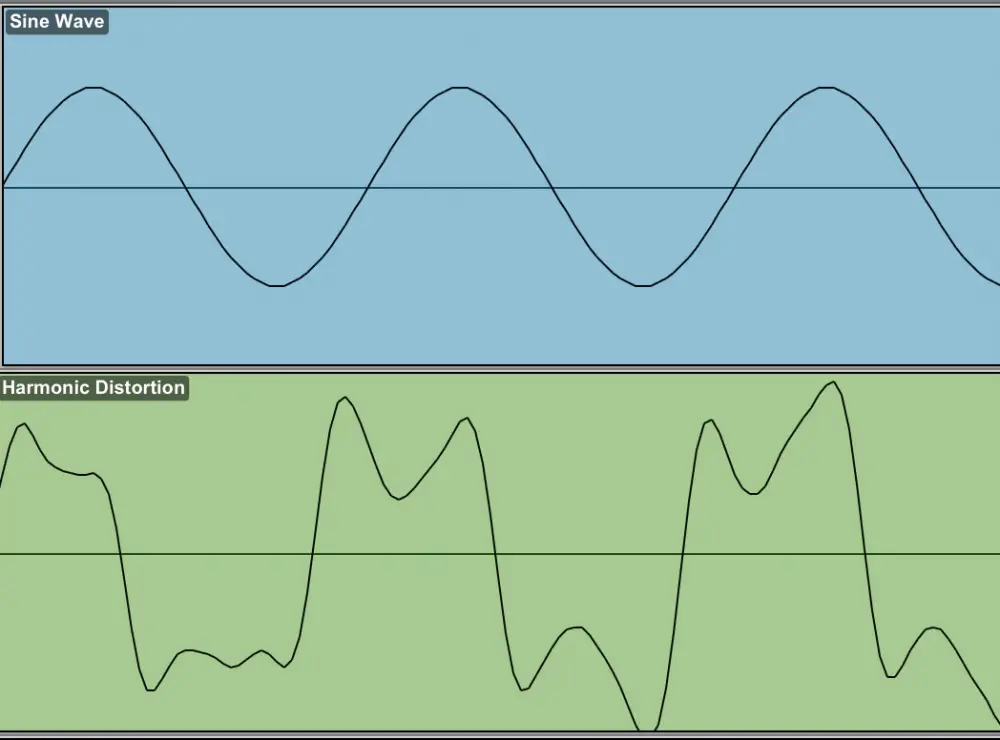
In mixing, saturation is the process of adding harmonic distortion to an audio signal, which also produces subtle compression. This can be done with a saturation plugin, or by using an external piece of hardware. Saturation can be used on individual tracks, or on the master bus.
In this guide, we will discuss what saturation is, and how to use it to improve your mixes.
We'll also look at some common saturation techniques that you can start using today!

Create Better Songs, Faster
Click below to download my free song-finishing checklist to help you create radio-ready songs without taking months to complete them.
What Is Saturation & What Does It Do In Mixing?
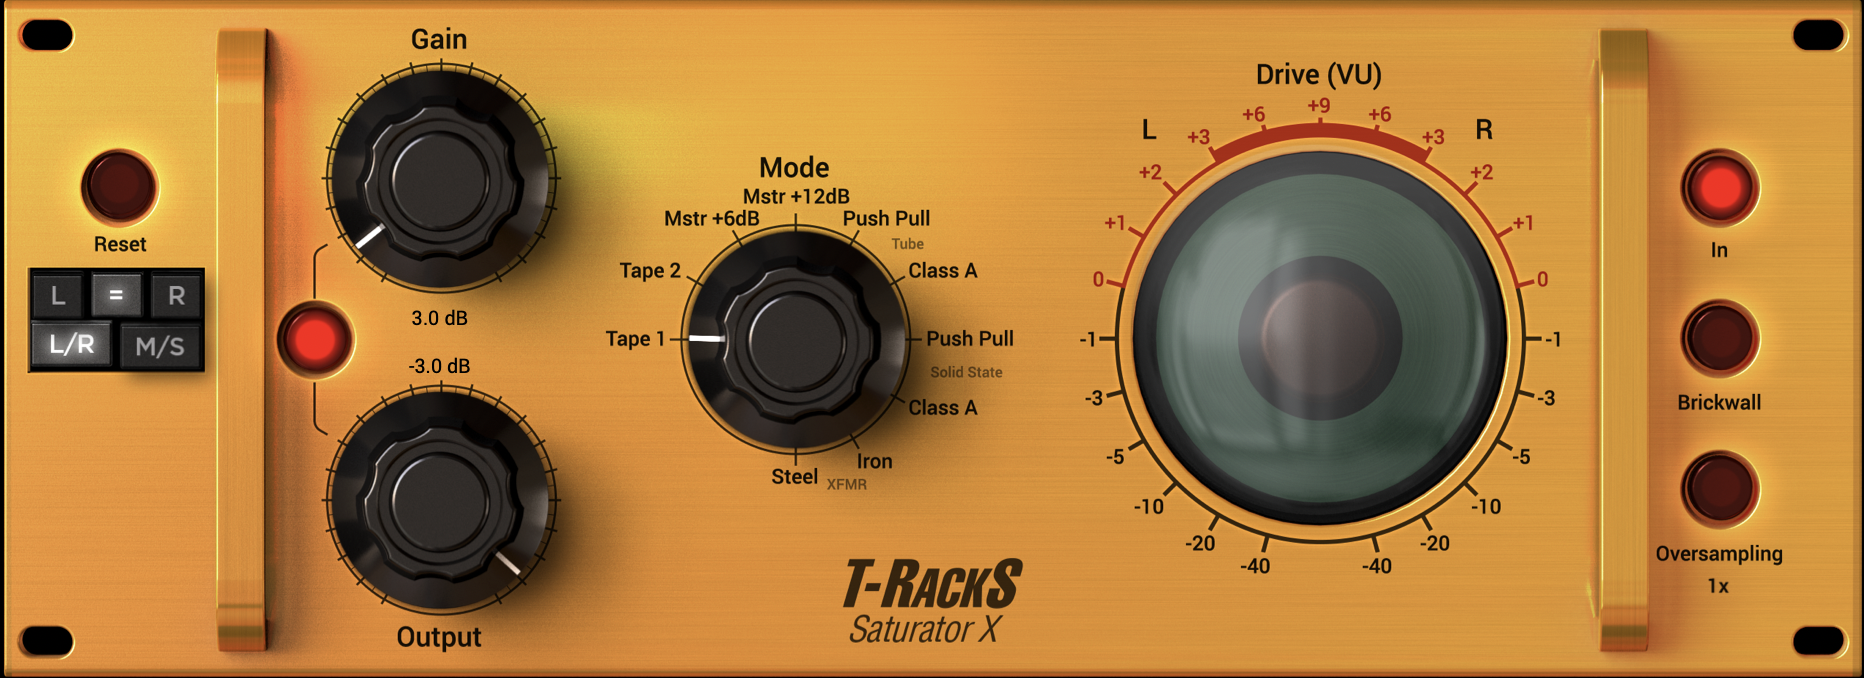
Saturation is often used to add warmth and body to a mix. It can also be used to fatten up drums, or to add grit and character to guitars, synths, or even vocals.
When used subtly, saturation can make a huge difference in the overall sound of a mix. Saturation is what can give your tracks an "expensive" sound by adding warmth, depth, and character to your tracks.
However, it's important to use saturation carefully. Too much saturation can lead to a dirty sounding mix.
It's always best to start with small amounts of saturation and then increase the amount until you achieve the desired sound.
Even Harmonic Distortion vs Odd Harmonic Distortion
When saturation is added to a signal, it creates what is known as harmonic distortion. This is when the waveform of the signal is altered, creating new frequencies that were not originally present.
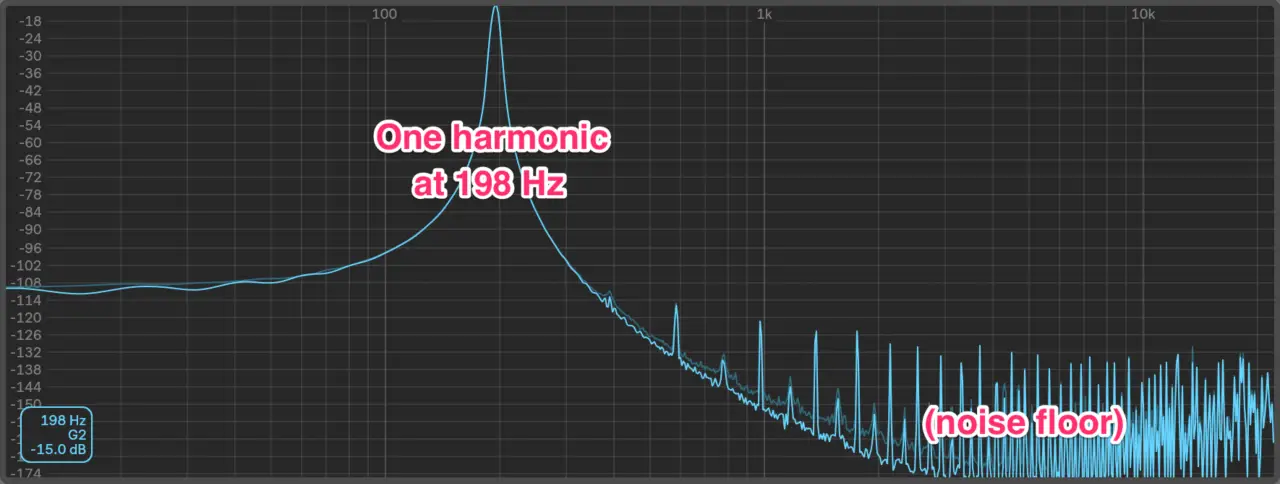
Every sound has a "fundamental" frequency at which they resonate at, but other than a perfect sine wave, all sounds are comprised of multiple frequencies.
These other frequencies, above and below the fundamental in the frequency spectrum, are called "harmonics".
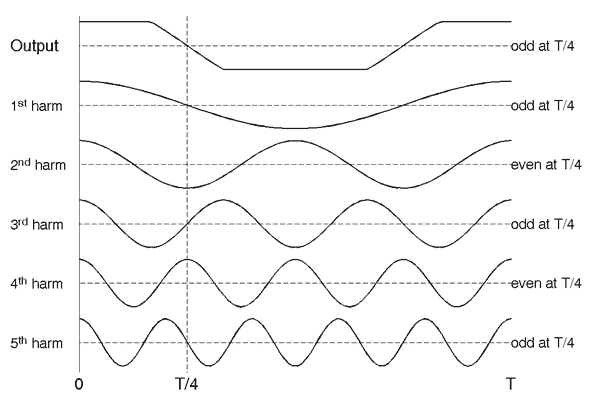
There are two types of harmonic distortion: even harmonics and odd harmonics.
Even Harmonic Distortion
Even harmonics are created when the saturation adds frequencies that are double, triple, etc. of the original frequency. So if the original frequency was 100 Hz, the even harmonics would be 200 Hz, 300 Hz, 400 Hz, etc.
Odd Harmonic Distortion
Odd harmonics are created when the saturation adds frequencies that are 1.5 times, 2.5 times, 3.5 times, etc. of the original frequency. So if the original frequency was 100 Hz, the odd harmonics would be 150 Hz, 250 Hz, 350 Hz, etc.
Generally speaking, even harmonic distortion sounds smoother and warmer than odd harmonic distortion. Odd harmonic distortion sounds harsher and more aggressive.

Create Better Songs, Faster
Click below to download my free song-finishing checklist to help you create radio-ready songs without taking months to complete them.
Tape Saturation
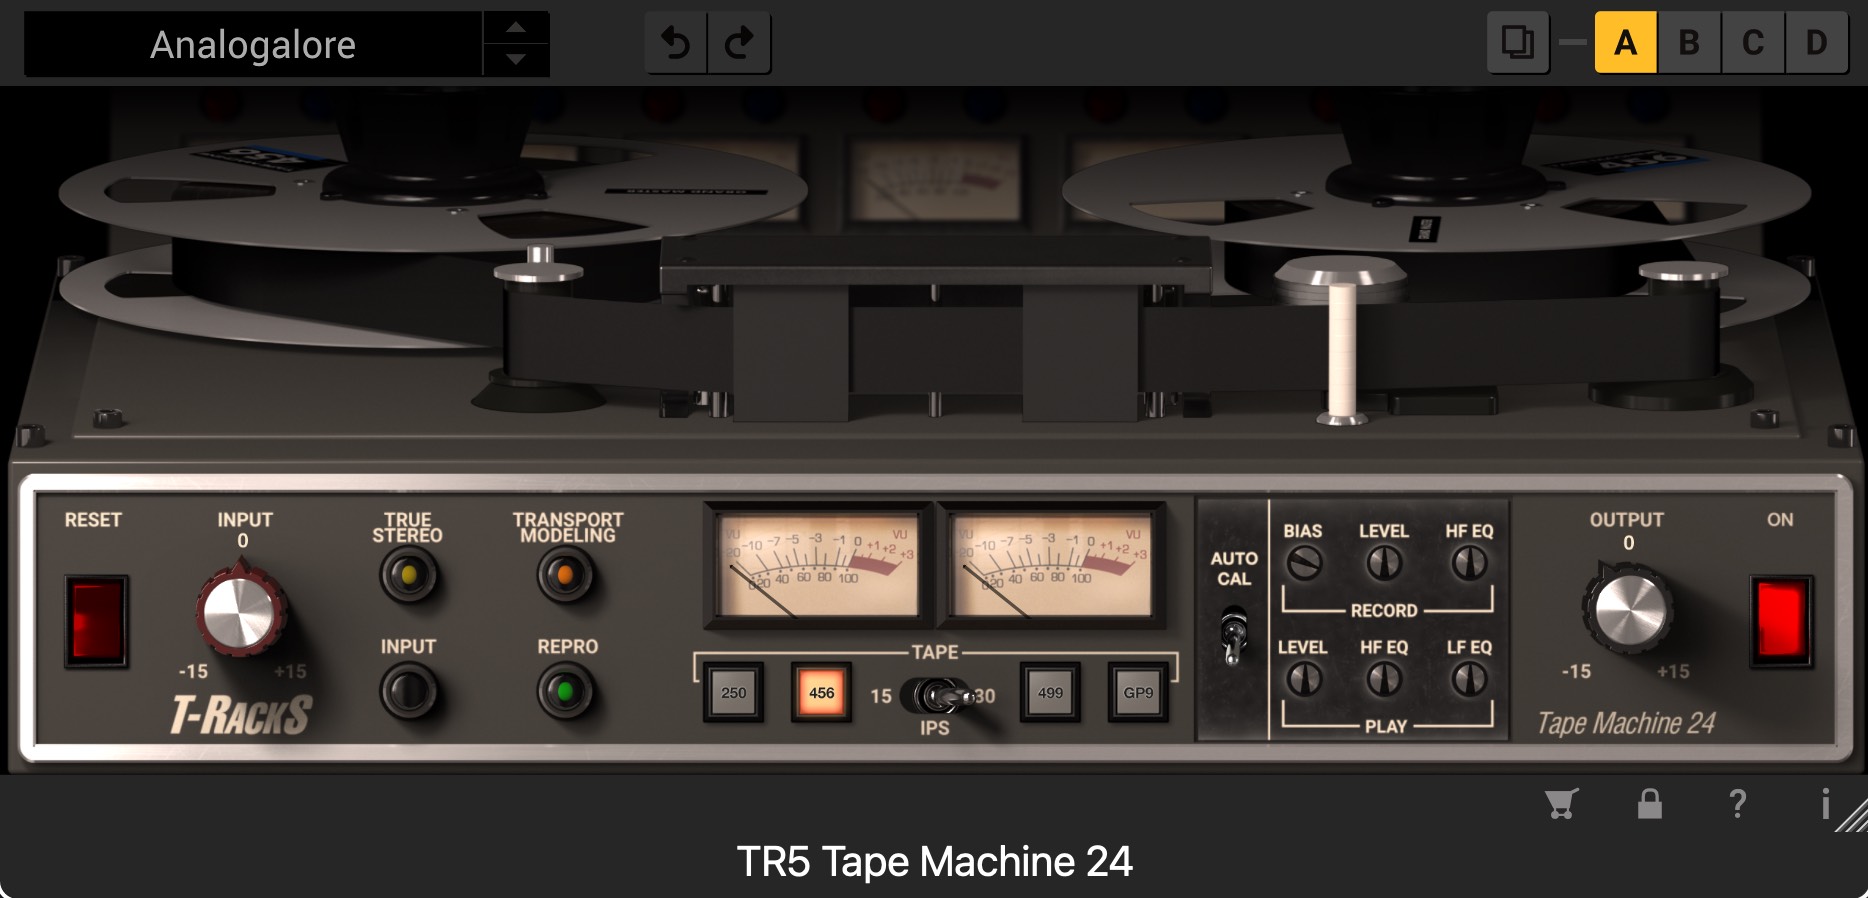
One of the most popular saturation techniques is known as tape saturation. This is where you mimic the sound of an analog tape machine by adding saturation to the signal.
Tape saturation can be used on individual tracks, or on the master bus. When used on individual tracks, it can add warmth and character to that particular instrument. When used on the master bus, it can give the entire mix a warm, vintage, analog feel.
To achieve a tape saturation effect, you'll need to use a saturation plugin. There are many different saturation plugins available, so it's important to experiment with a few different ones until you find one that you like.
Some of my favorite tape saturation plugins are:
Once you've found a saturation plugin that you like, it's time to start experimenting with the settings. As a general rule of thumb, you'll want to start with lower saturation levels and then increase the amount until you achieve the desired sound.
It's also important to experiment with the different types of tape saturation. Some saturation plugins will allow you to choose between different types of tape, such as 1/4", 1/2", or full-track. Each type of tape has its own unique sound, so it's important to experiment with all of them until you find the one that sounds best for your particular mix.
Tube Saturation
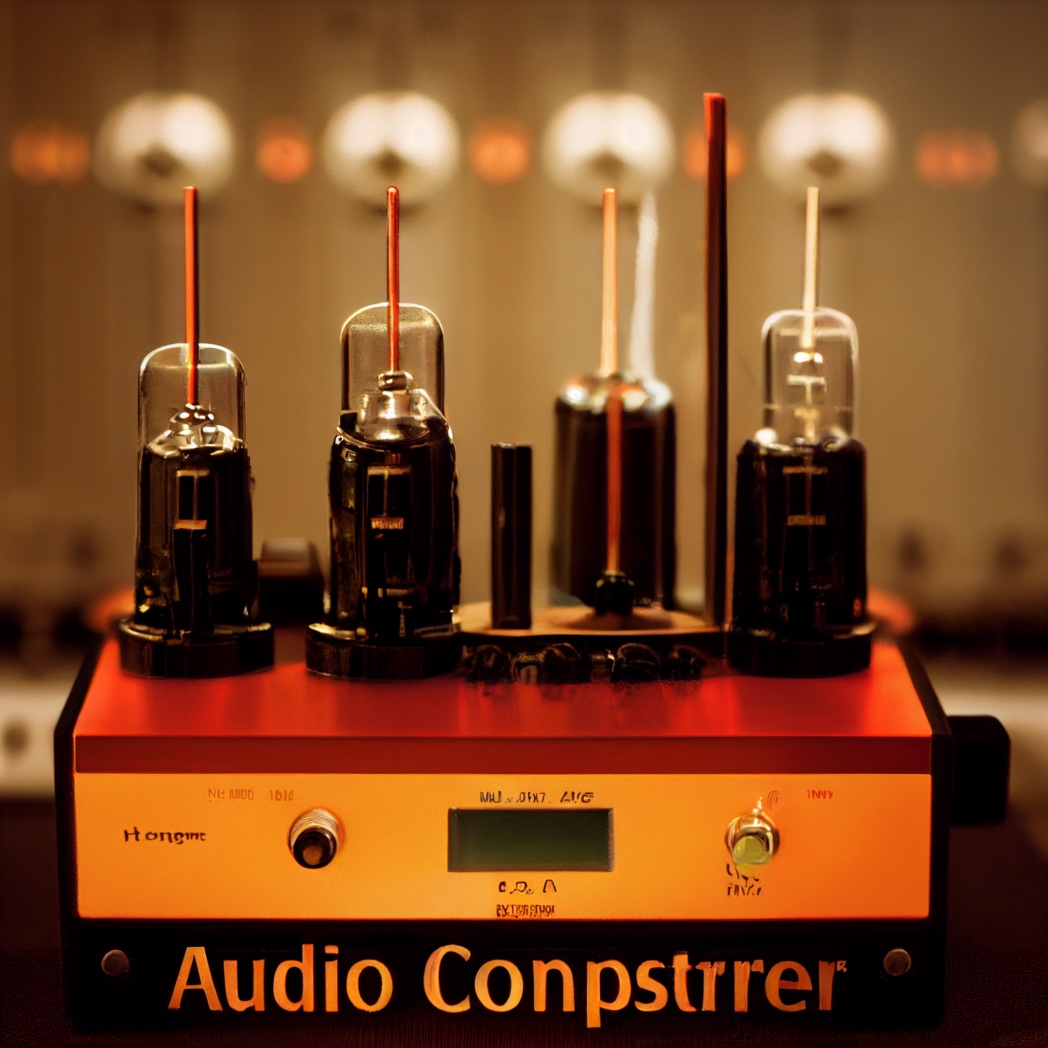
Tube saturation is another popular saturation technique. This is where you mimic the sound of a tube amplifier by adding saturation to the signal.
Tube saturation has a "warm" character to it, and produces second-order harmonics.
Whereas tape saturation creates warmth from high-frequency attenuation, tube saturation creates warmth from low-frequency amplification.
Some of my favorite tube saturation plugins are:
Transistor Saturation

Transistor saturation is the most common form of hardware saturation, as transistors and transforms exist in just about all electronic equipment, and give off saturation inherently based on their construction.
Transistor or transformer saturation generally produces more third-order harmonics, but can contain both even and odd harmonics depending on the type of transistor.
Overall, transistor saturation results in more mid and high frequencies, and produces a fuller and more complex sound.
Some of my favorite transistor saturation plugin is:
How To Use Saturation In A Mix
Saturation is a powerful tool that can be used to add warmth, character, and depth to your mixes. There are many different saturation techniques that you can use, so it's important to experiment with all of them until you find the ones that work best for your particular mixing style.
When used correctly, saturation can take your mixes to the next level.
1. Saturate Individual Tracks
One of the most common ways to use saturation is on individual tracks. This can be a great way to add warmth and body to drums, guitars, or vocals. Simply insert a saturation plugin on the track that you want to saturate, and then experiment with the settings until you achieve the desired sound.
2. Saturate The Master Bus
Another popular saturation technique is to saturate the master bus. This will give your entire mix a vintage, analog feel. To do this, simply insert a saturation plugin on your master bus, and then experiment with the settings until you achieve the desired sound.
3. Use Multiple Saturation Techniques
For even more flexibility, try using multiple saturation techniques on different tracks or in different parts of your mix.
For example, you could use one saturation technique on the drums, and another saturation technique on the guitars. Or you could use saturation on the verses, and then use a different saturation technique on the choruses.
Experiment with different combinations until you find the ones that work best for your particular mix.
Common Saturation Techniques
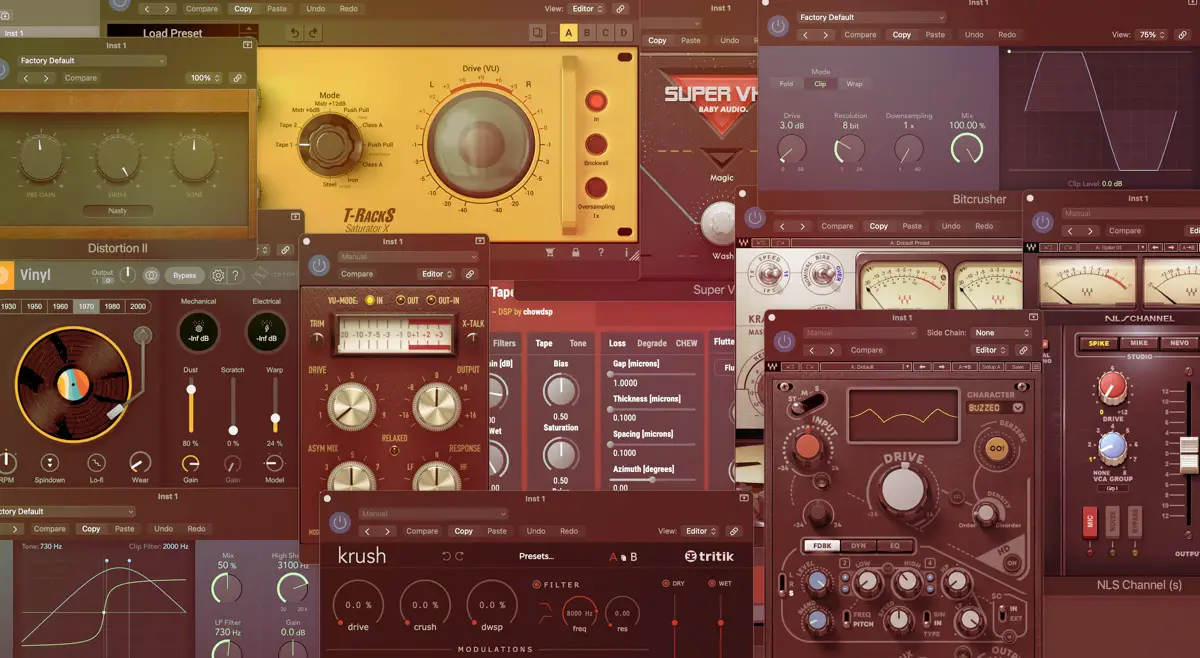
There are a few common saturation techniques that are used in mixing. Let's take a look at each one.
1. Parallel Saturation:
Parallel saturation is a technique where you add saturation to a track, but keep the dry signal un-saturated. This allows you to mix the two signals together to taste. This technique is often used on drums, as it can add power and punch without muddying up the overall sound.
For more parallel processing techniques, check out my article here.
2. Serial Saturation:
Serial saturation is the process of adding several different layers of saturation.
You can use this strategy to essentially recreate the saturation effects of recording and mixing in an analog studio, right in your DAW
Read my article here on how to do that.
Does Saturation Come Before EQ?
This is a common question that comes up when saturation is being used in a mix. The answer is that it really depends on what you're trying to achieve.
If you're looking for a vintage, analog sound, then it's usually best to saturation the signal before you add any EQ, because this is what happens when you are recording in an analog studio with a pre-amp and mixing console.
However, if you're just looking to add a little bit of warmth or character, then it's generally fine to saturation the signal after you've added EQ.
As always, the best way to figure out what sounds best is to experiment with both techniques and see which one works better for your particular mix.
Should You Use Saturation On Every Track?
This depends on the sound you are going for. If you are looking for an authentic, vintage-sound, then adding subtle saturation to every track is key.
However, if you're just looking to use saturation as an interesting effect, then only add it sparingly.
Conclusion
Saturation is a powerful tool that can be used to add warmth, character, and depth to your mixes.
There are many different saturation techniques that you can use, so it's important to experiment with all of them until you find the ones that work best for your particular mixing style. When used correctly, saturation can take your mixes to the next level.
Hopefully this guide has given you a better understanding of saturation and how to use it in your mixes.
As always, experiment and find what sounds best to you. There are no hard and fast rules when it comes to saturation, so go out there and create some beautiful sounding music!
Finish More Radio-Worthy Songs, Faster!
Saturation is just one piece of the puzzle when it comes to producing pro-quality songs.
If you want a proven step-by-step formula for mixing radio-worthy tracks from start-to-finish...
Create Pro-Mixes, Faster
Click below to download my free song-finishing checklist to help you create radio-ready songs without taking months to complete them.
This checklist will walk you through a proven step-by-step mixing and mastering process so that you don't ever have to guess or wonder what to do next.
You'll know exactly what to do, and when, so you can quickly mix, master, and finish more tracks.
I hope you found this post valuable on how to use saturation, helpful.
If so, feel free to share, and let me know in the comments below…

