Looking to make some sweet vintage sounding music that would sound at home in the 70s or 80s, but how to do it, you're not exactly sure?
Keep reading as in this post I cover 7 different fool-proof techniques for creating vintage and Lo-fi music...
Right inside of your DAW.
- Band-passing
- Bit Depth Reduction
- Downsampling
- Noise
- Saturation
- Console Emulation
- Era appropriate FX
Create Better Songs, Faster
Click below to download my free song-finishing checklist to help you create radio-ready songs without taking months to complete them.
How To Make Music That Sound Like The 70s & 80s (In Your DAW)
In order to create music that sounds like it came from the 70s or 80s, you have to understand how music from that era sounded, the equipment that was used, and how you can emulate that sound today using digital tools.
In the video below, I talk to a pro studio owner (who has been recording, editing, mixing, mastering, and producing music since the 1970s) about how to recreate that vintage sound right in your DAW.
1. Band-passing
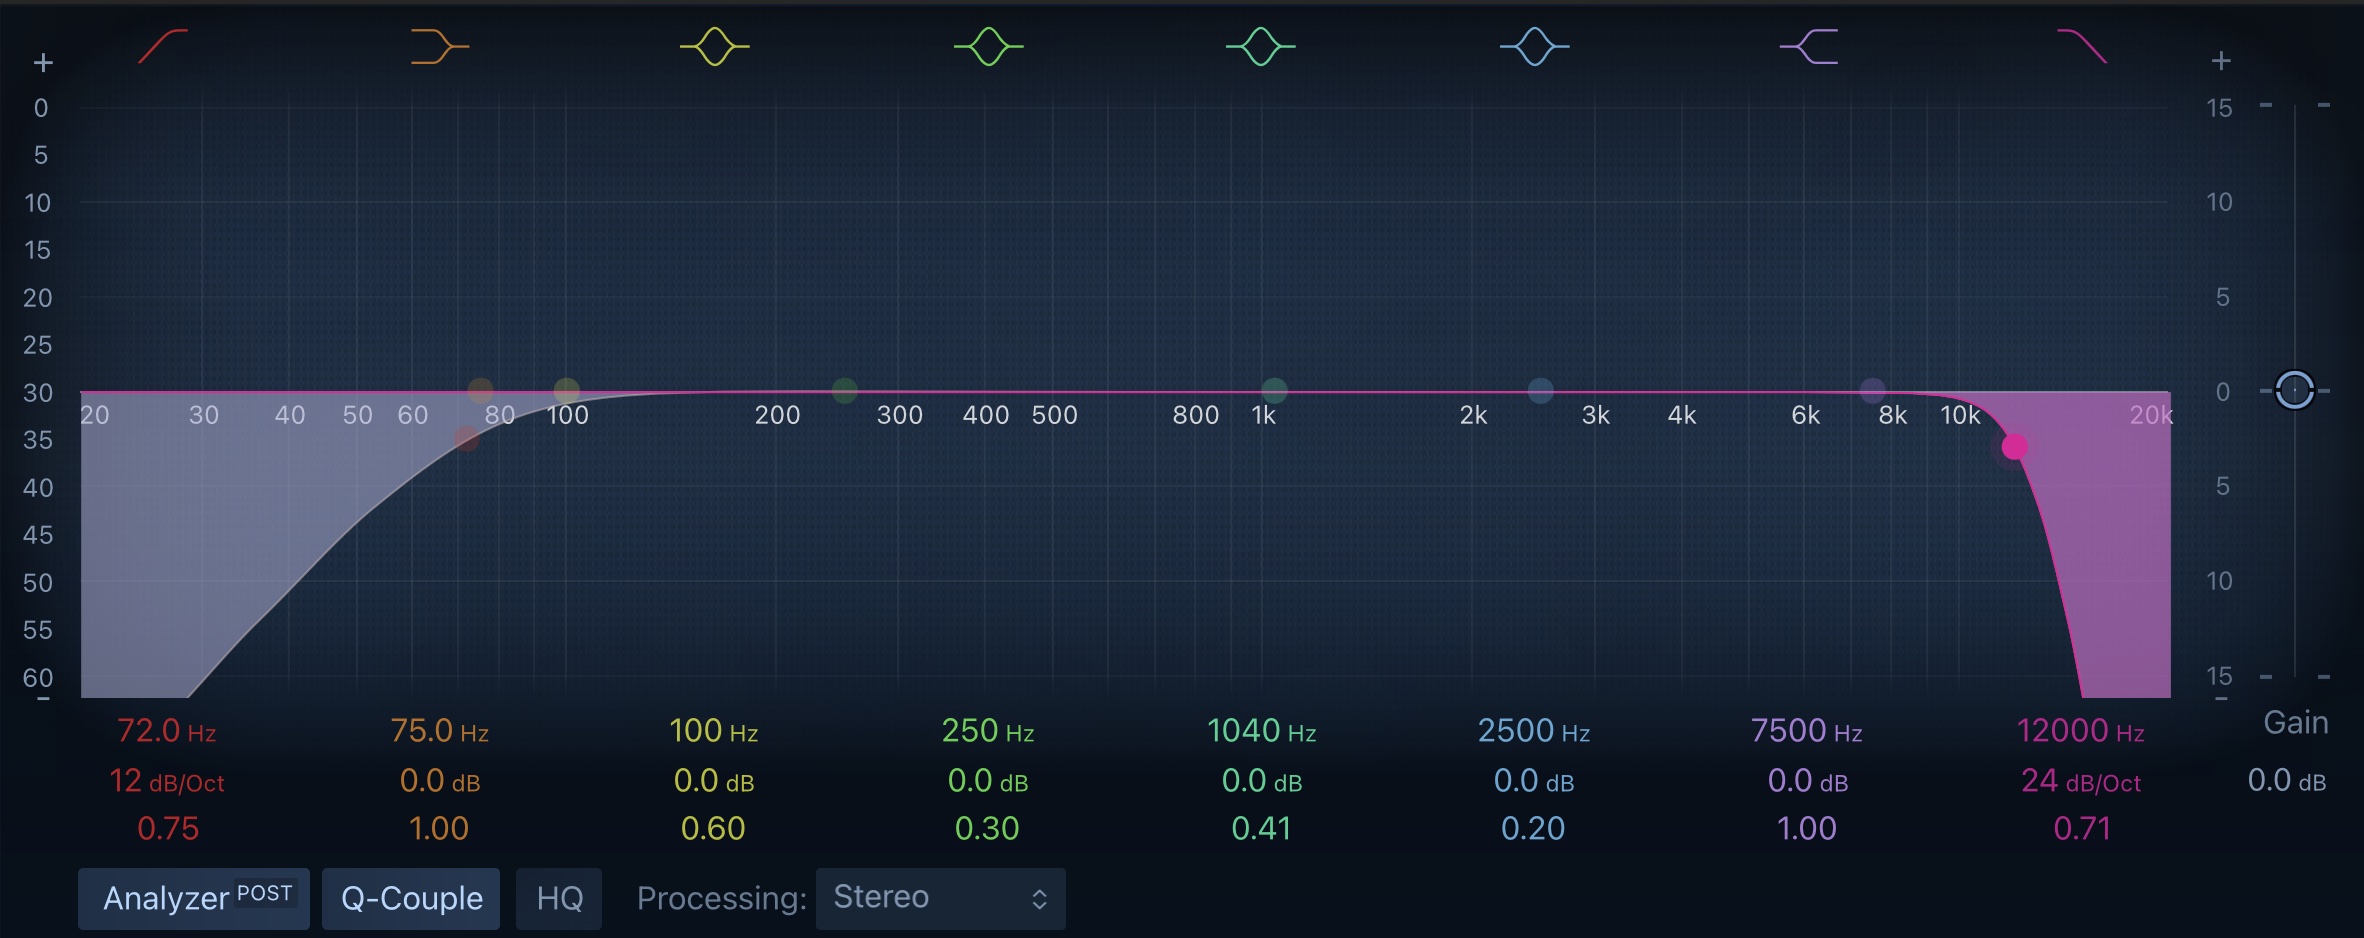
Band-passing is a good idea if you're really looking to get that authentic vintage sound. Band-passing is where you roll off the high and low frequencies so you have a frequency range that is reduced.
This was commonplace in the 80s, 70s, and earlier.
Why Do Old Albums Have Such A Small Frequency Range?
When records were mastered, they were filtered off at around 72Hz and 12kHz otherwise the needle would jump off the record on vinyl players. Additionally, generation loss, caused by master tapes getting mixed down onto another tape machine would result in a loss of highs and lows.
Generation loss narrows the frequency spectrum and adds noise. The the more copies you make, the greater the audio degradation. You also get a loss of information when you create a plate master for vinyl.
Whereas today, there is no loss on digital systems.
So if you're wanting that authentic sound, then try rolling off the low lows and high highs.
2. Bit Depth Reduction
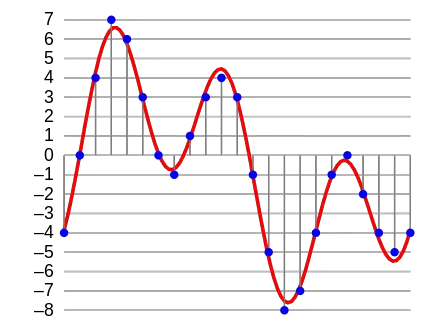
"An analog signal (in red) encoded to 4-bit PCM digital samples (in blue); the bit depth is four, so each sample's amplitude is one of 16 possible values." - Wiki
Bit depth reduction involves decreasing the number of bits of information in each sample. Fewer bits means a lower audio resolution. For example, CDs are 16 bits per sample, whereas a DVD is 24-bit.
In other words, bits refer to the size of the unit of data a computer can process.
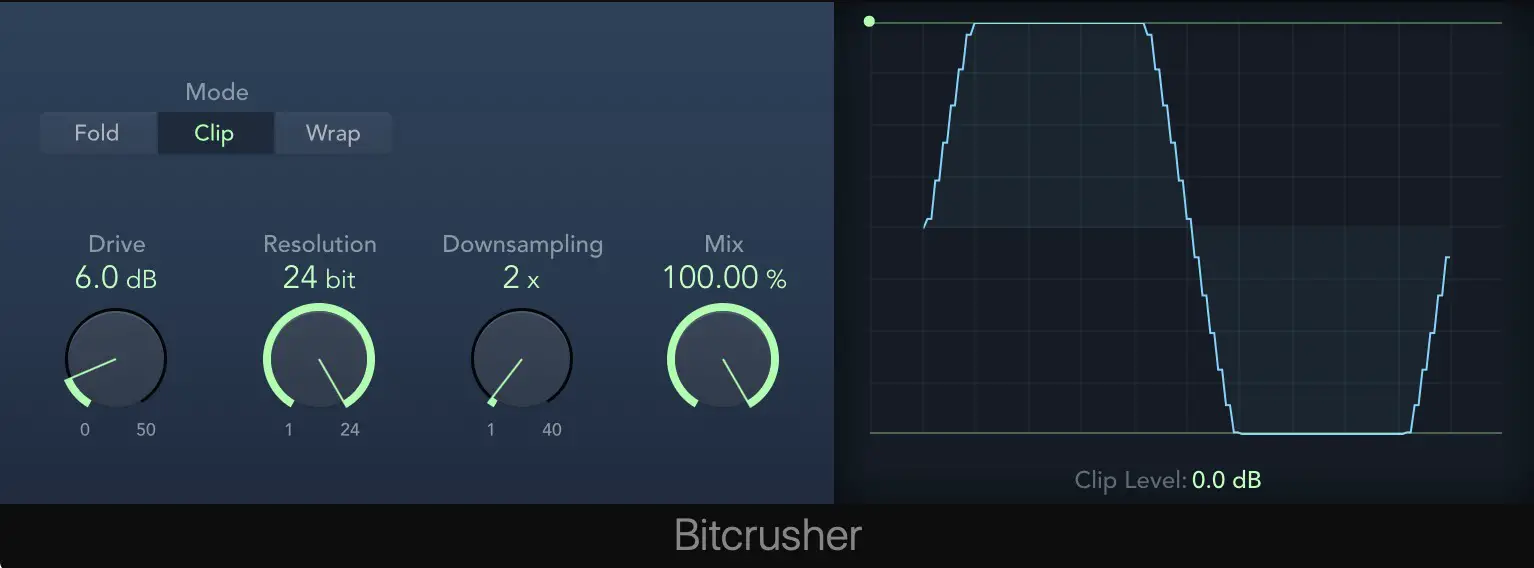
By using a simple Bitcrusher plugin, you can reduce the bit depth of your tracks, which can help to mimic the effect of classic digital processors.
If you go overboard, you'll create a digital distortion sound, which can be a great effect to use sparingly, but you can also add some very subtle bit reduction flavor by being gentle with the controls.
Your DAW likely already has a bitcrusher built in that you can use, otherwise, you can download a free one here.
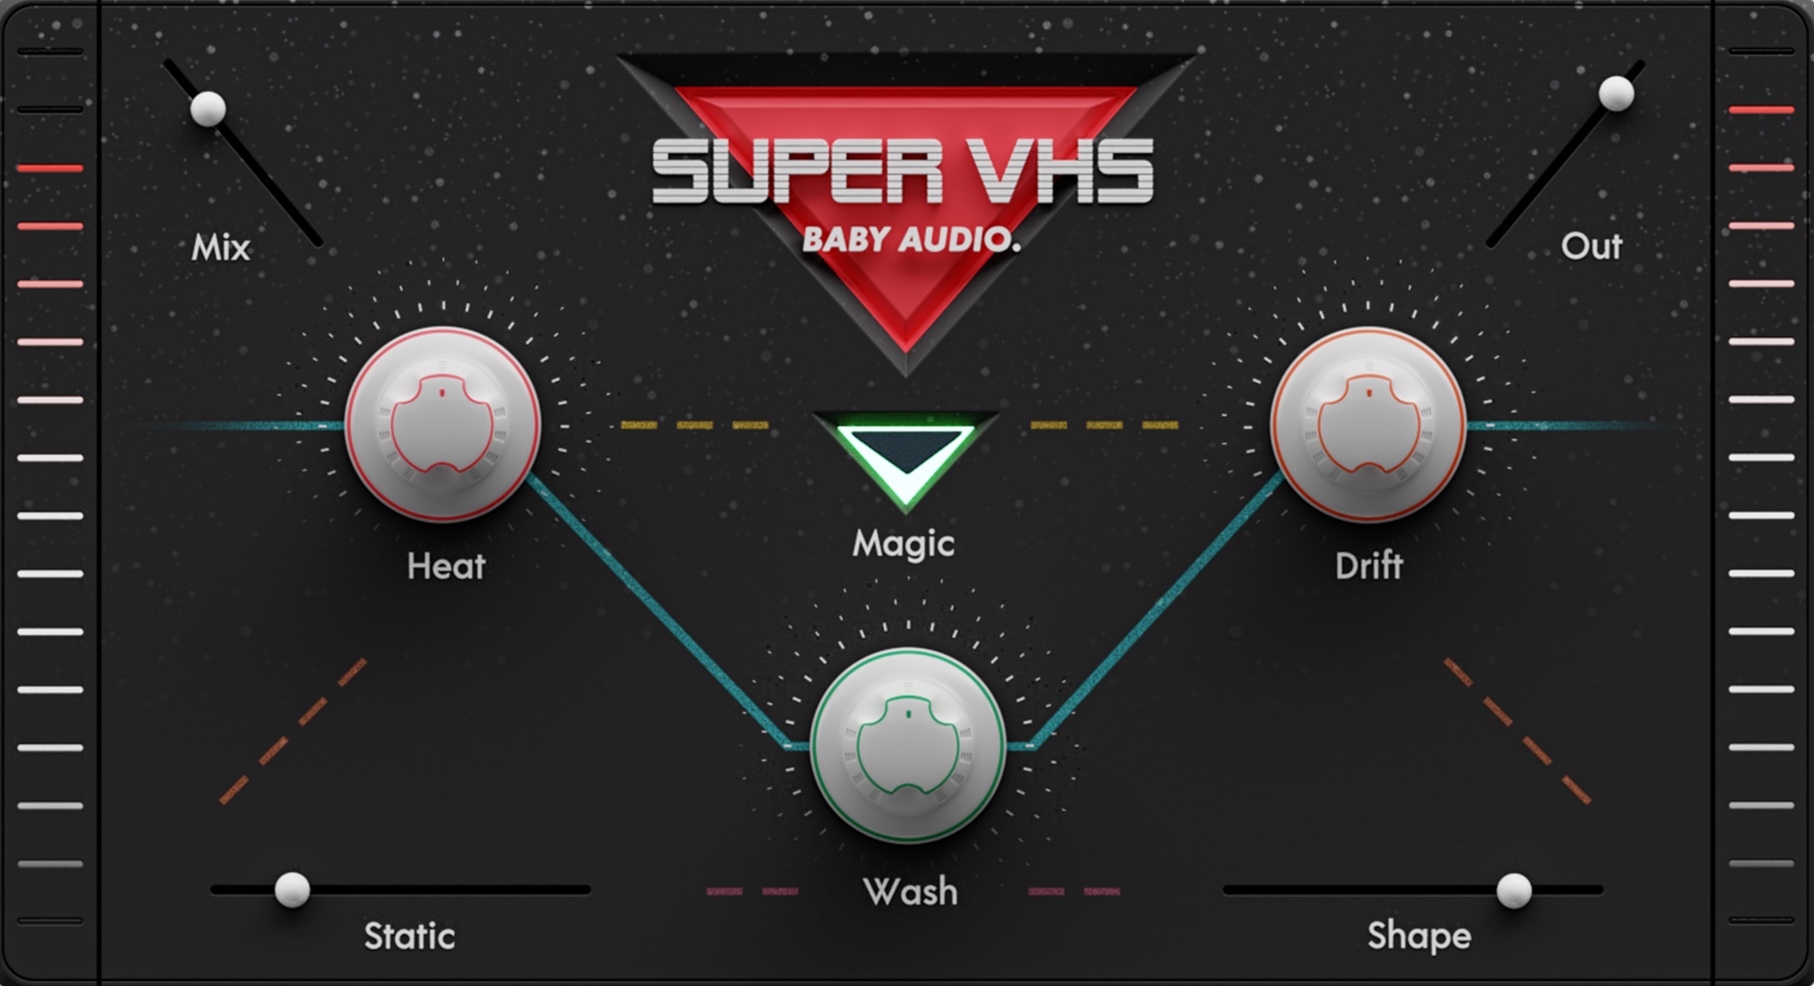
Or, you could a great premium plugin like Super VHS, which is a fantastic overall plugin for making vintage-sounding music.
Plus, it has a bitcrusher built in.
3. Downsampling
Downsampling is the process of reducing the sample rate of a signal.
Effect processors of the past not only had lower bit rates, but sample rates as well. So you could also try downsampling your tracks to get a more Lo-Fi feel.
4. Noise
Noise was also heavily prevalent in vintage music due to all of the analog gear, which naturally added saturation and noise to audio signals.
Noise was the bane of the existence of audio engineers and producers back in the day, but now new plugins come out all the time to help you introduce noise BACK into your recordings.
Like I mention above, Super VHS is a great plugin for this, but there are ton of them out there on the market.
Even compressor plugins these days allow you to add in some low frequency "hum" noise.
Use sparingly, or really dirty your track up with noise.
5. Saturation
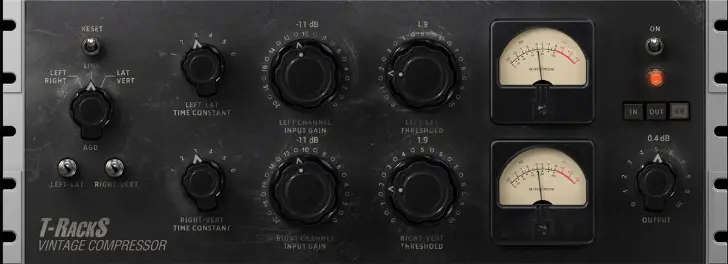
The T-RackS Vintage Compressor is a great option for adding some vintage-style compression to your tracks.
Saturation upon saturation is the name of the game when it comes to recreating a vintage sound. Saturation was everywhere back in the day, from the Pre Amps, to the consoles, to the compressors, effects, tape recorders, and more.
Everything added another layer of color to the sound signal, just due to the fact that you have an electrical signal running through physical circuitry.
If you want to learn how to turn your DAW into an analog studio by using saturation, then check out my article here.
Experiment with using Tape and Vinyl saturation, as well as using compressor and other plugins which are modeled after analog gear from the time period.
6. Console Emulation
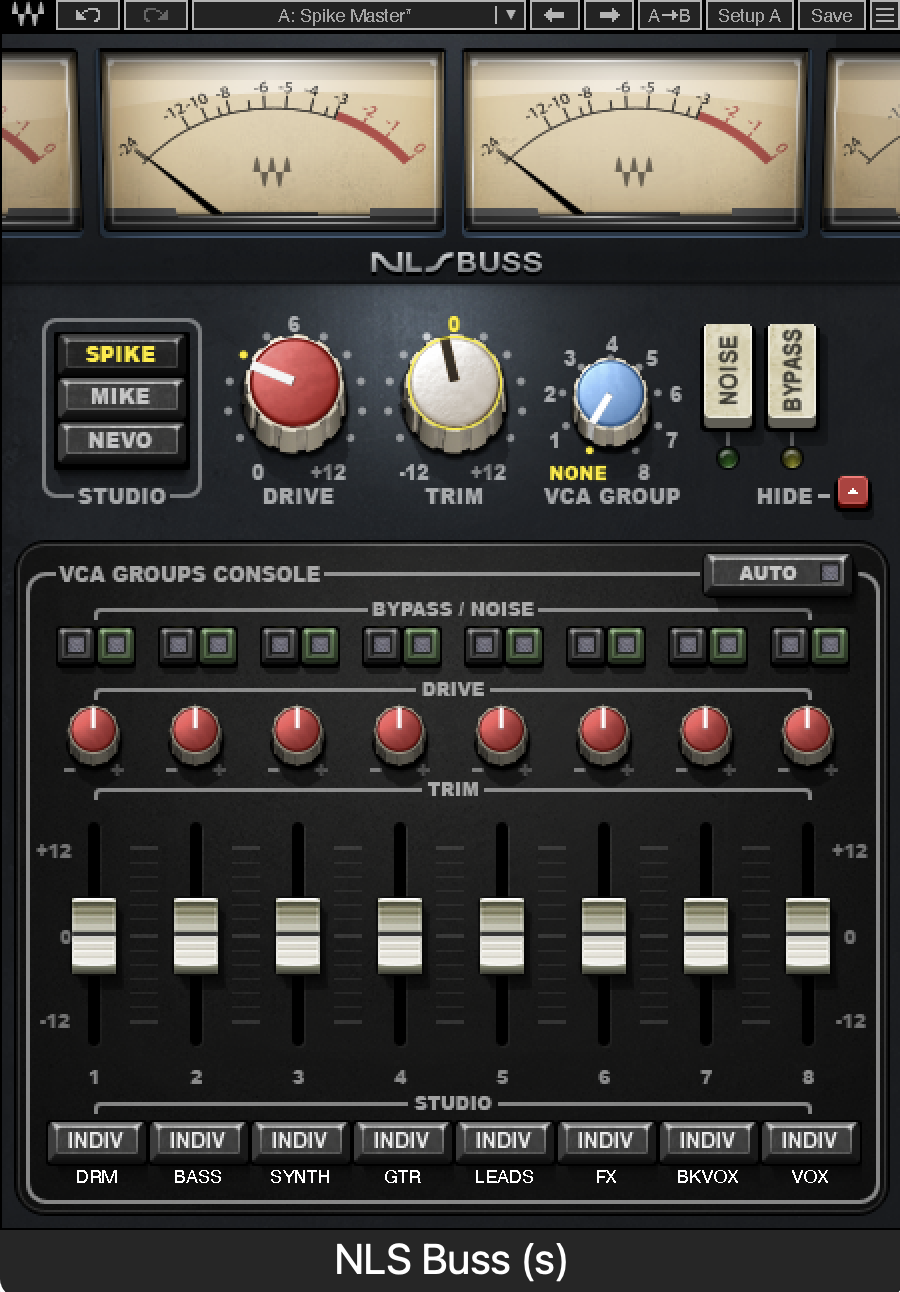
Speaking of saturation, specifically using console emulating plugins is a great idea because literally everything that was recorded back in the 70s and 80s was recorded and mixed on some kind of mixing console.
A great plugin you can use to emulate a mixing console is NLS by Waves.
This plugin not only models 3 different mixing consoles, but also the individual channels of each of these three different mixing desks.
7. Era Appropriate FX
The 70s and 80s didn't have all the fancy FX we have today. Digital delays and reverbs did start to become popular in the 80s, but you also had a lot of plate and spring reverbs in use.
You also had more simple effects like Chorus, flanger, and phaser in use.
Try mixing these into your productions for a more vintage feel.
For a complete list of my favorite FX plugins for making vintage or synthwave style music, see my article here.
Free Sample Pack
Of course, what better way is there to get a vintage sound than by using samples made from equipment used in the era?
I've put together a free sample pack that includes 126 different drum and FX samples...
Including authentic samples from the classic Linn Drum drum machine that was widely used in the 80s.
Just click the button below to download the free samples.
Free Synthwave Sample Pack
Just click the button below to download 191 synthwave drum and FX samples, and much more!
This post may contain affiliate links. If you purchase through one of my affiliate links, I'll earn a small commission at no extra cost to you.

