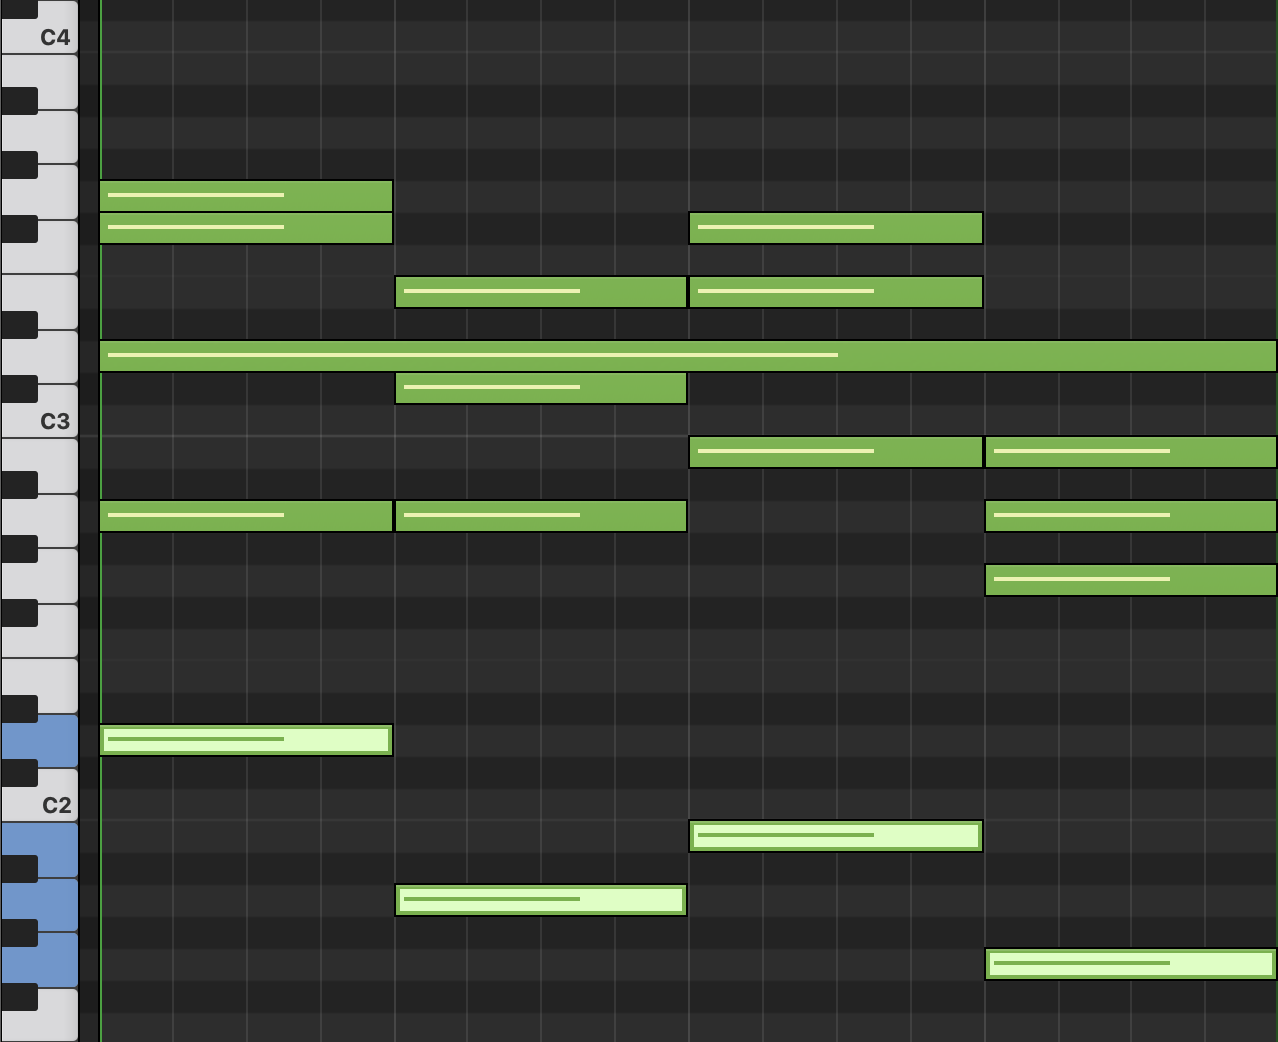
- Create your chords (link)
- Create ghost notes
- Pick a melody pattern (ABAC, ABAB, AAAC)
- Insert your notes: Just play one note to create a rhythm, then move notes around
- Add Spice
How do you go about creating a melody for your synthwave track?
In this article, I'll break down how you can quickly whip up a catchy melody, step-by-step.
This will be especially beneficial if you're someone like me who can't play an instrument, and knows very little about music theory.
1. Create Your Chords First

I highly recommend you create your chords first before trying to write the melody.
You certain do this the other other way around, but in my experience, it's much more challenging to start with the melody.
However, top songwriters like Max Martin recommend starting with the melody first, so you might want to consider writing melodies before any instrumentation eventually...
But if you're looking for simple system to quickly crank out killer melodies, start by crafting your chords first.
By having your chords down, you now have a framework from which to build upon.
With the boundary of song key in place, it's now easier for the creativity to flow and for ideas to start coming to you.
2. Create Ghost Notes
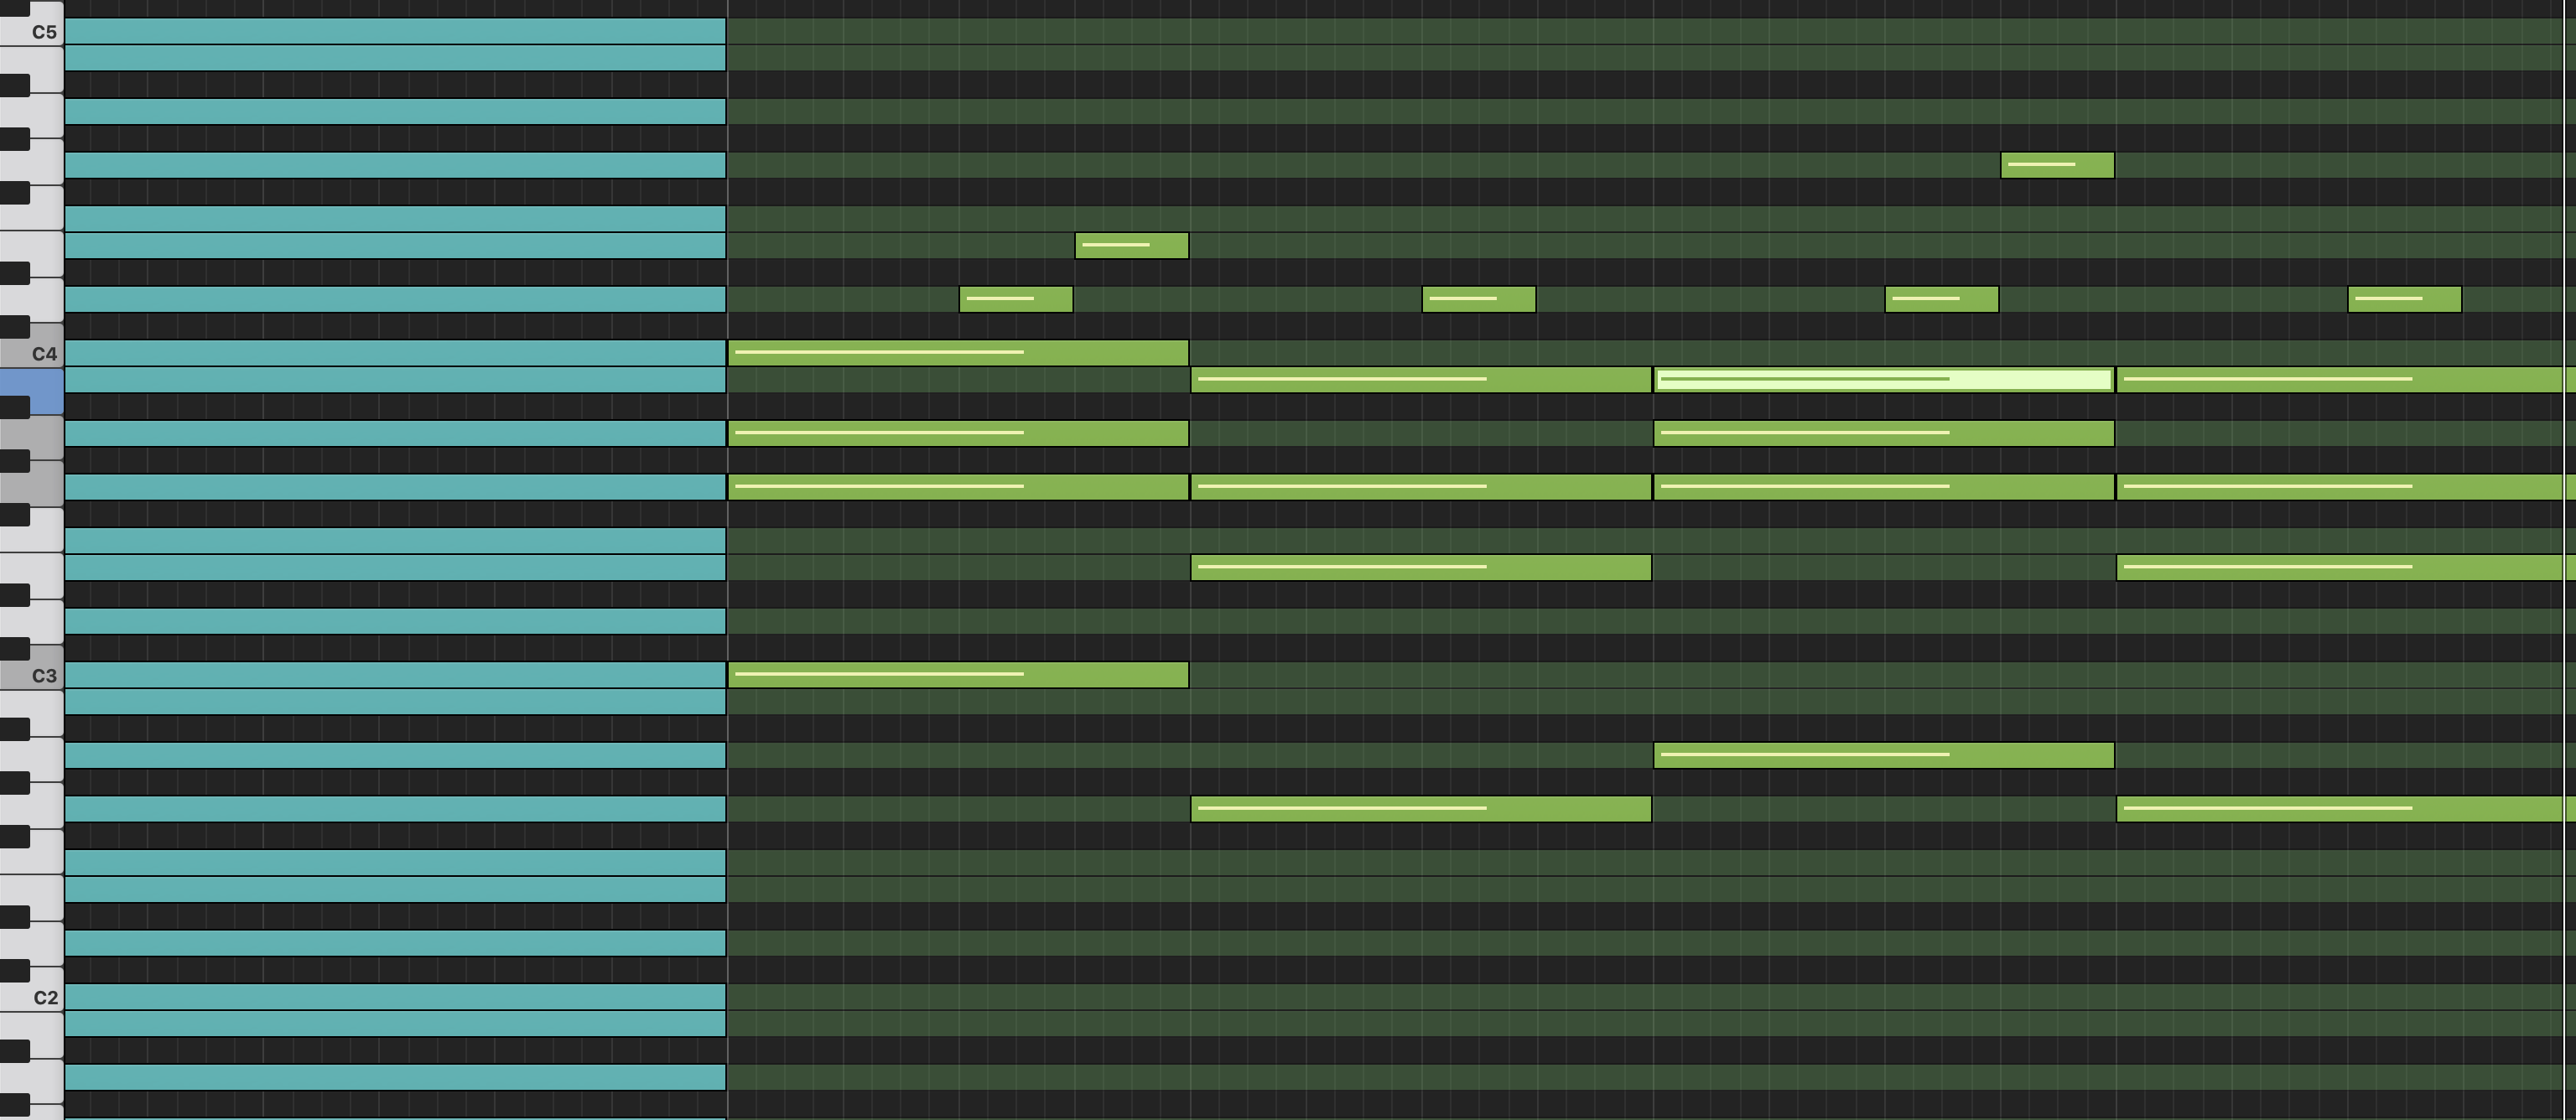
If you don't have all of the scales memorized, then creating ghost notes can be incredibly helpful.
If you don't know, ghost notes are notes that will highlight in your piano roll all the notes that are available to you in a given scale/key.
This way, all you have to do is draw in your notes on any of the highlighted ghost notes and everything should at least sound decent together.
How to create Ghost Notes In Logic Pro X
To create ghost notes, you'll want to an instrument track, and then just delete the instrument so that the track doesn't play anything.
Then, you'll want to draw in all of the notes for your particular scale across all of the octaves, and then loop that section out.

From there, you can then create a second track (the one that you'll be writing on) and add an empty MIDI region.
Then, with your new track selected, you'll want to select both MIDI sections so both are highlighted.
Then, when you go to write in your notes in the empty MIDI region, you'll all the notes in your scale dimly lit and extending on through your piano roll.
Boom! Ghost notes!
Now you can easily drop in notes and hear what works, and what doesn't, which having to try and remember what were all the notes in your scale.

3. Pick A Melody Pattern
Now that you're set up to write your melody, you can really feasibly write whatever you want and call that a melody, and that would work.
That's the beauty of music. There isn't really a wrong way to do it.
That said, if you want to create a catchy melody that people will start randomly humming or singing at the most inopportune time, thus, giving them a craving to come back and listen to your song again...
Then you may one to employ one of the three most catchy melody patterns that we hear frequently in music today.
I'll denote the following melody patterns by using the letters "A", "B", and "C", with each letter representing a short series of notes.
In other words, each letter represents a musical motif.

What Is A Motif?
The smallest repeating structure of notes possessing a recognizable identity. A short musical phrase.
Melody Pattern #1: ABAB
This is a common melody structure, and for good reason. It's very catchy.
You simply have two musical motifs that alternate back and forth.
(By the way, shout out to Arcade High for pointing out these melody patterns).
Examples
Melody Pattern #2: AAAB
Here you have a melody pattern that is pretty repetitive, but then you have the B section which does a nice job resolving the melody.
This is a great structure because you get the catchiness that comes from the repetition, but the B section keeps it from going stale.
Melody Pattern #3: ABAC
Here you have part A, which repeats most frequently throughout the lead, alternating with a B part, and then a C melody to resolve the structure.
This is a very common pattern that you can hear in a lot of music.
Examples
You of course don't have to follow these patterns, but if you're stuck, these will work.
4. Write In Your Notes
Once you have your patterns, go ahead and start writing your notes, however it is you do that.
If you have a MIDI keyboard, then let the rhythm of the music guide you, or you could simply draw in the notes. Whatever works for you!
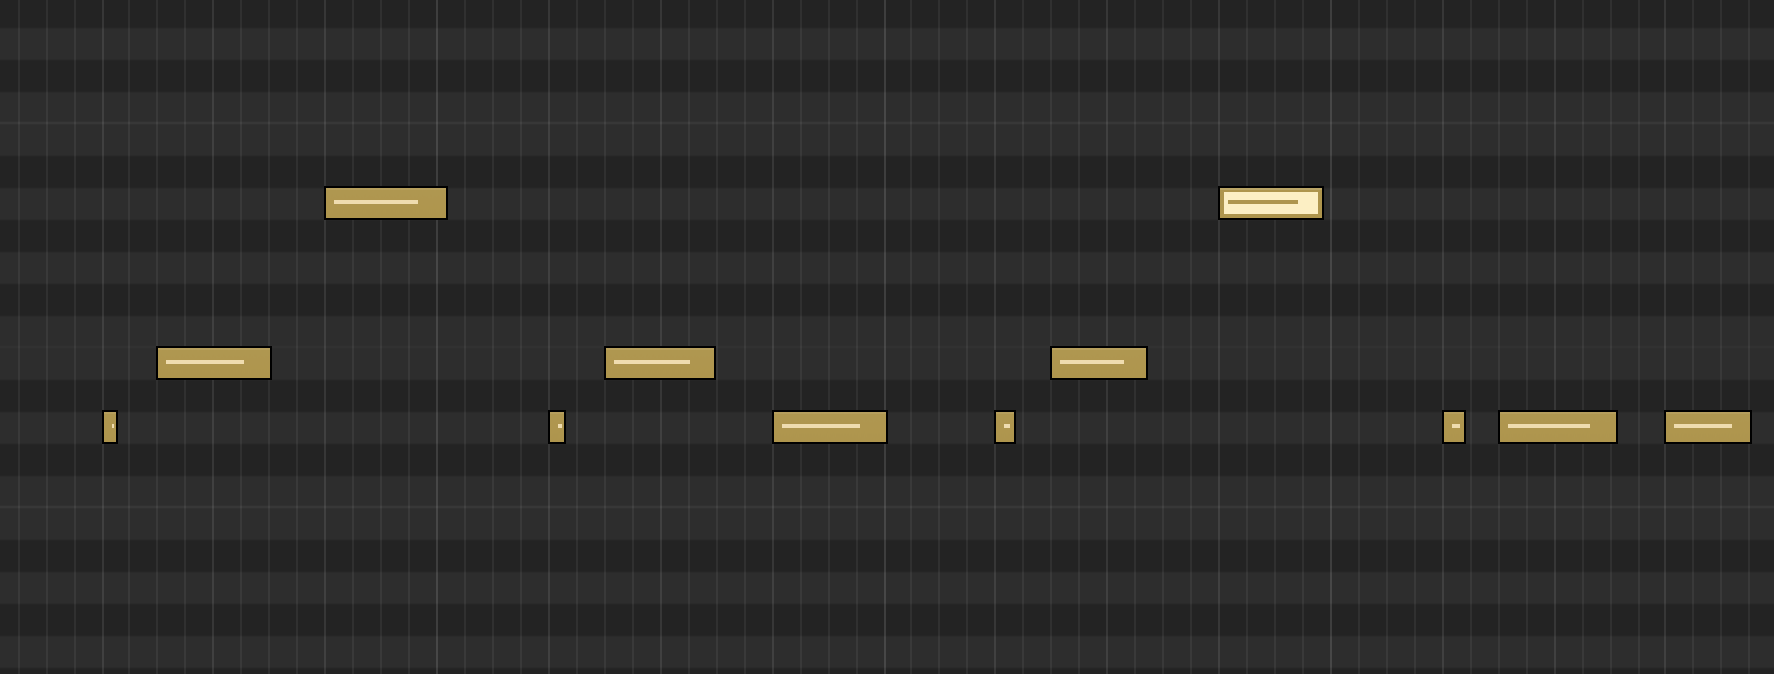
If you find this a challenge, you could alternatively try just hitting one key on your keyboard, and simply write down the pattern or rhythm you want the melody to follow.

Once you have that pattern down, then you can simply move the MIDI notes up and down throughout the scale until you find something you like.

5. Add Interest
The final step is optional, but it can also be the thing that takes your melody to the next level.
Simple melodies are great, but you may also want to then experiment with drawing in some extra little notes here in there throughout your melody to add interest.

Another fun way to add interest or "spice" is to apply some pitch bend automation.
As you're listening back to your melody, experiment with your pitch bend wheel on your MIDI keyboard.
Do any of the notes sound good being bent up or down? If so, record in that automation, and listen to your melody come to life.
Free Synthwave Drum Samples
You can never have too many samples, am I right?
This is especially true when it comes to synthwave samples.
Which is why I put together a FREE synthwave drum sample pack that you can download by clicking the button below!
Free Synthwave Sample Pack
Just click the button below to download 191 synthwave drum and FX samples, and much more!
I hope you got value from this post on how to create a synthwave melody.
If so, feel free to share, and let me know in the comments below...
